 Skip to content
Adding products to Woocommerce can be kind of tricky according to the type which you want to add as well. In this tutorial we will guide you on how to add Simple products to your store.
The first thing to do is access the backend of your website. If you are using our Managed WordPress accounts follow the steps:

After you enter the account, hover over the TMD logo and click on Websites → Manage Website → WordPress Admin
You can also access the admin area by entering yourdomain.com/wp-admin
The next step you have to take is choosing from the primary menu the section “Products” and from Products submenu “Add New”
After clicking on Add New you will see this page:
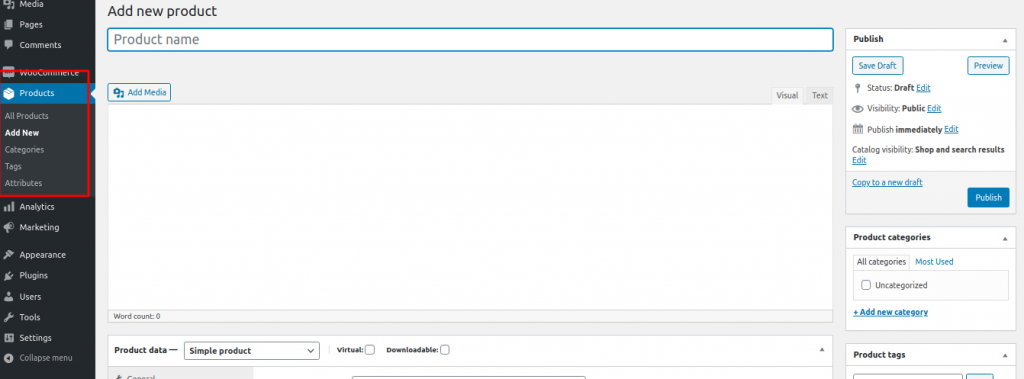
Below the text “Add new product” you can type the name of your product and in the section below you can type a detailed description which will be available on the product page. We are moving to the bottom of the page, where the further configuration of the product will be.
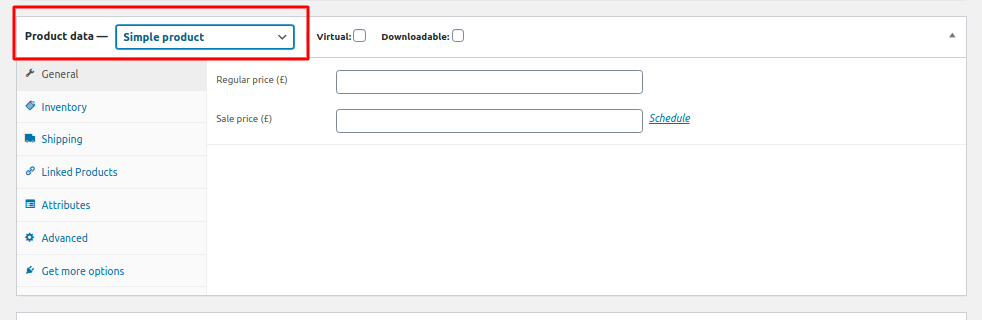
First choose from the drop-down menu “Simple Product” . After that we will start with the sections:
The general subsection
- Regular price means that you have to type the price you want to sell your product.
- Sale price is the option to put your product on sale so you better enter a discounted price
The next subsection is inventory:
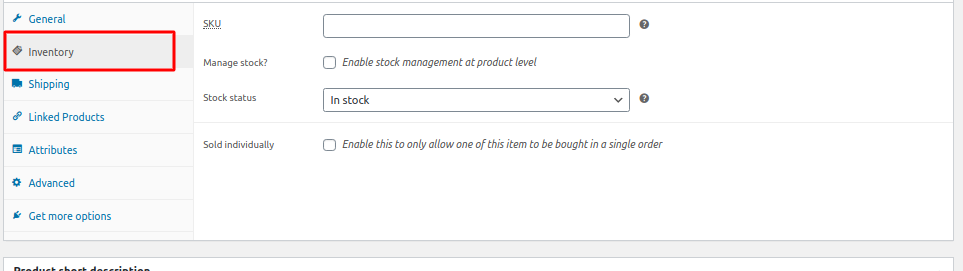
- SKU: This is a unique identifier that is a must for all your products because this is how you trace your product in the Stock-keeping unit.
- The Manage if you enable this option the following menu will show up
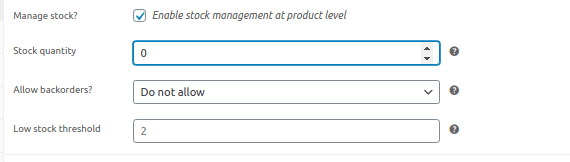
- Insert the quantity for your products. This would affect every product on the website and it will be with that quantity
- Consider if you wish to allow or not backorders.
- When will the website notify the customers that the product is low stock and it going to be out of stock soon.
- Stock status gives you the option to tell if your product is in stock, out of stock or on a backorder.
- Sold individually – by clicking on this option you let the client buy only one item in a single order.
Next subsection – Shipping
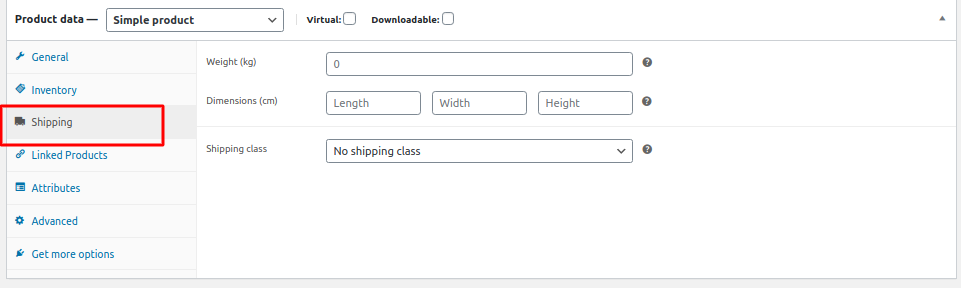
In order to calculate the shipping fees properly you should fill in the product weight, dimensions and also the shipping class which is appropriate for it.
The next section – Linked products

- Upsells – Here you can enter your top-selling product so it can be displayed bellow other products of yours.
- Cross-sells – Other products you promote based on the current product.
Subsection “Attributes”
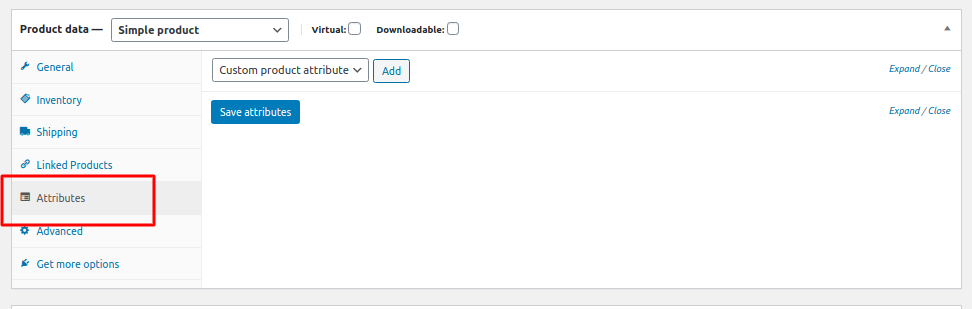
In this section you can add different attributes to your products such as the color of a product, it’s size or something else you find appropriate.
Subsection “Advanced”
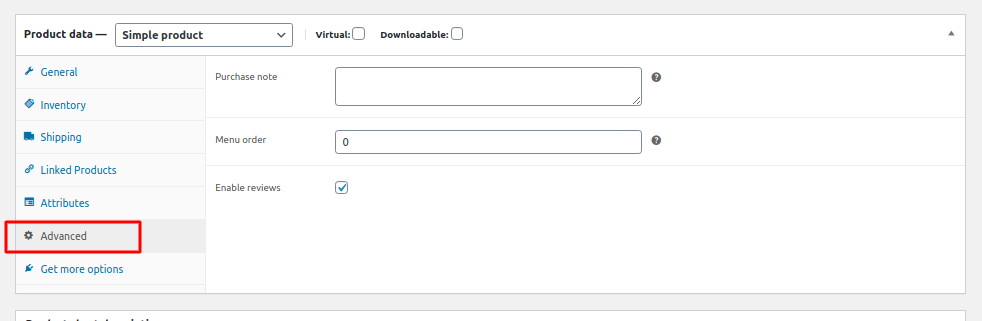
- Purchase notes – on this field you can enter a text which will be used as a note to the clients when they purchase a product from the store
- Menu order – configure the positions of the orders of a customer
- Enable reviews – enable reviews for the product on its page
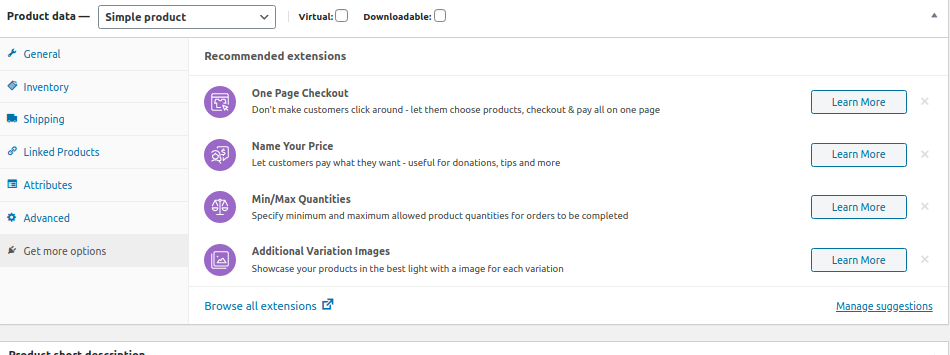
In the “Get more options” menu you can choose from the WooCommerce extensions which you can install on your store
The next section is “Short description”
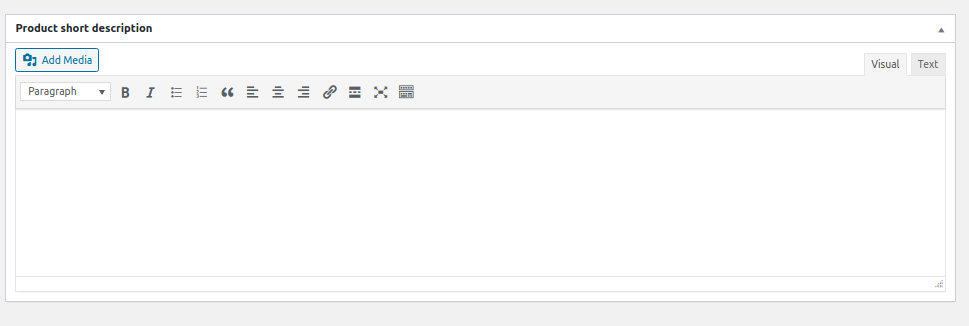
Here you can add a short description which will appear right next to your product.
When you finish adding information about your product you can publish it by clicking on the button “Publish”