 Skip to content
Once you install Woocommerce and activate it the plugin will provide you with a setup page. In this tutorial we will guide you on how to fill that page for your plugin.
Once you have activated the plugin the following message will display:
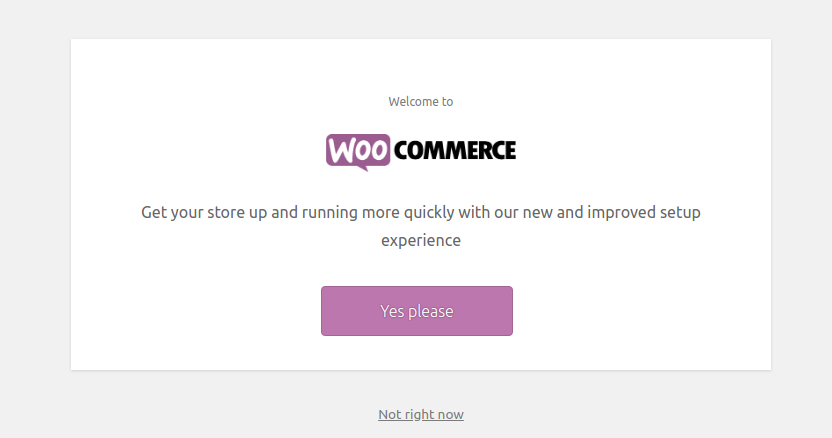
Click on “Yes, please” so you could configure the store. After that, you will begin with the first step of the setup
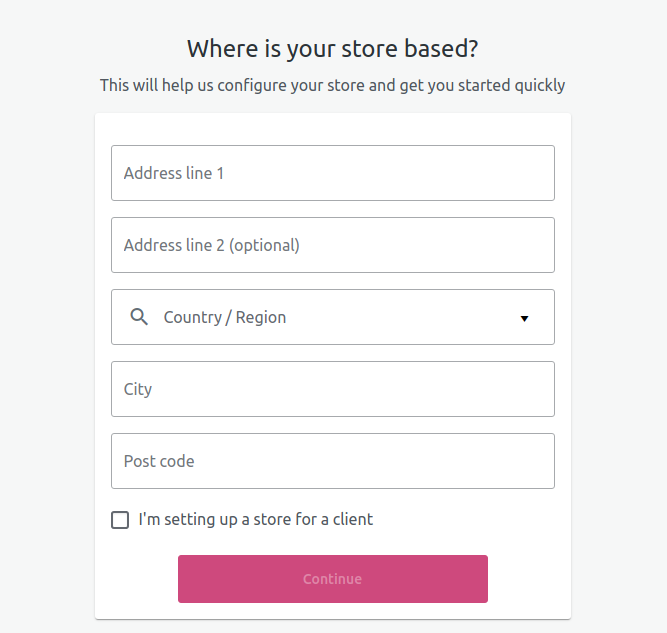
On this page you should fill the address of your store: address, country, city and post code. Once you are done, proceed by clicking on the “Continue” button. A pop-up window will appear and if you agree to the terms you account will help improve the work of the plugin by tracking how it is used. I you wish to dismiss this message click on “Continue” without checking the “Yes, count me in”
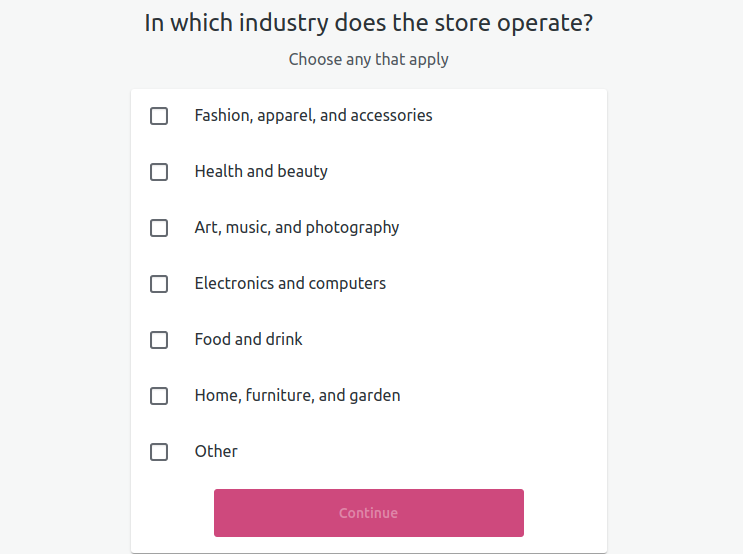
On this page you should choose the industry in which the website is operating. If your industry is not on the list, you can click on “Other” and type it. Once you are done click on the “Continue” button.
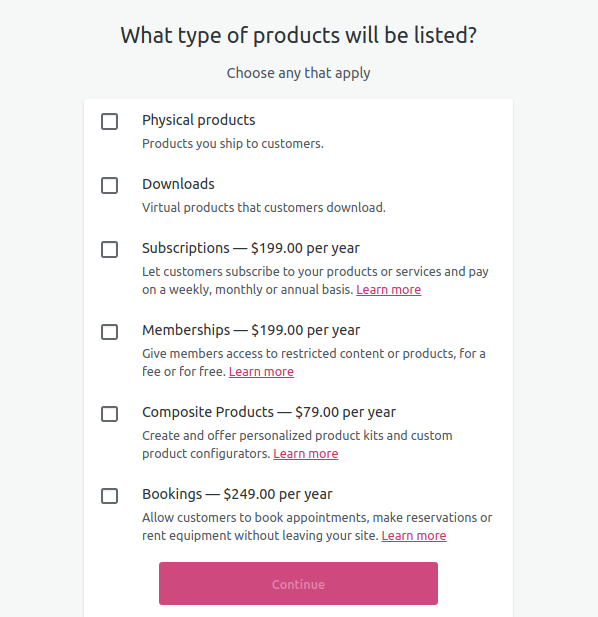
The next page is for the product which you consider selling on your website. You can find more information about the products. Some of them are with prices which means that you can later easily purchase it
After the product type the next page is the Business details. On this page you will have two files to fill
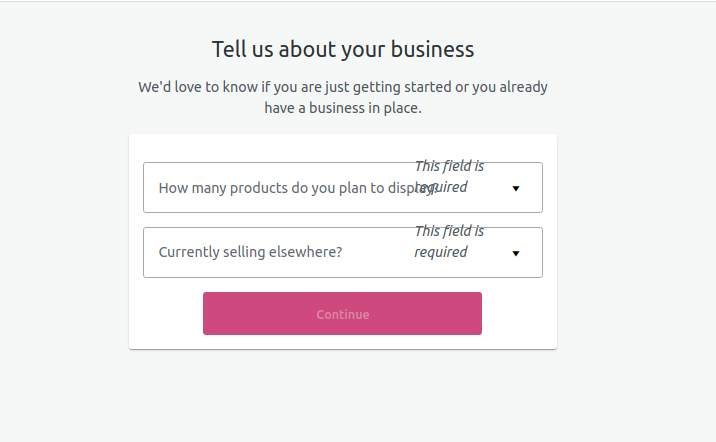
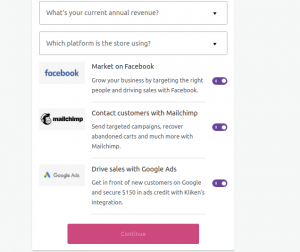
After you choose the ones describing your business best, another fields will appear as well on this step:
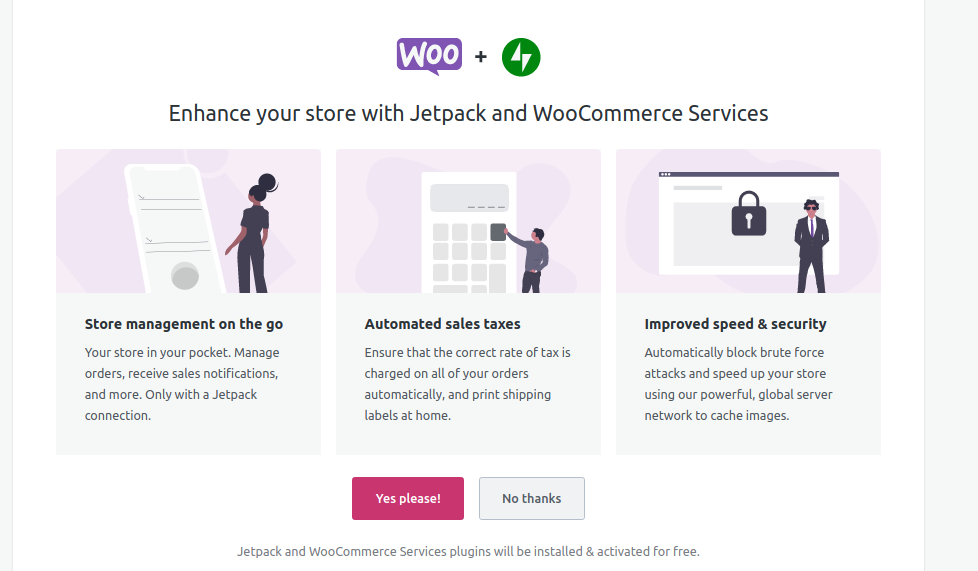
When you will and the last fields you can proceed with the last step – The theme. On this page you can choose the theme for your store. Once you select a theme, click on “Choose” and the theme will be installed and the plugin will redirect you to the next page, where you can install Jetpack plugin with Woocommerce
Once this step is over, you will be redirected to the following screen:
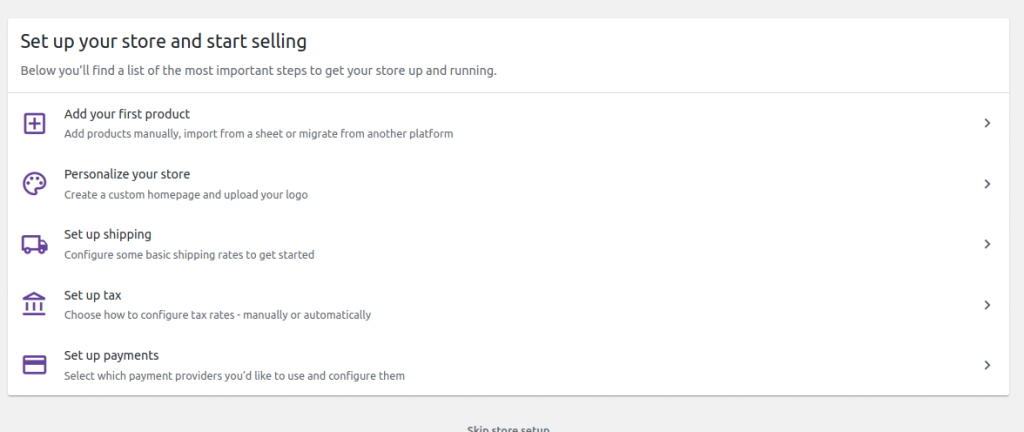
The above screen can be accessed when you go to your admin area → Woocommerce → Dashboard. Once the same page you can further configure your store, add products, customize it, add taxes and so on.