Skip to content
When you search for the best product that meets your requirements there are various things you might need to check and compare it with other items. Such features can be its color, size, performance specifics and any other factor that is important.
WooCommerce gives you the opportunity to assign such characteristics to your products using attributes.
In this section of our tutorial we will show you how to add and manage them with ease.
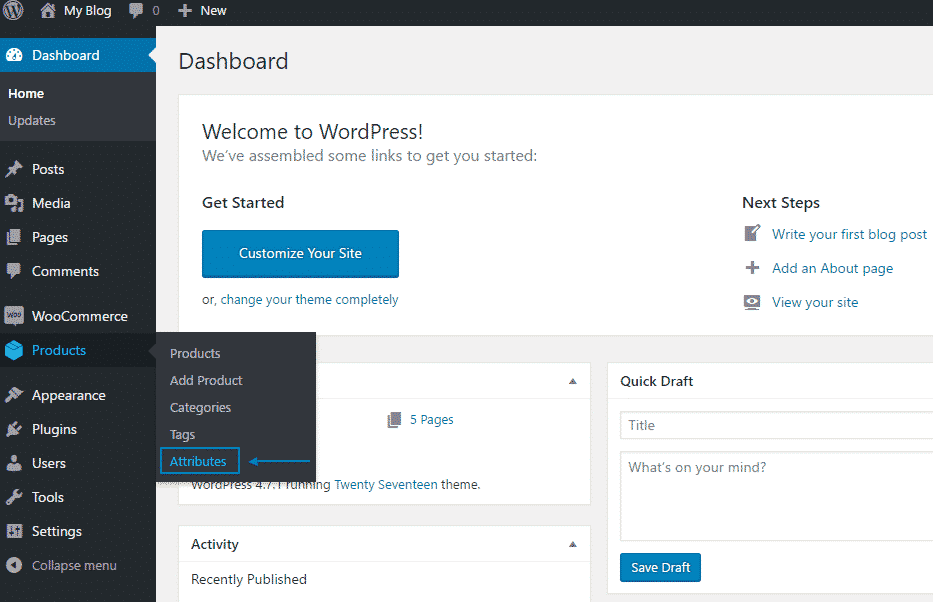
The first thing you should do is to access the WordPress dashboard and navigate to Products > Attributes:
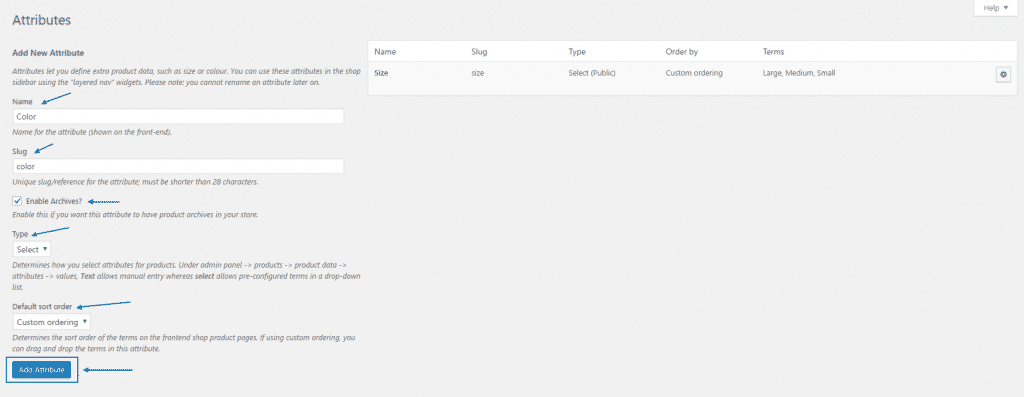
On the Attributes page you can add a new one and also review or edit the previously configured ones.
To create a new attribute you should set the following options for it:
Name – this is the title for your attribute – for example Size or Color
Slug – the unique reference for the attribute shown in the URL
Enable Archives – if this option is allowed the attribute will have product archives in the store
Type – the options here are Select and Text. If you set the Select option your customers will be displayed with a drop-down menu from which they would be required to choose the variation they like to purchase. However if you set it to Text the users will be able to enter some text to inform you what variation of the product they need.
Default sort order – here you can specify the sort order for the options of this attribute. If you select the Custom ordering option you will be able to rearrange them in the way you want.
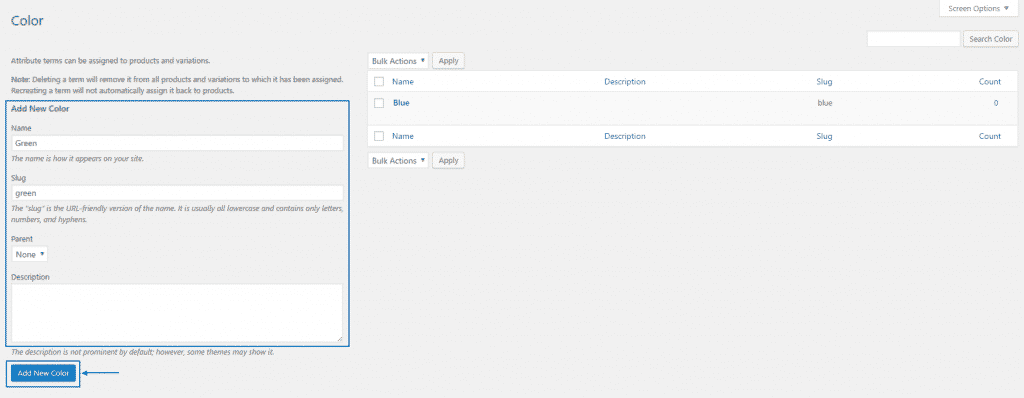
Once the attribute is created you should assign options to it. You can do that using the Configure terms button next to it:

On the new page you would be required to add new options for your attribute – in our example this is a color: