 Skip to content
How to customize emails in WooCommerce
Woocommerce has the option to send transactional emails for the orders of your customers. Funny fact is that the transactional emails are opened about 70% more than every other email sent to customers. Knowing this, creating and customizing your own transactional email is a must. This will increase the trust of your customers in your business. Moreover, designing the emails with a certain color, language and style will make the customers to remember your brand more easily.
This tutorial will help you customize your emails really fast by following the steps below.
The first step before beginning is to access the admin area of your website. You can do so by accessing https://yourdomain.com/wp-admin.
If you are using our Managed WordPress account first you will have to access your account with us

Once you are logged at your account hover over the TMD logo → Websites → Manage Website -> WordPress Admin URL
Once you access the admin area go to Woocommerce → Settings → Emails
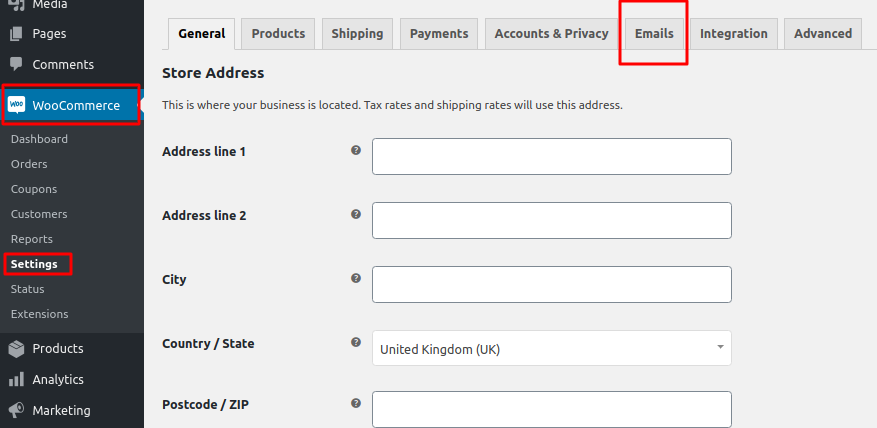
This will open a new window
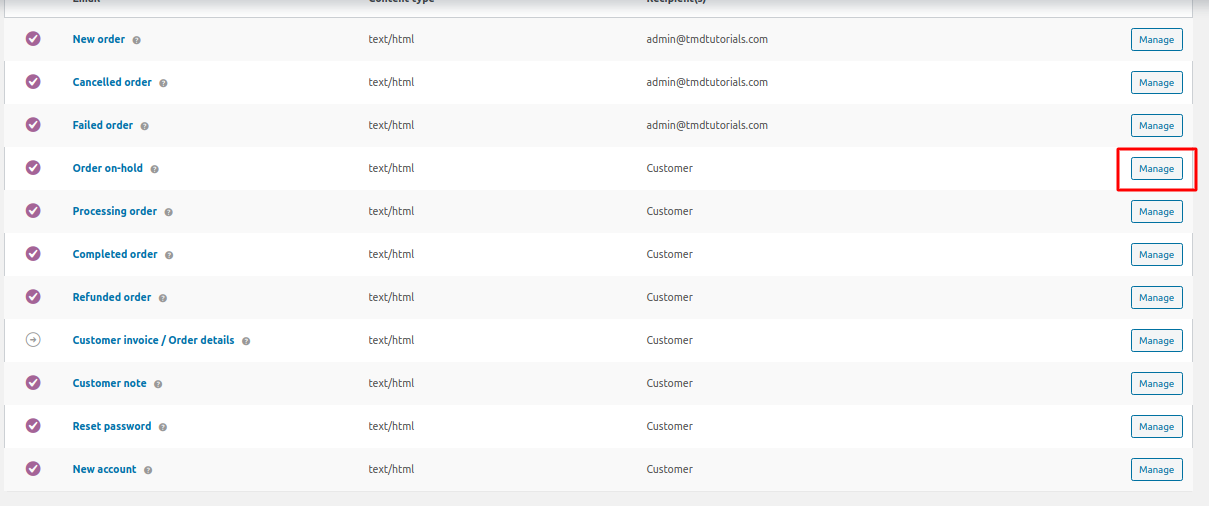
The first three are the emails which you will receive, after that are the emails which are sent to your customers.
Every email can be customized by clicking on the “Manage” button.
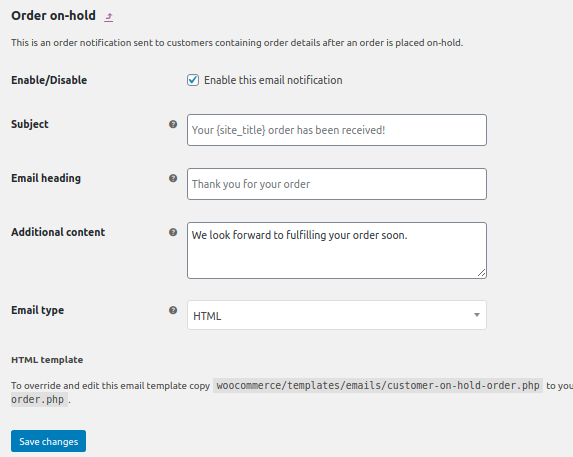
On this screen the first thing is to enable or disable this notification for your customers. By default the option is enabled for all of them. After that, you will have to fill the Subject. When you hover over the question mark you can find more information to use not only {your_store}. The second field is the email heading where you can type a thank you note for what you decide is best. AFter that, fill the text of the email with the information which you think the customer needs to know. And lastly, choose which format email will you send and click on “Save Changes”
Every kind of e-mail associated with your orders is configured in the same way.
One more option that Woocommerce is presenting you when it comes down to emails is customizing them and the way they look. Once you are at the “Emails” tab scroll down where you will notice the following screen:
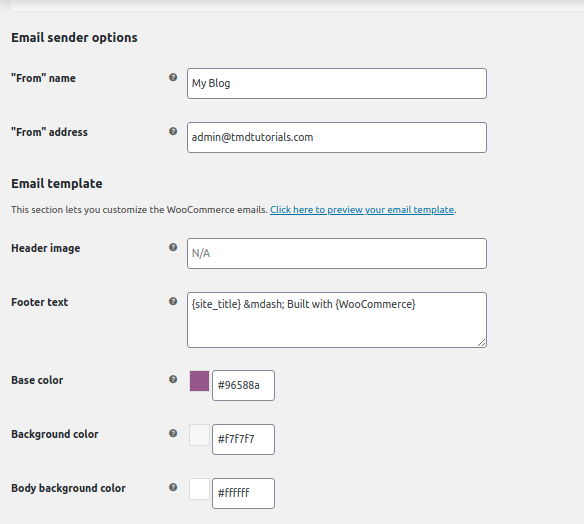
In this screen you can add the colors of your template, header text and footer text of every of your emails. You can also configure the background color, the basic color of the email and the text color. This option allows you to customize your emails with a color of your choice and a new style. Once you create the template and save the changes, you can preview it from the following link:
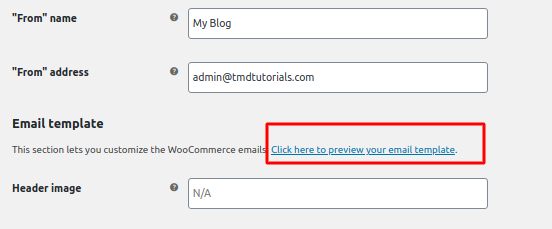
Also, once saved the template applies to all of the emails in your website.