 Skip to content
How to setup WooCommerce payment gateways
Woocommerce is a plugin which has everything you need in order to create and manage your online store. Luckily, it is also really simple to use it. Another option that it provides is to configure the payment gateway with the already built in ones. In this tutorial we will guide you in how to configure the payment gateway for your store in just a few clicks.
The first step is to access the admin area of your website. If you are using our Managed WordPress account you can access the admin area of your website by accessing your account with us

Once you are logged in, hover over the TMD logo and click on Websites → Manage Website → WordPress Admin URL, or access the admin area of your website by entering yourdomain.com/wp-admin and enter your username and password.
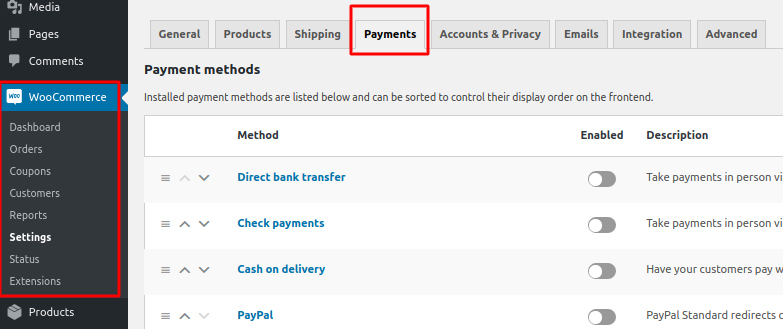
Once you access the admin area of your website locate Woocommerce → Settings
Locate the Payment tab and click on it
We will explain the screen side by side.
The first thing you can notice is the arrows on the left side of the screen
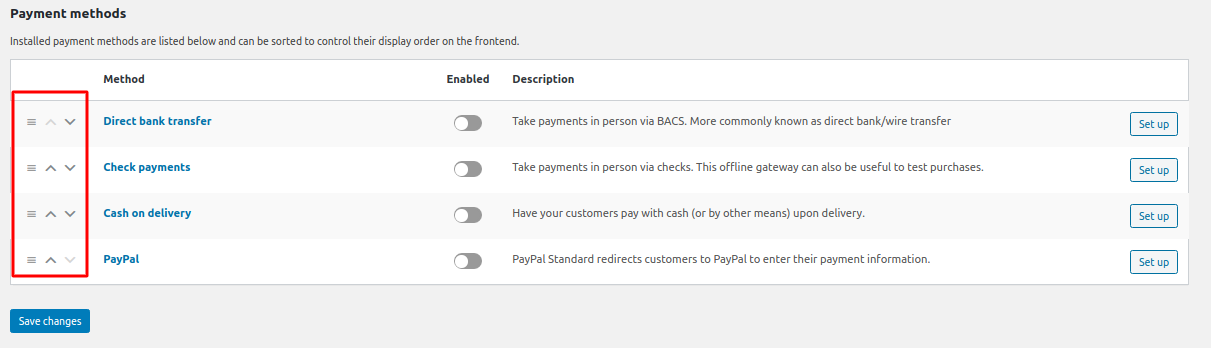
By clicking on them you can organize the payment methods on your store. You can also move them by dragging and dropping.
The second section is the option to enable a certain payment
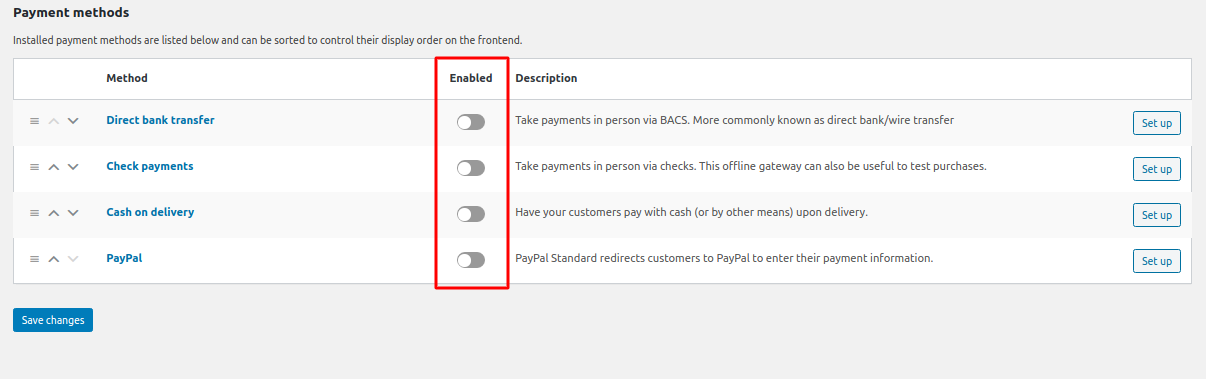
By default the payments are disabled so you can enable the one which you want to use or all of them.
And lastly it is the set up of the payment on the right side of the screen for every payment
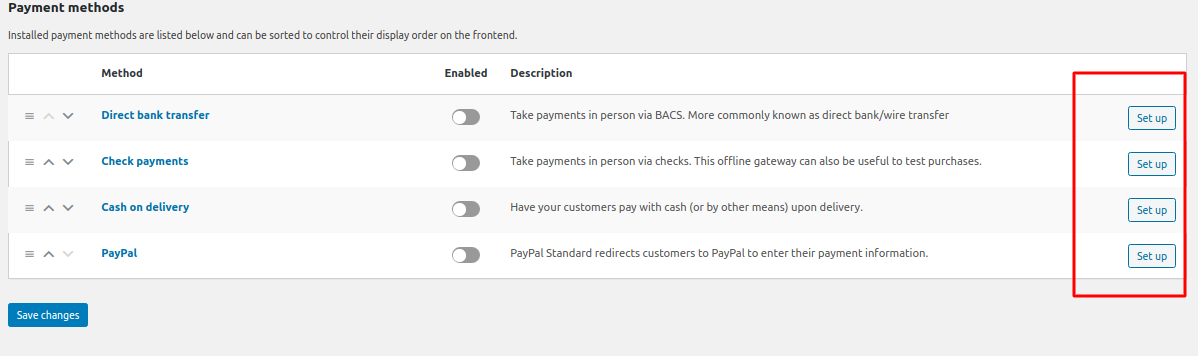
Every payment has set up settings in which you can configure your bank account and other accounts for payment.
Once you are ready you can click on the “Save changes” button.