 Skip to content
How to upgrade Moodle
Hello. In this article we shall discuss the process of upgrading your Moodle website.
For this purpose, we shall be making an upgrade from version 3.6.10 to 3.8.3.
Now, while it may seem like a hard and daunting thing to do, once you learn how to upgrade your application, every other upgrade will become easier and easier.
One thing we would like to mention in connection to Moodle upgrades is that you do not have to make any changes to the database. While some applications require you to make changes to the database, Moodle is not one of them.
That cleared out, let’s begin.
-
Backing up your Moodle application.
Now, before you start upgrading, it is important to always back up your Moodle application.
This includes backing up the following directories:
- Your Moodle application directory
- Your Moodle Data directory
While you are not going to make any changes to the database yourself, you must back it up as well.
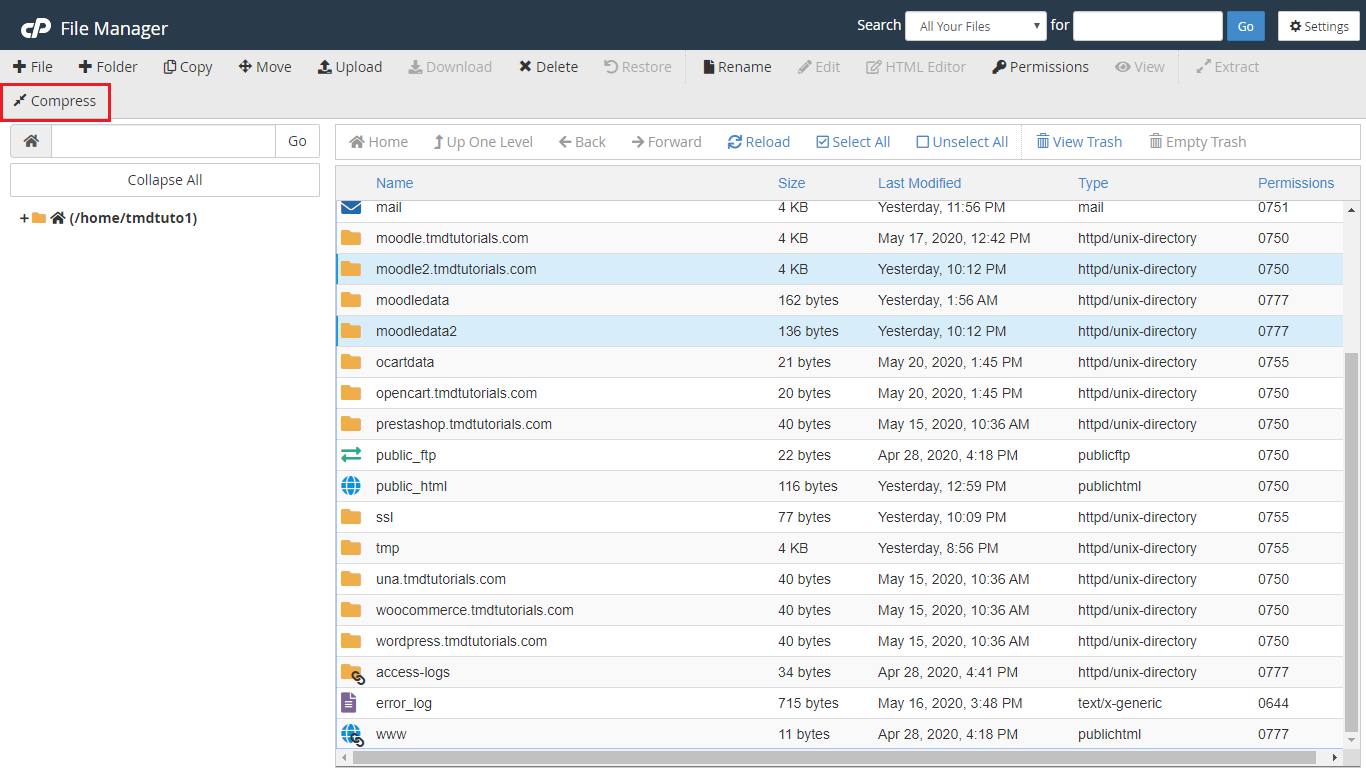
The easiest way to back up your Moodle application and Moodle Data directories would be through your cPanel’s File Manager:
Select your directories by pressing the Ctrl(Control) button and left clicking on them. Next, click on the “Compress” button – this way, you will archive both directories into a single archive which you can then Download to your local device(again from the File Manager tool):
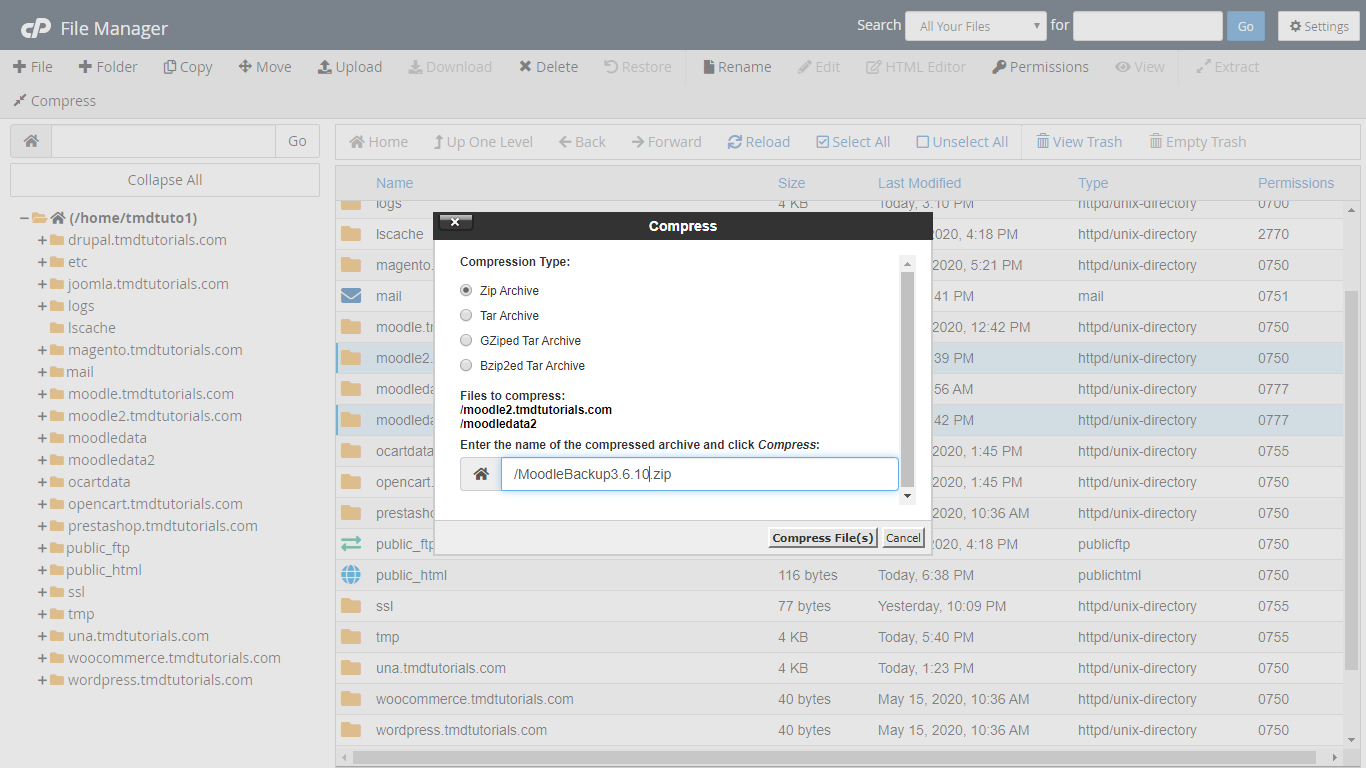
Next, select the type of archive you’d like to make and click on “Compress file/file(s)”.
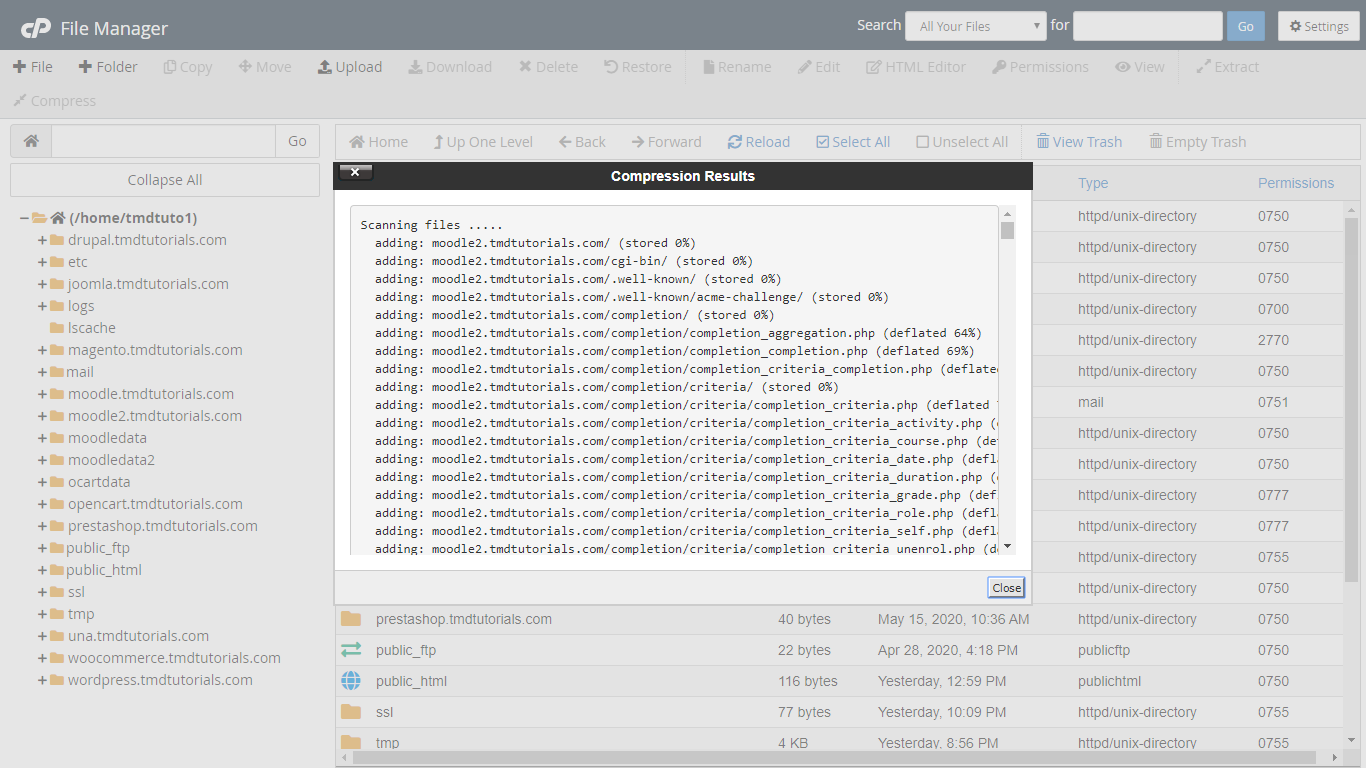
Once it completes, click either the X or Close button:
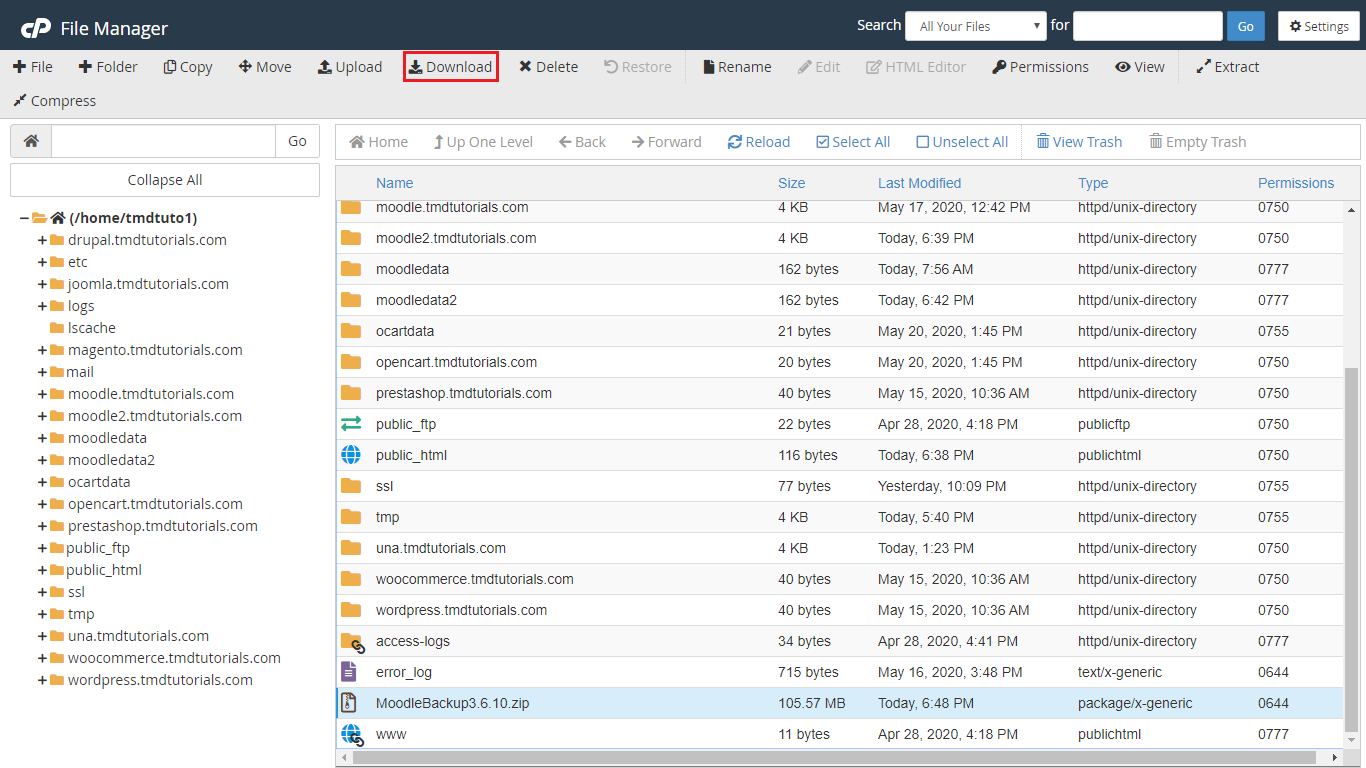
You can then download the archive to your computer by selecting it and clicking on the Download button:
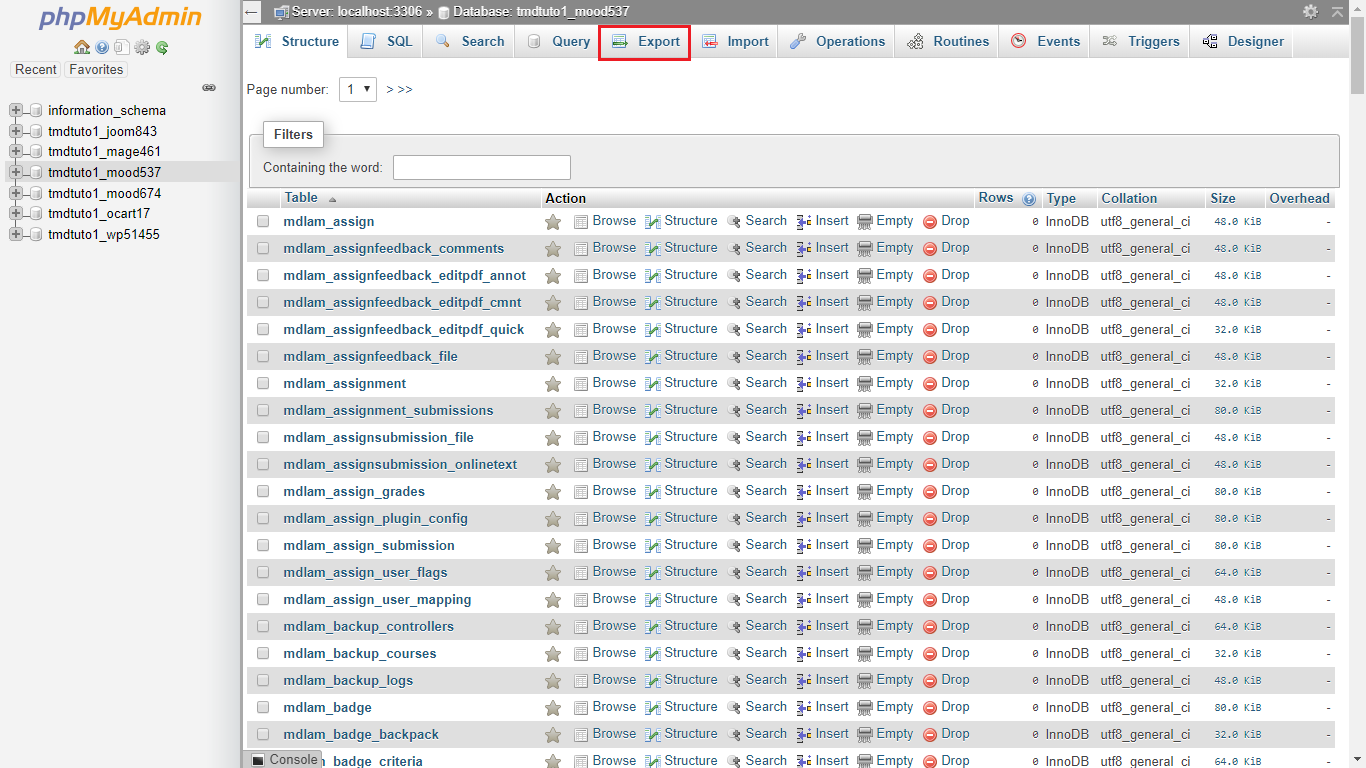
Now the last thing that’s left is to back up the database. The easiest way for you to do this is by using the phpMyAdmin tool inside your cPanel.
Select your database and click on the Export button:
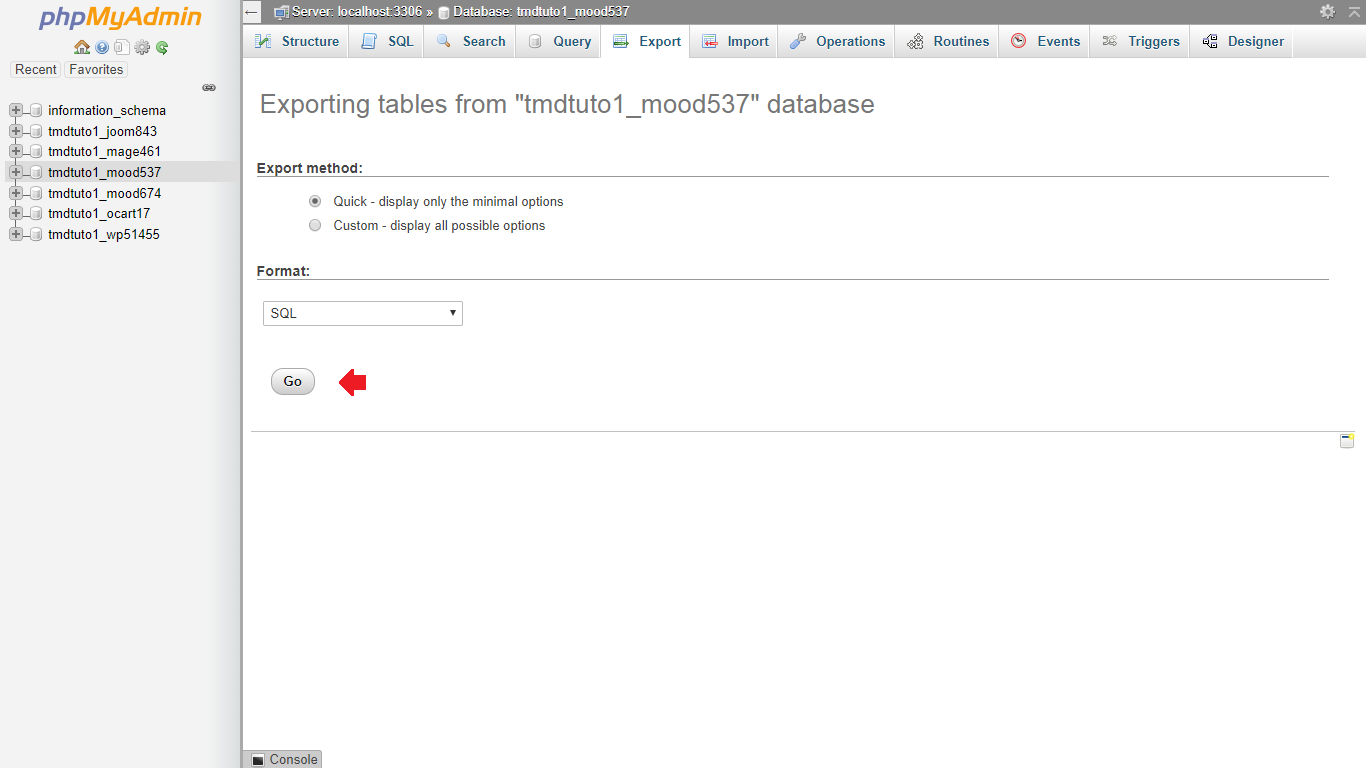
Next, click on Go, from there a window will pop up asking you where you would like to save the database dump on your local device:
Now that you’ve backed up the files and database, it’s time for the next step.
-
Checking the requirements.
Before you proceed with the upgrade process, you would first need to review whether or not your environment meets the requirements for the upgrade. To do this, you would need to log into your Moodle Dashboard.
The minimum requirements for Moodle 3.8.3 are as follows:
- Moodle upgrade: Moodle 3.2 or later
- PHP version: minimum PHP 7.1.0 Note: minimum PHP version has increased since Moodle 3.6. PHP 7.2.x, 7.3.x and 7.4.x (since Moodle 3.8.3) are supported too.
- PHP extension intl is required since Moodle 3.4
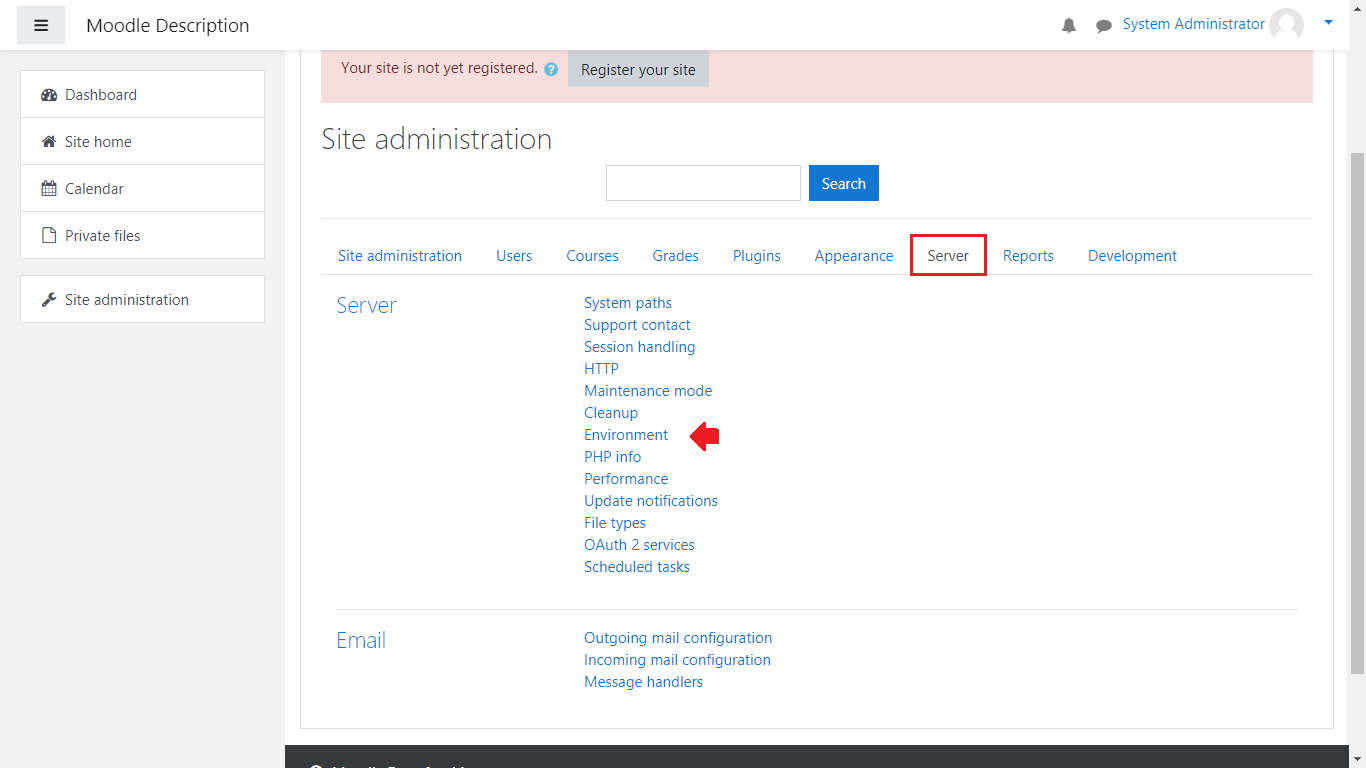
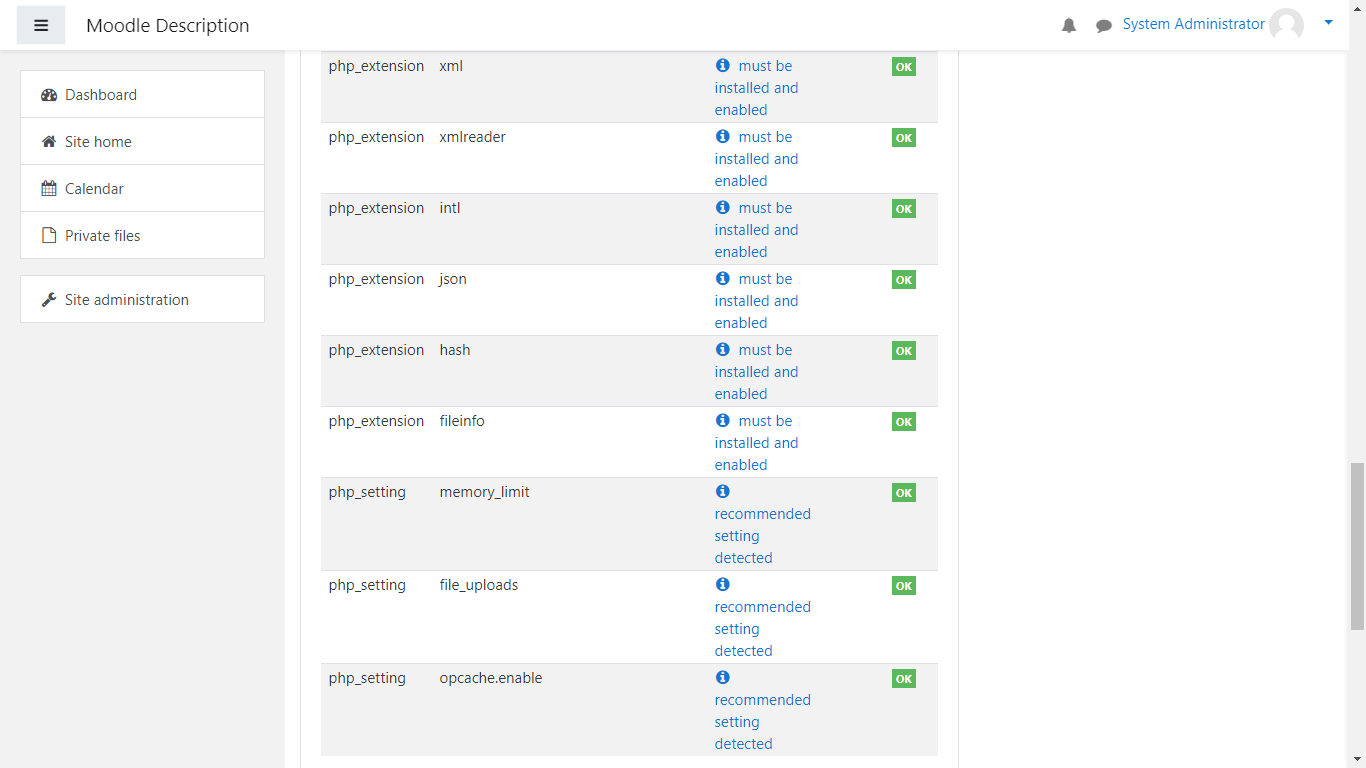
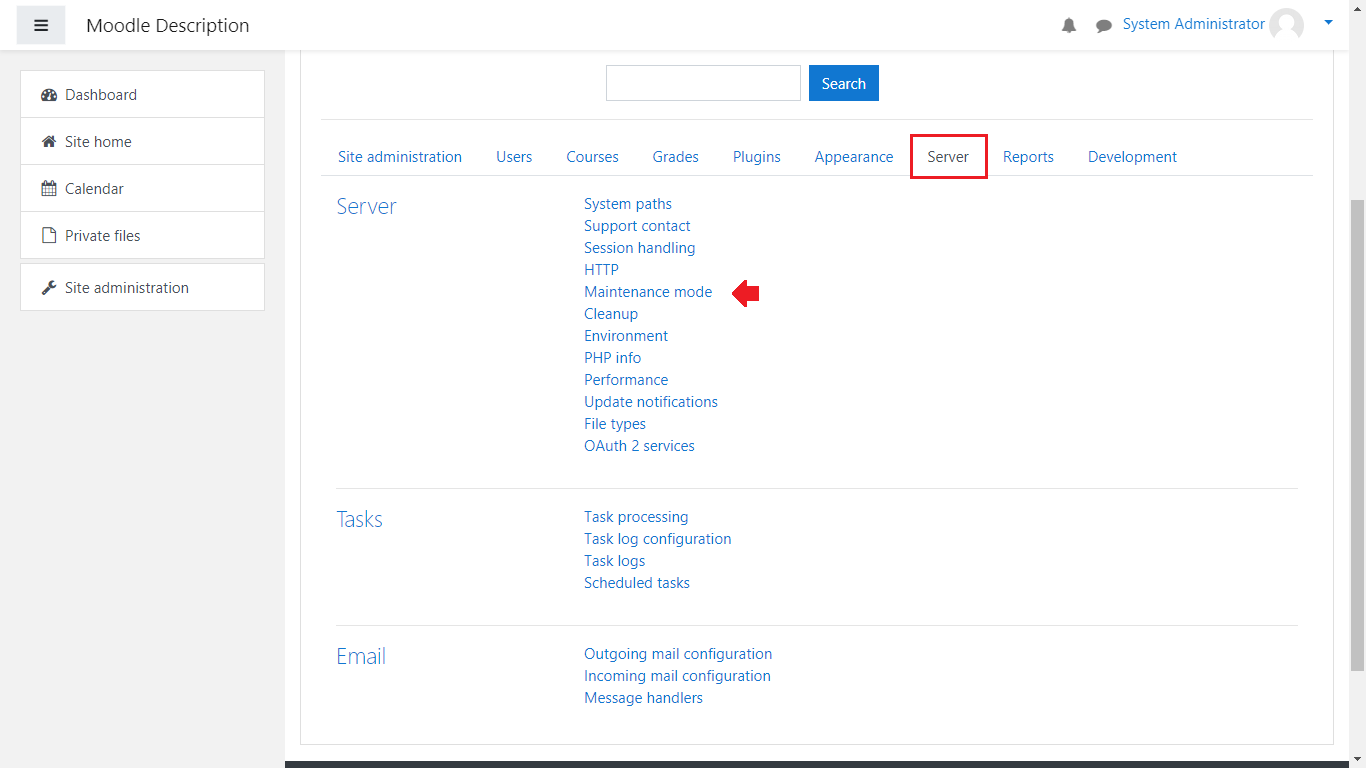
Next, select Site administration > Server > Environment:

Next, from the Moodle version dropdown menu, select Version 3.8:
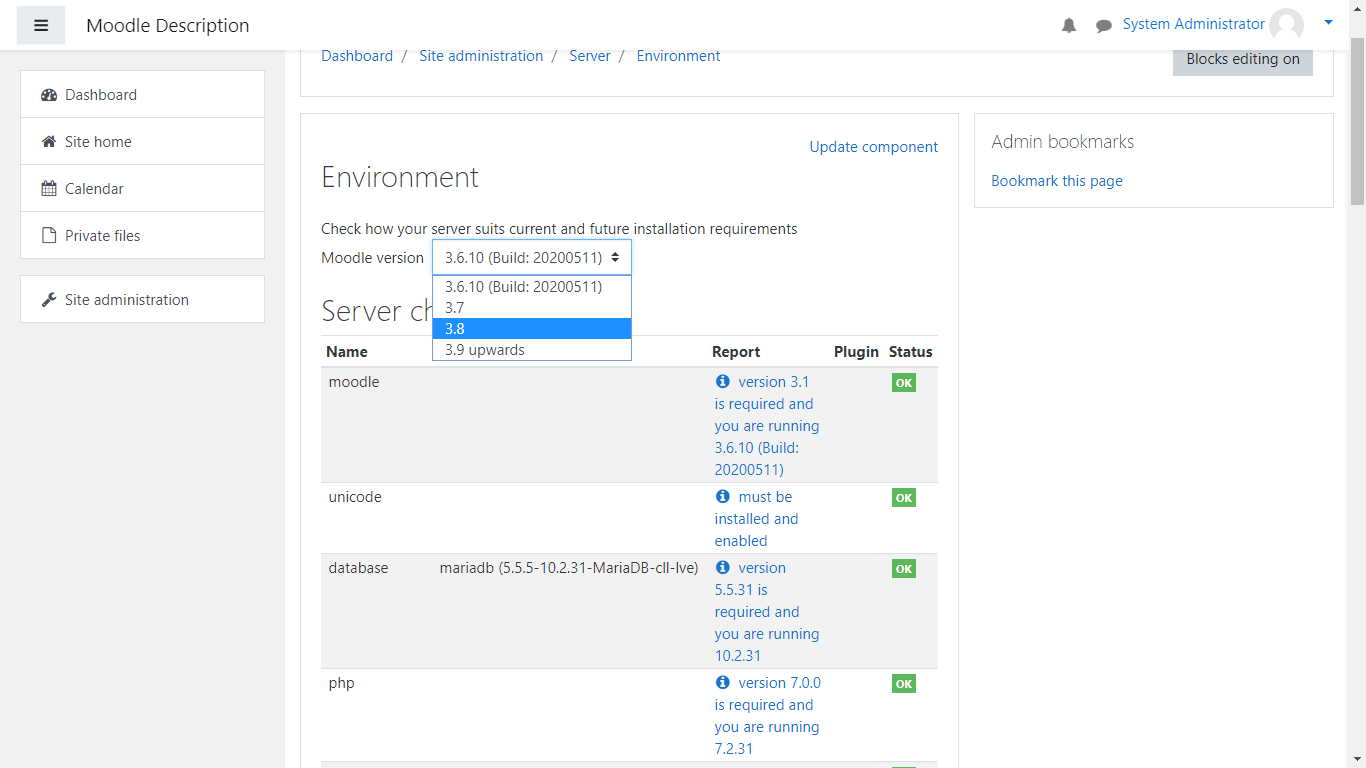
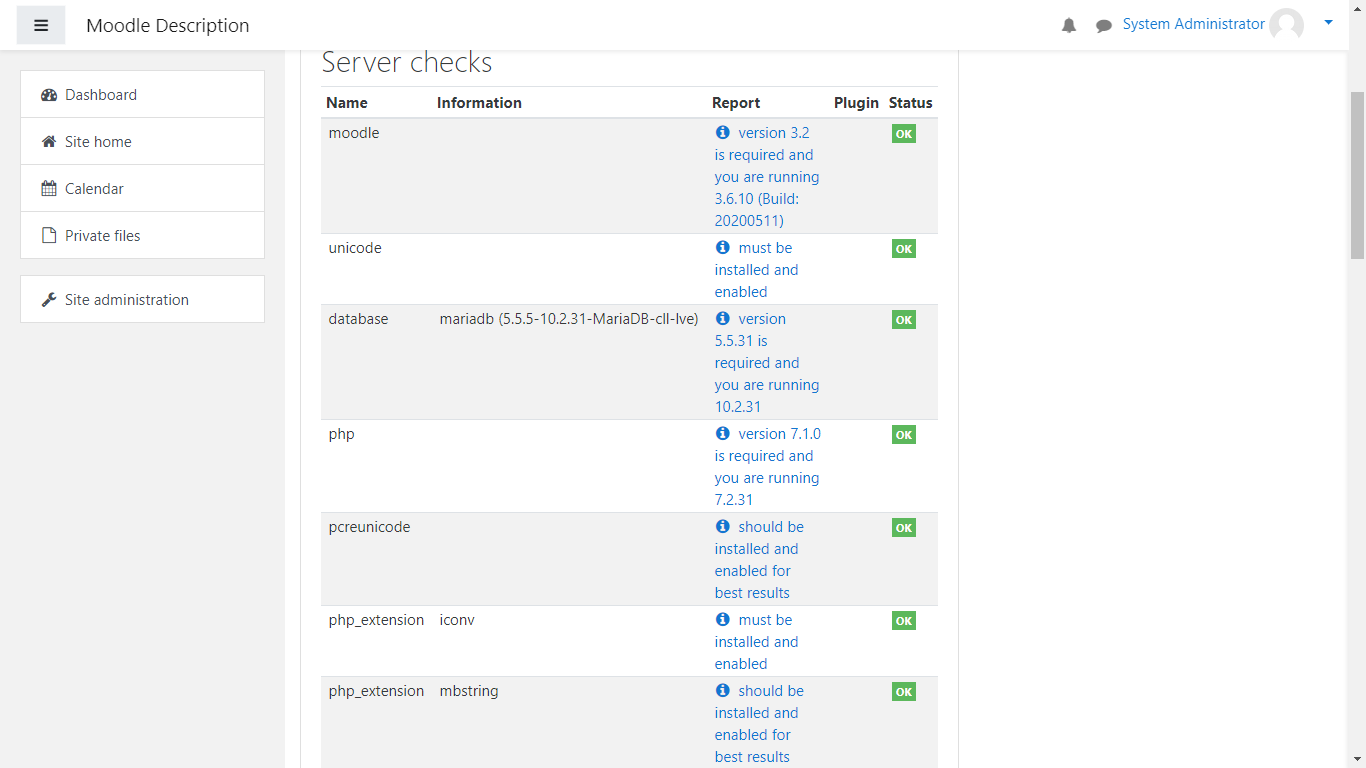
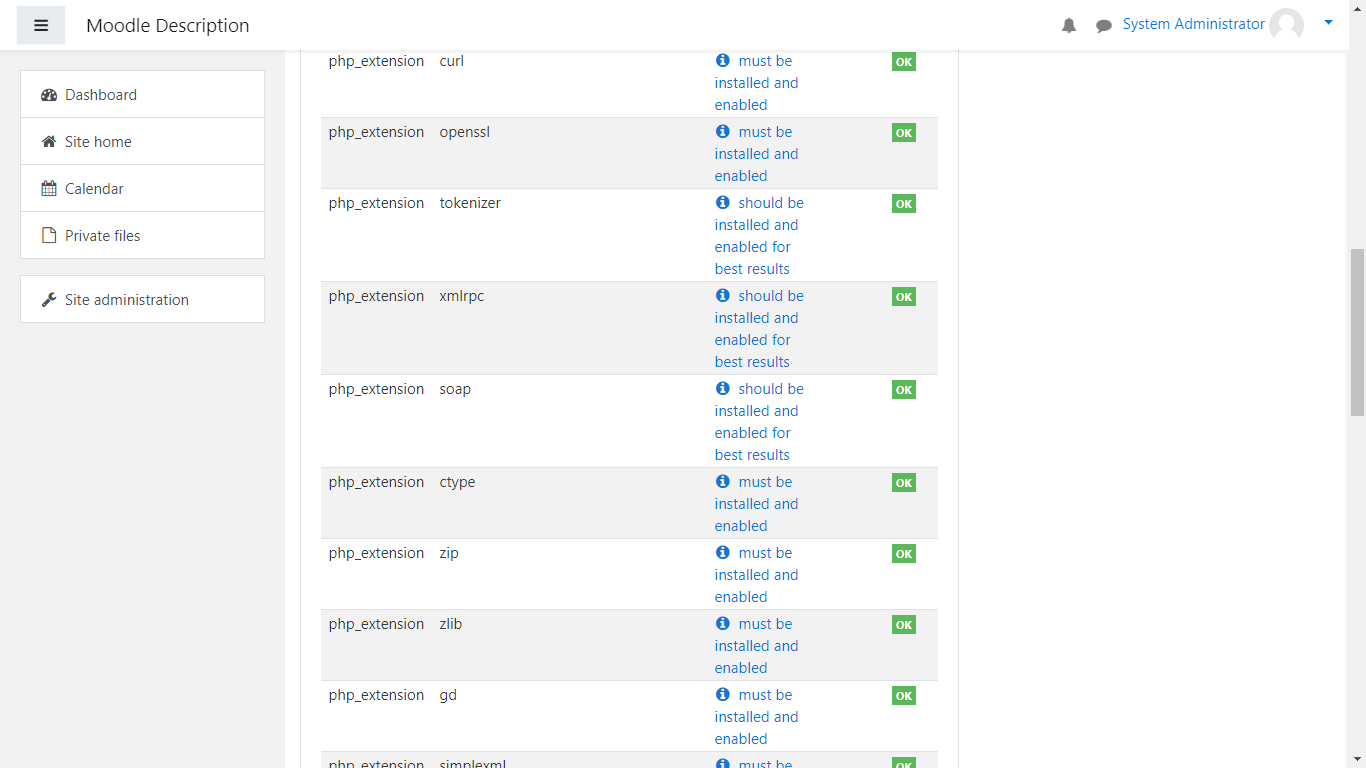
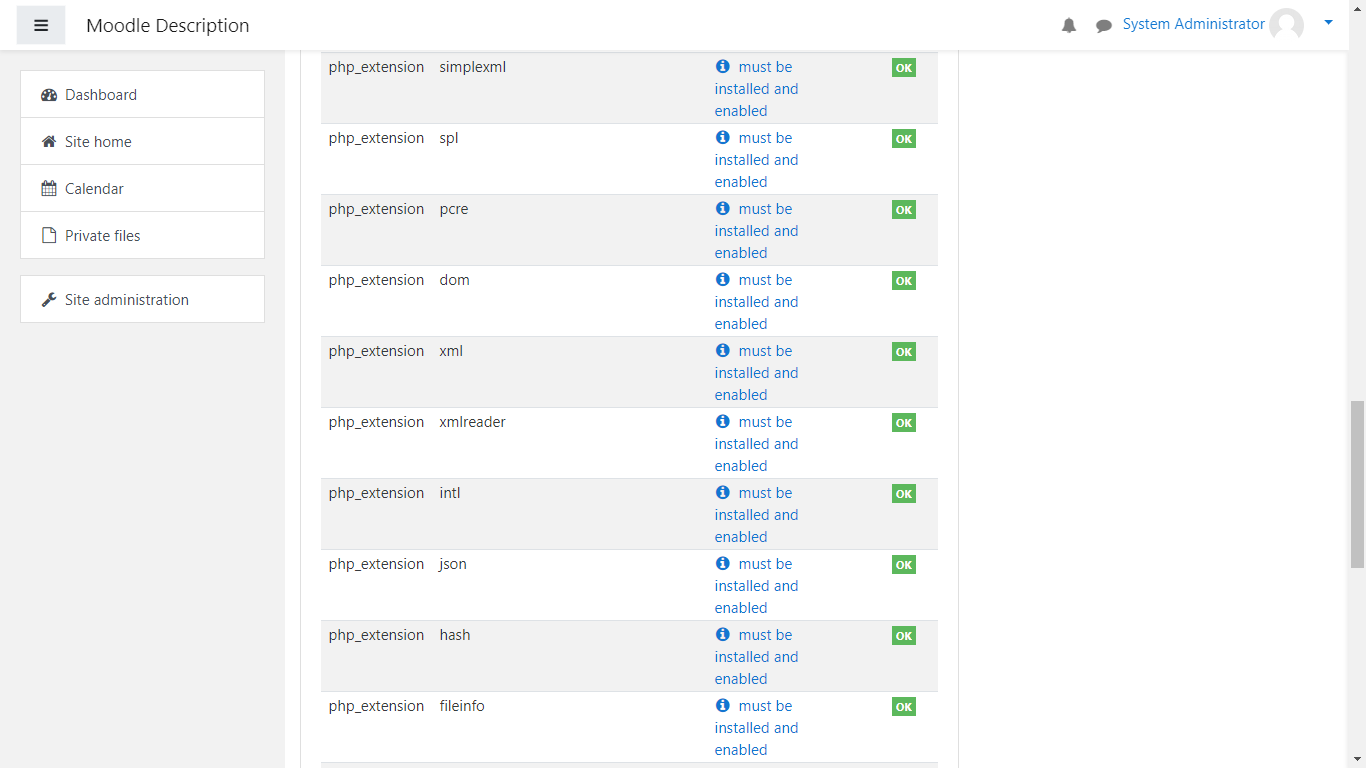
Next, check on all the database, php extension and settings requirements:
-
Enable Maintenance Mode through your Moodle Dashboard
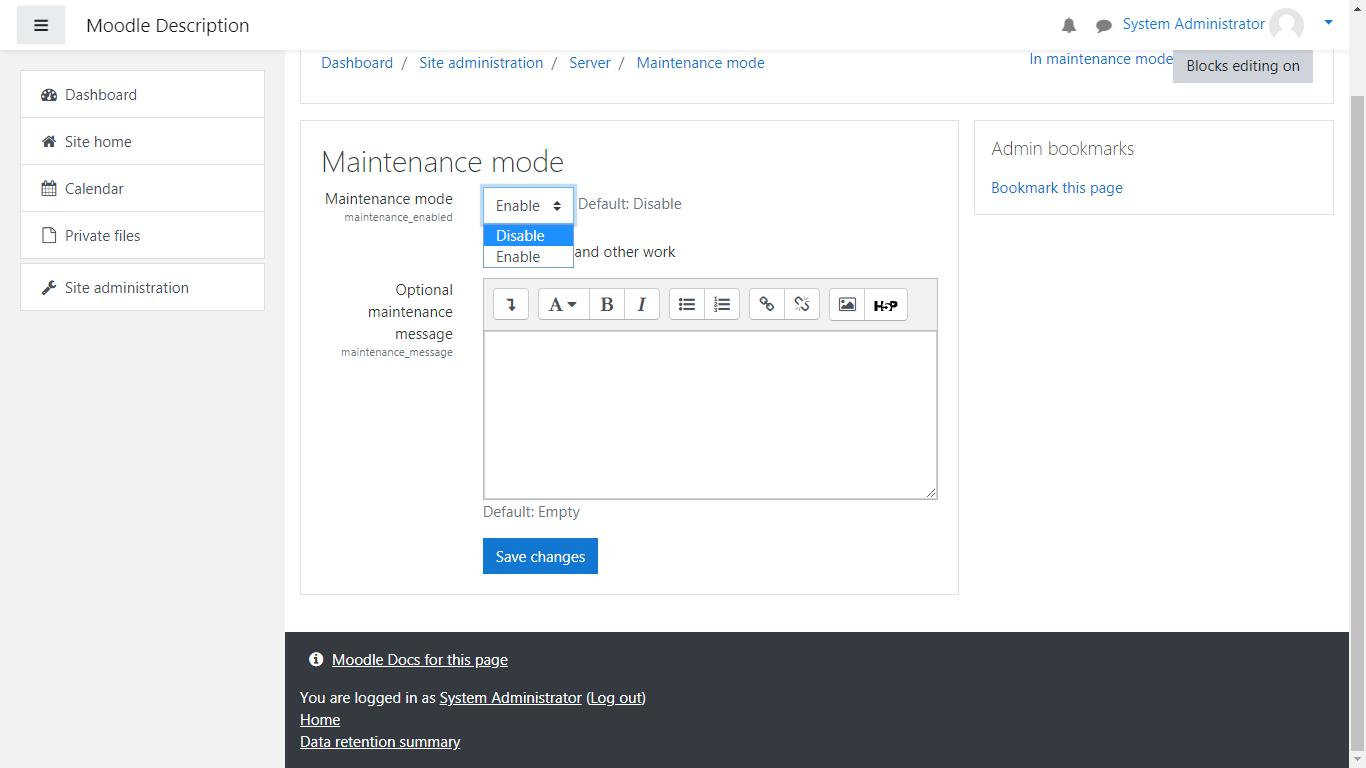
Next, you would need to turn on Maintenance Mode for your Moodle site before you go further with the upgrade. This can be achieved once again from Site administration > Server > Maintenance mode.
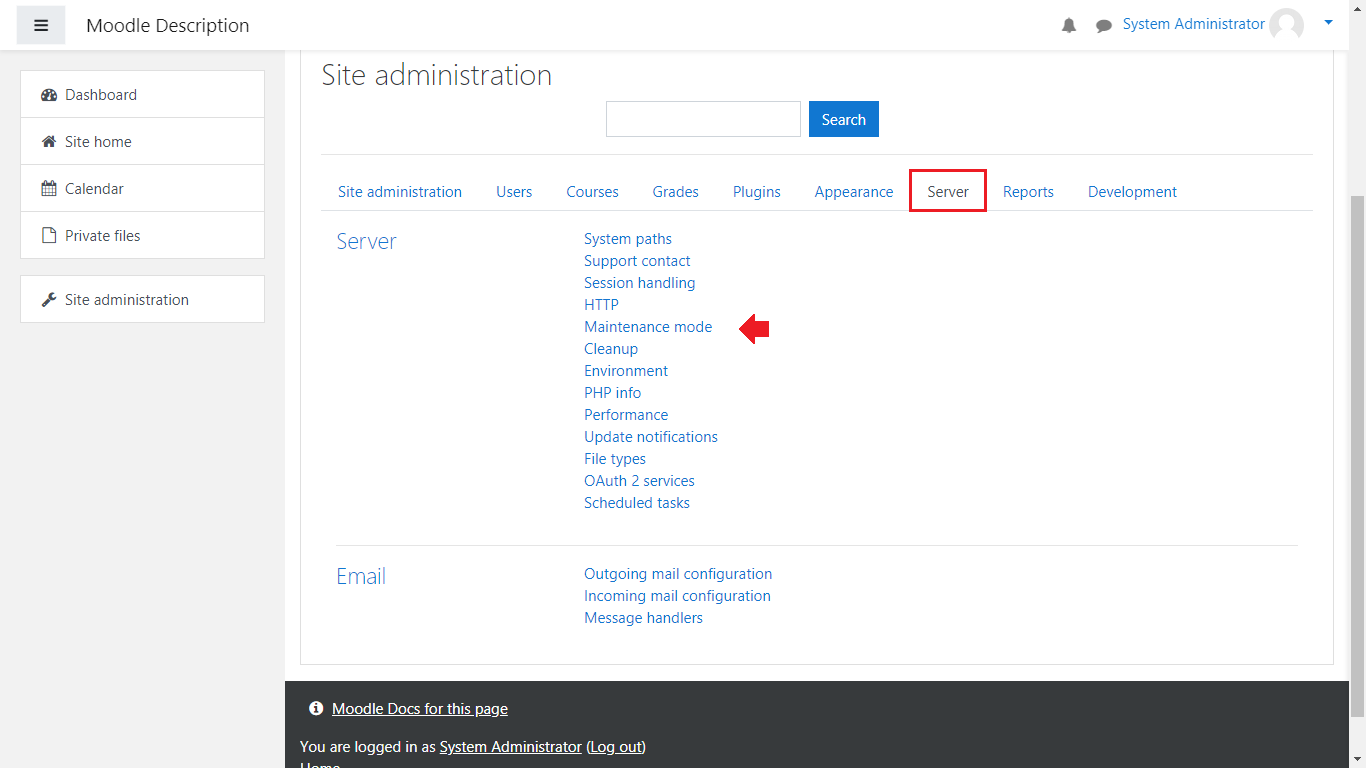
Once you’re there, from the dropdown menu select Enable and click on Save changes:

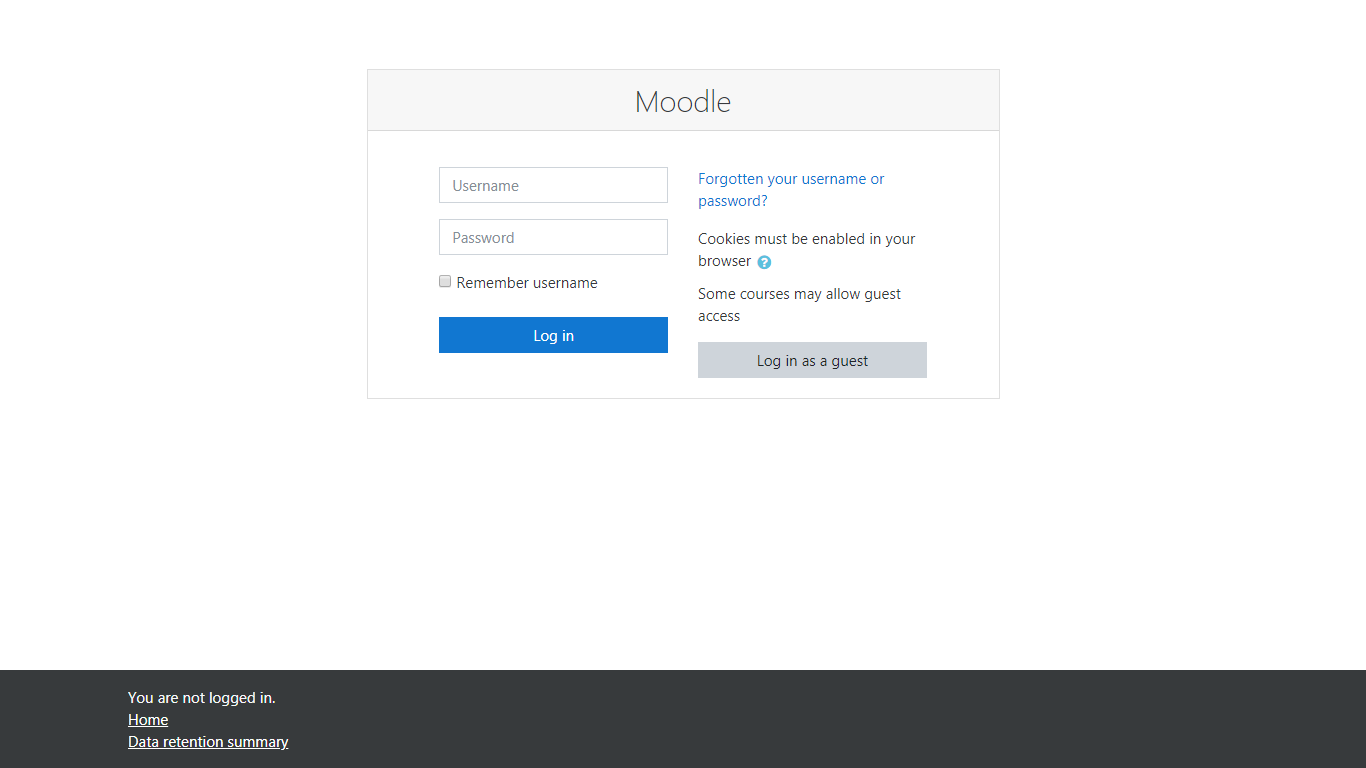
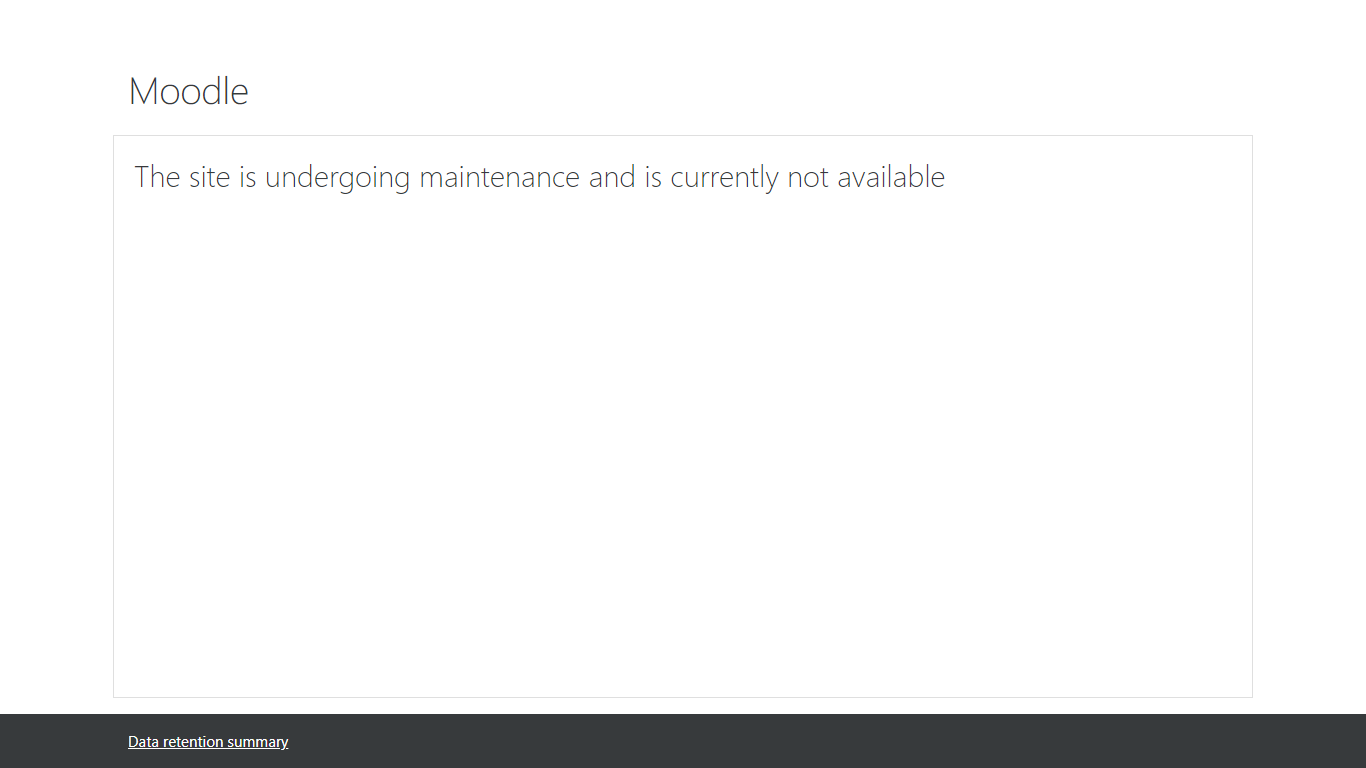
Finally, in order for you to confirm whether or not Maintenance mode is enabled you can either log out of your Moodle Dashboard or go directly to the website through a different browser(for example) where you’ll see the following message:
Now, it’s time to begin the upgrade process.
-
Upgrading to Moodle 3.8
First, download Moodle 3.8 on your local device. You can download it from the following link:
Moodle 3.8 – Official Moodle 3.8.x Download
In this scenario we downloaded the stable version of Moodle 3.8.3+..
The next step is for you to upload the archive to your hosting account
The easiest way is through an FTP Client(such as Filezilla).
The second method is through your cPanel’s File Manager. Go to your website’s directory and click on the Upload button:
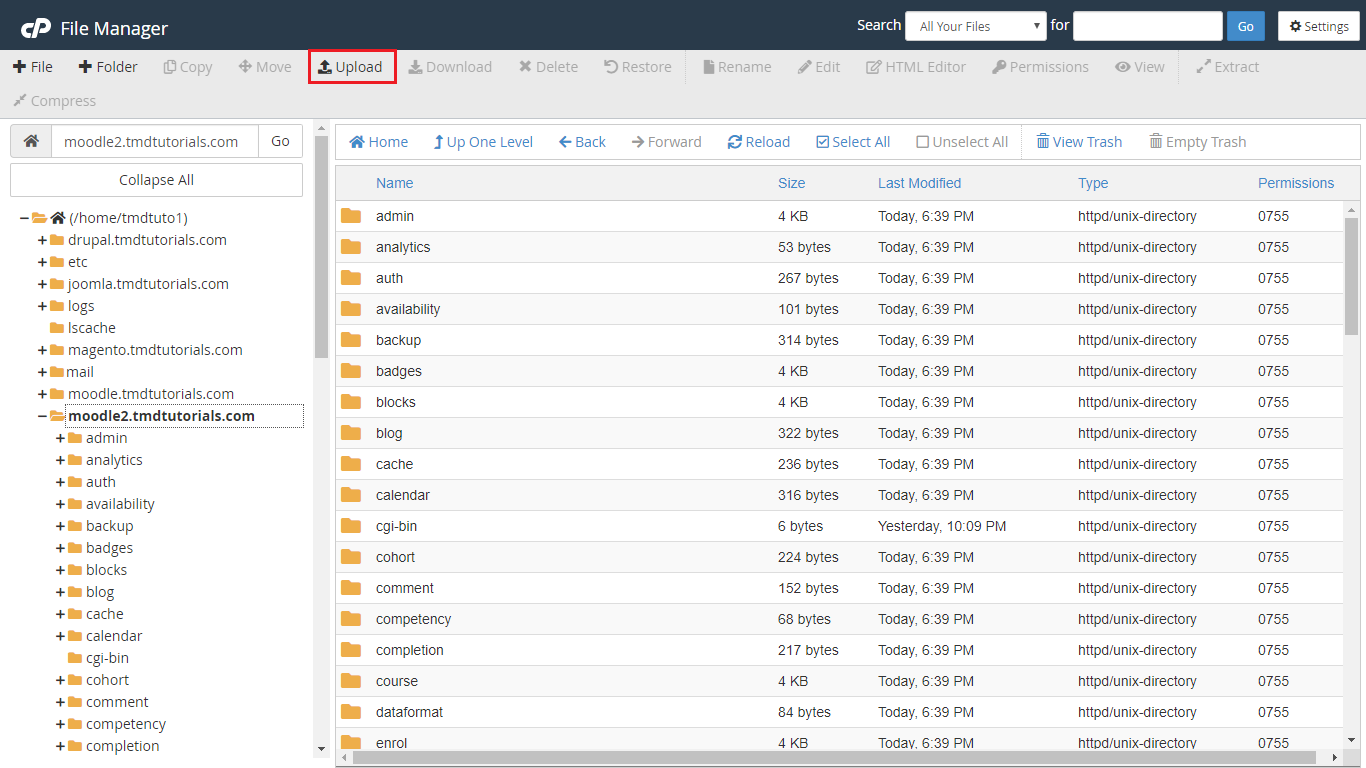
From there, either upload the archive by dragging and dropping it or by clicking on “Select File”

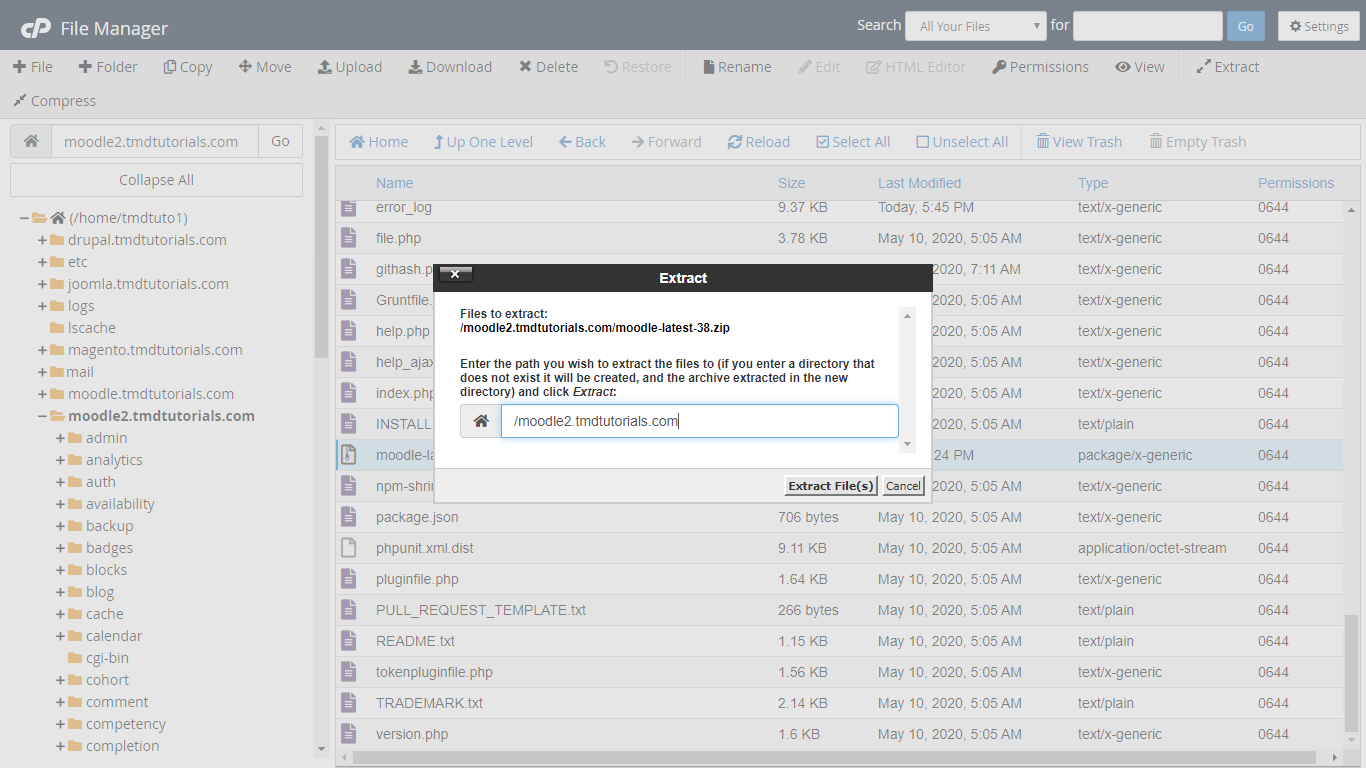
Once it’s uploaded, go back to the directory where your Moodle installation is. Select the archive and click on the Extract button:

Click on “Extract File(s)”.
After it extracts them, locate the newly made moodle directory and open it(by double clicking on it):
Once you’re completely sure all the files have been uploaded successfully, go back to the directory where the old version of Moodle is located and Rename it to something else(for example yourwebsitedirectory.com-OLD.:

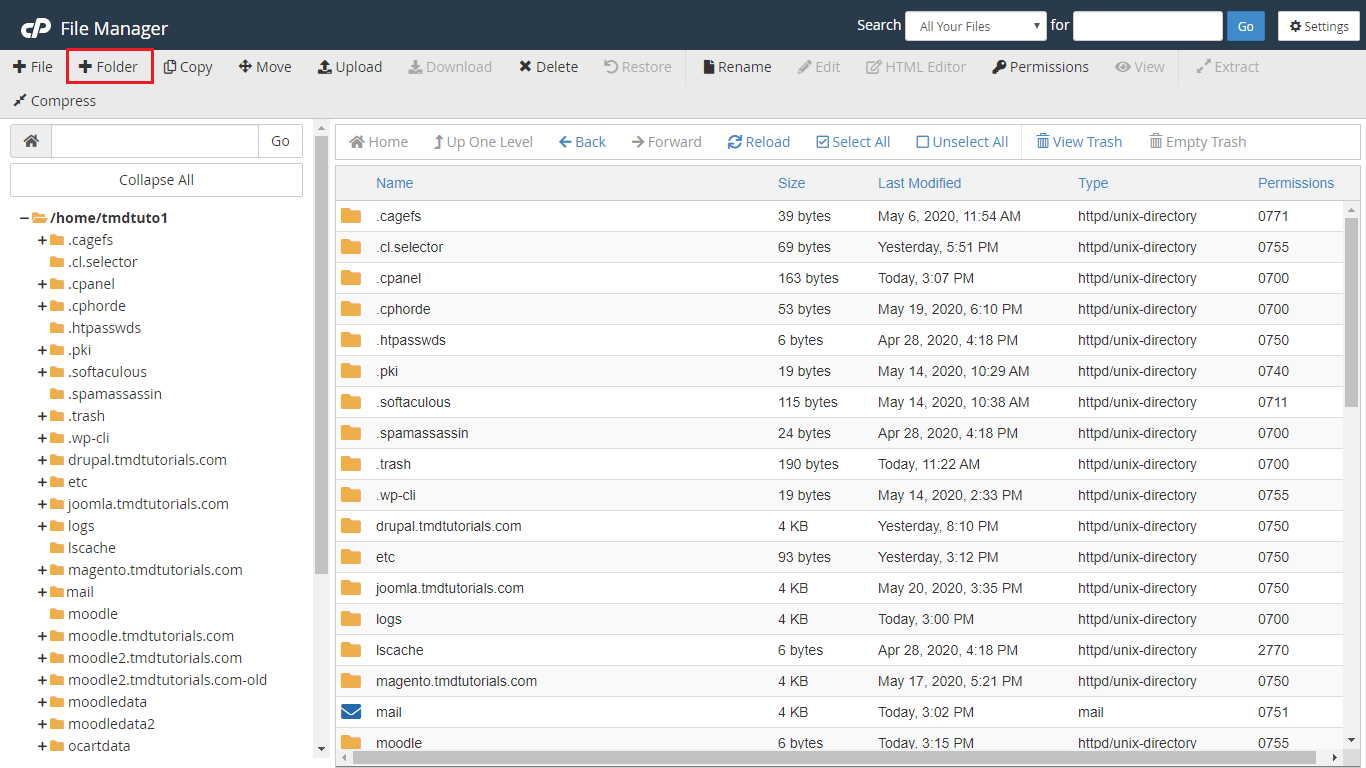
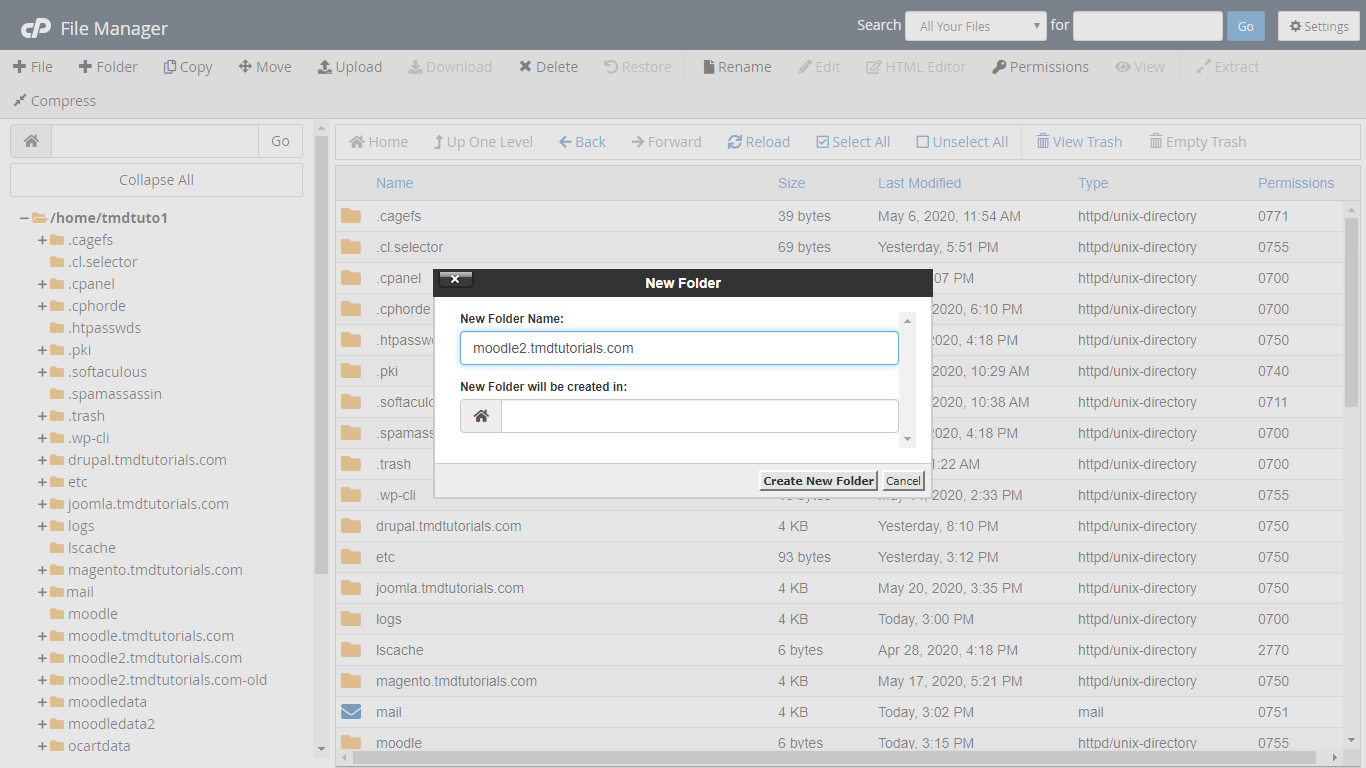
Next, create a new directory with the same name as your original Moodle directory(in our case this is moodle2.tmdtutorials.com):
Click on the +Folder button and create it:
Once that has been done, go back to the moodle directory with the new version’s files/directories.
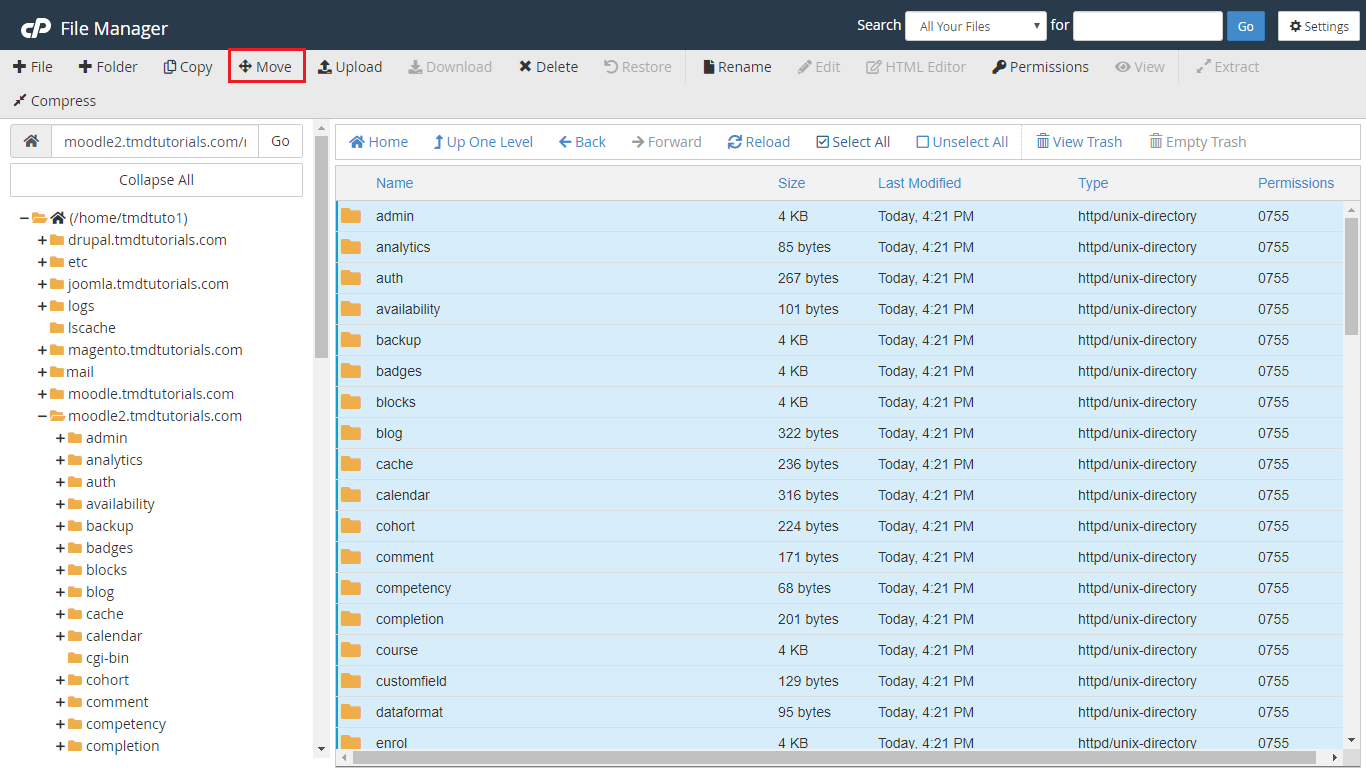
Once you’re in that directory, click on Select All.
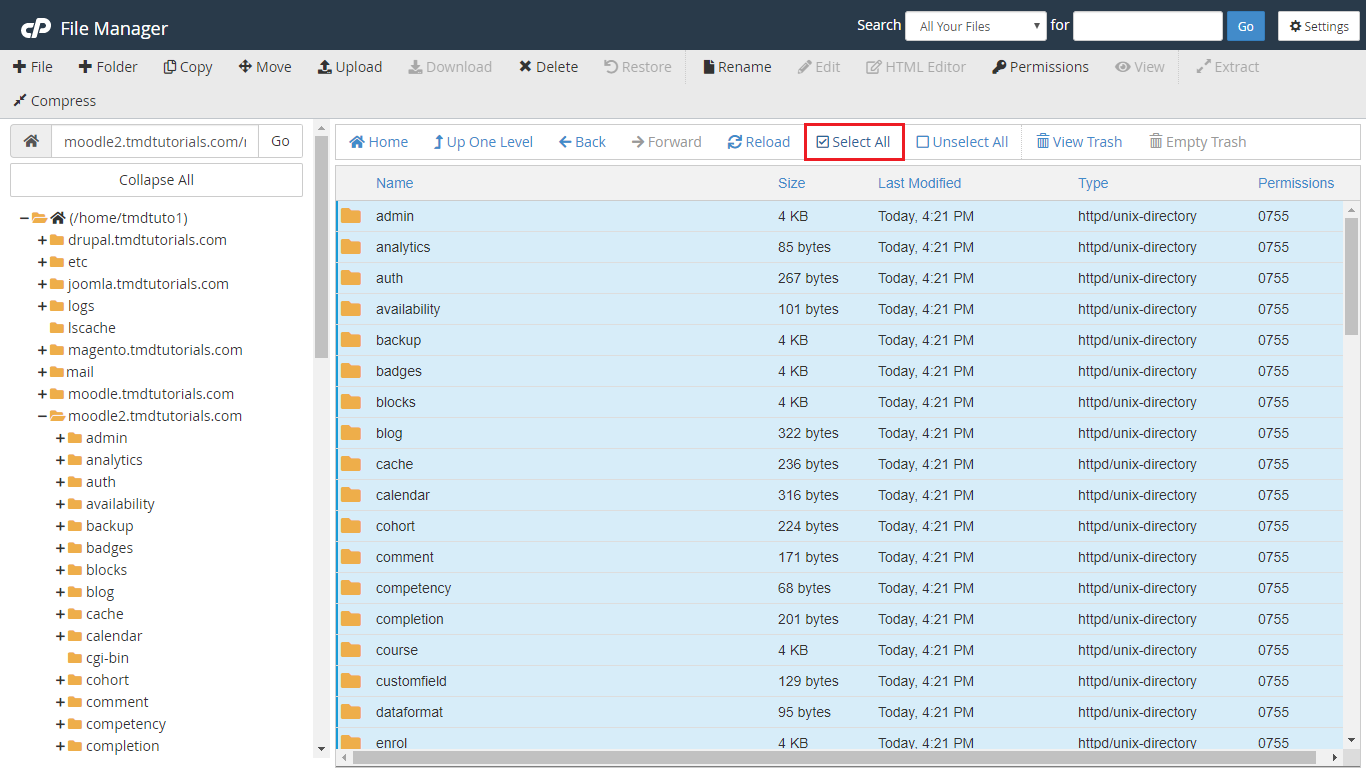
From here, you would need to move all the files to the newly created empty directory(in this case moodle2.tmdtutorials.com):
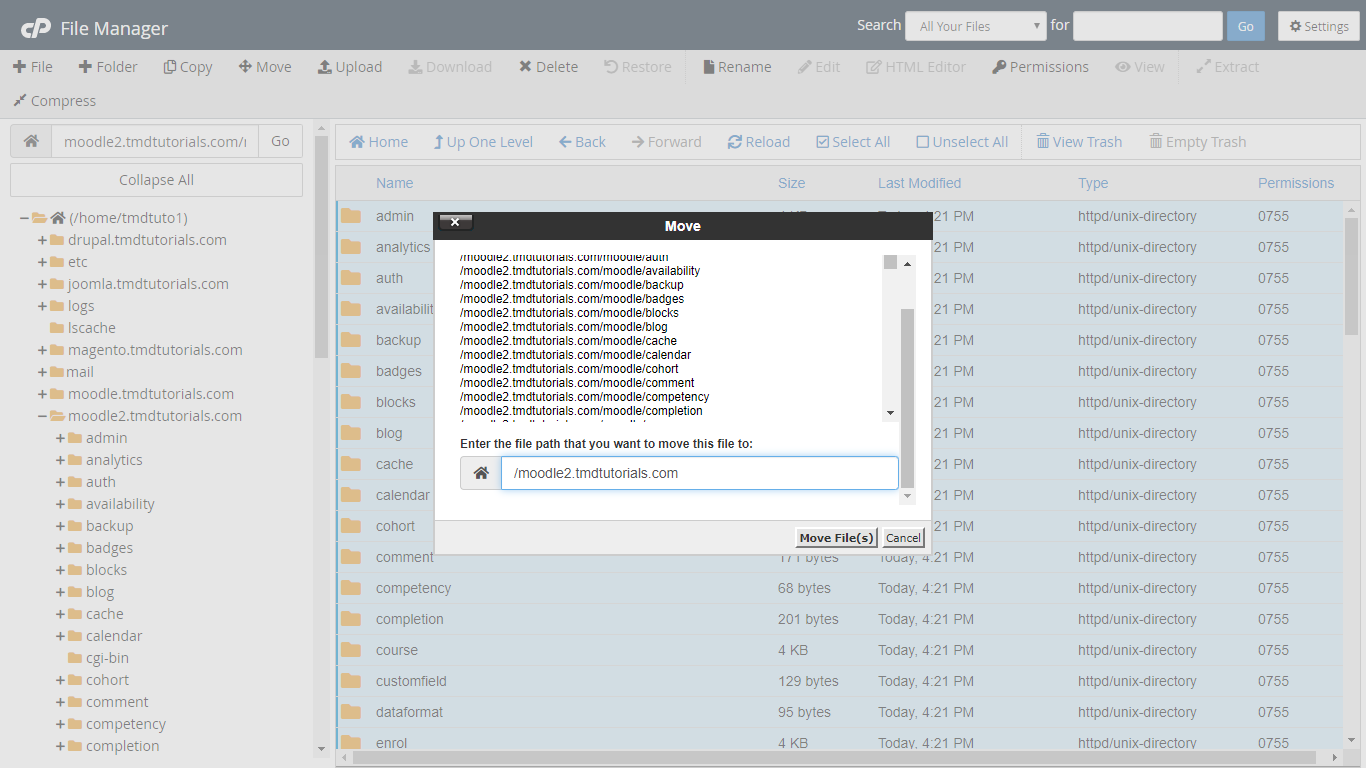
Next, you would need to write the path:
Once you’re ready, click on Move File(s):
Once you’ve moved over the new version files and directories, the last thing you would need to do is copy back some of the old files, which include:
- The configuration file for Moodle(named config.php), which is in your backup archive. This is mandatory and the config.php file should be placed in your Moodle directory after you’ve replaced all files/directories.
- The previously installed plugins/themes(if you have any installed)(Note: You would need to review these and see whether or not they are supported in the Moodle version you are upgrading to).
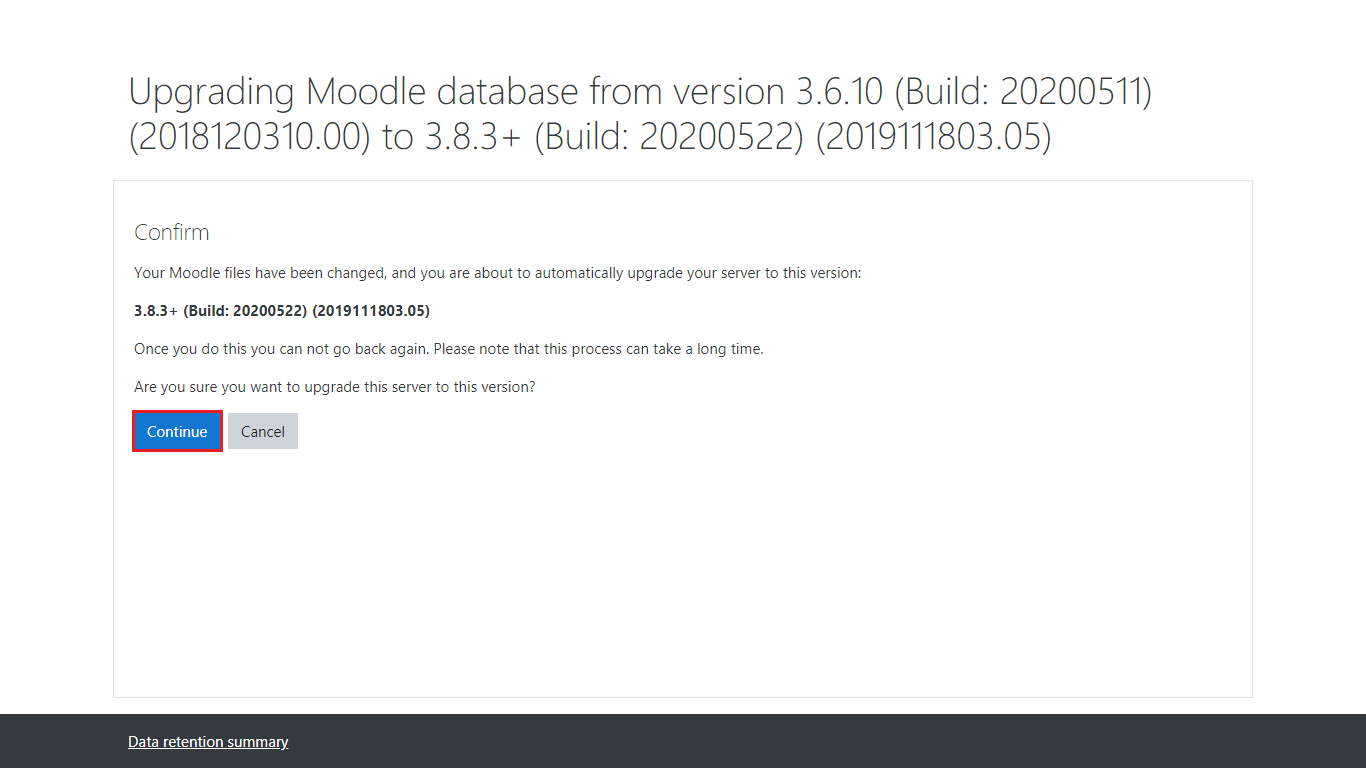
Finally, go back to your Moodle Dashboard login area, where you’ll be met with the following page:

Click on Continue and the upgrade process shall begin:
You will once again be met with the requirements page, where you would need to review whether or not you cover the requirements:
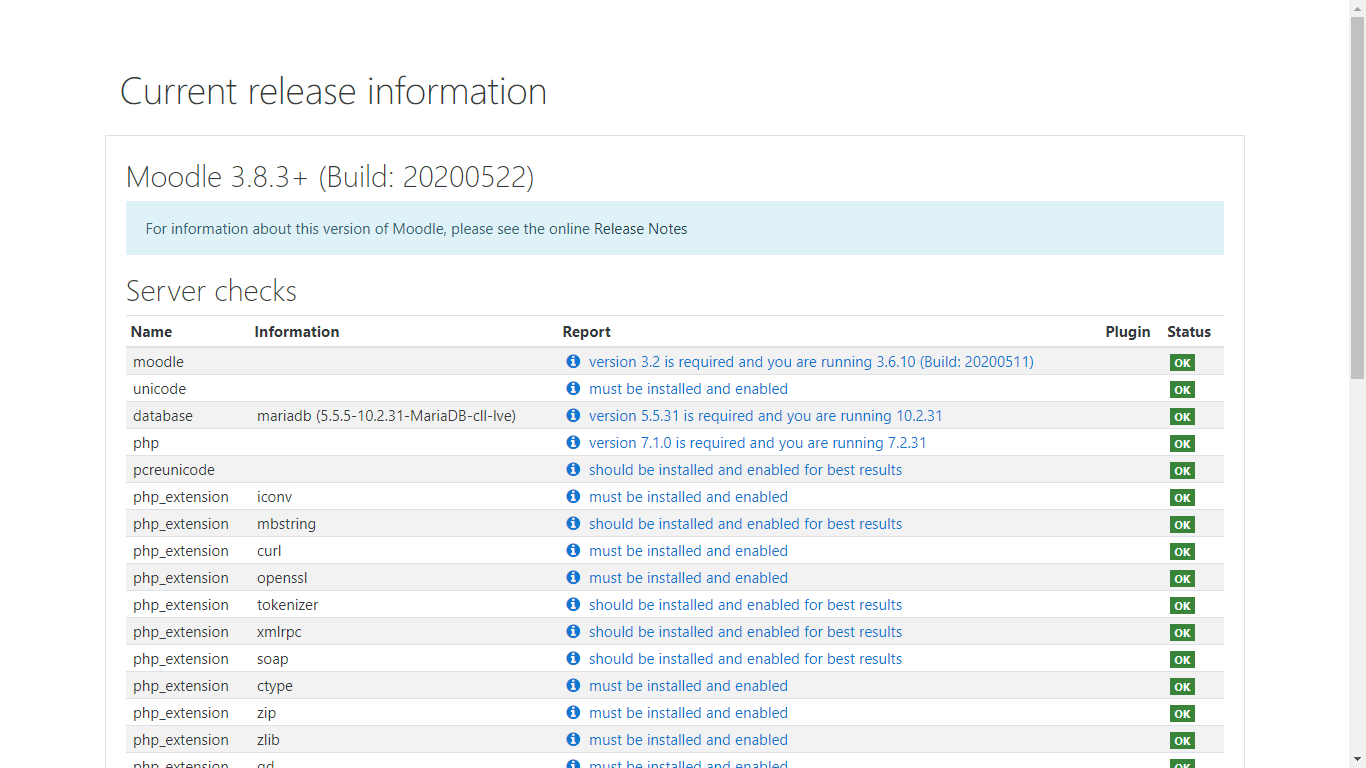
Once you’re ready, click on Continue
Next, you will need to check and see whether or not the plugins need to be upgraded or not.
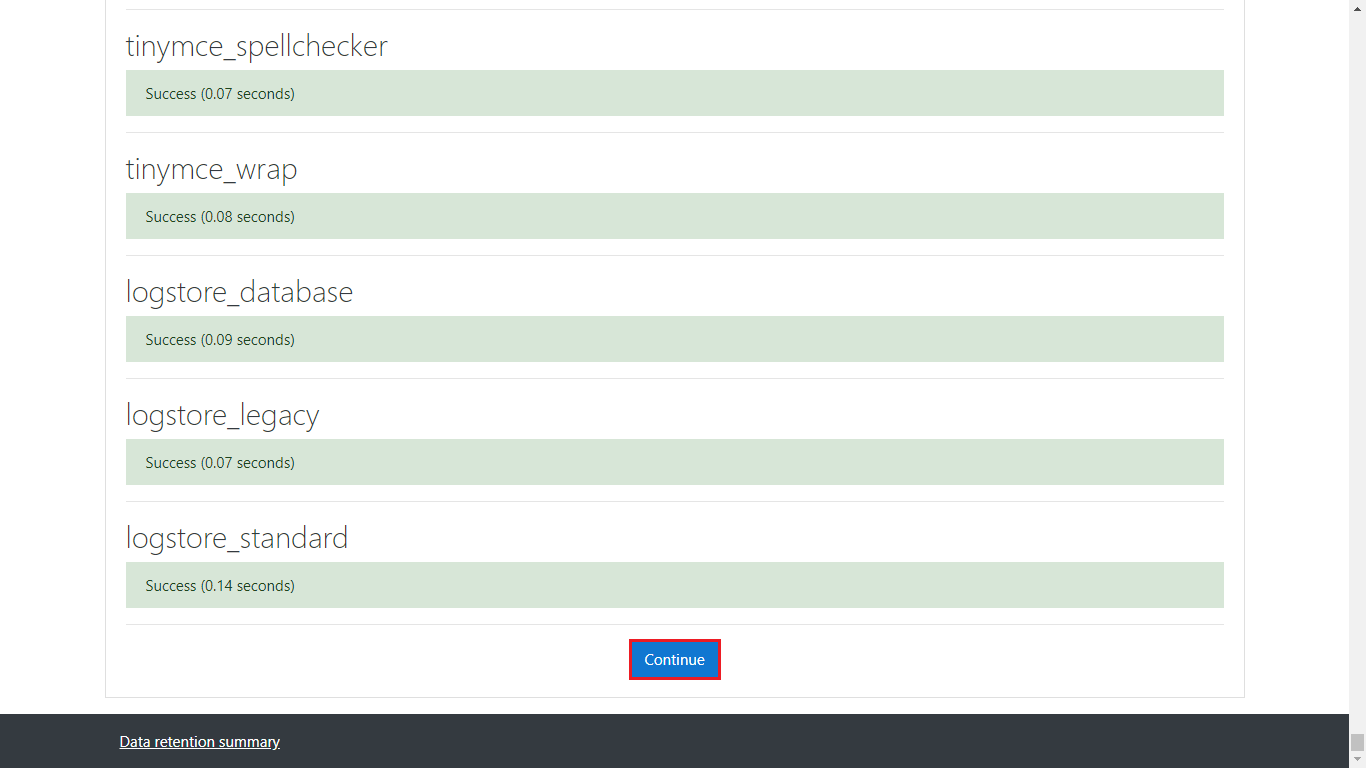
Finally, you may begin the upgrade procedure, the page shall look the following way:
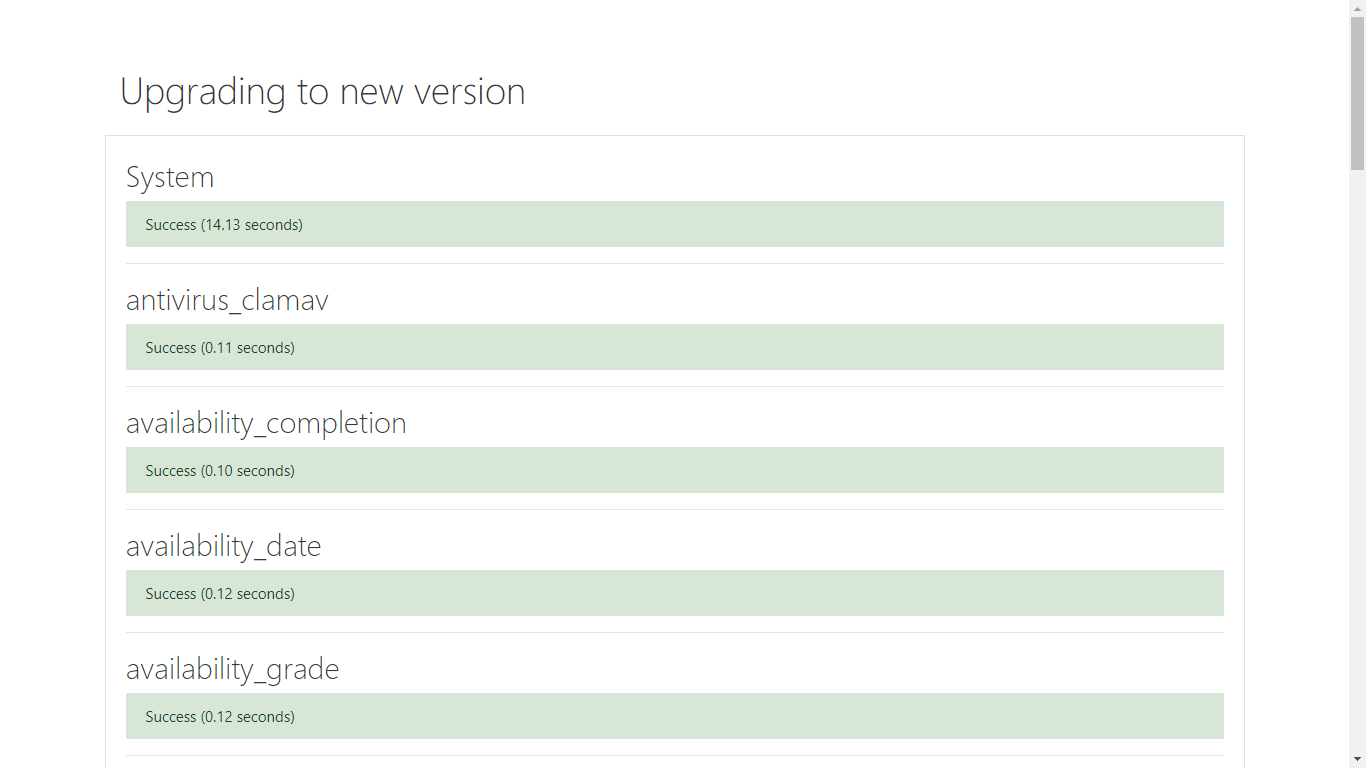
(Note that it may take some time for the upgrade to finish, once it does however a Continue button will appear on the bottom of the page, which you would need to click):
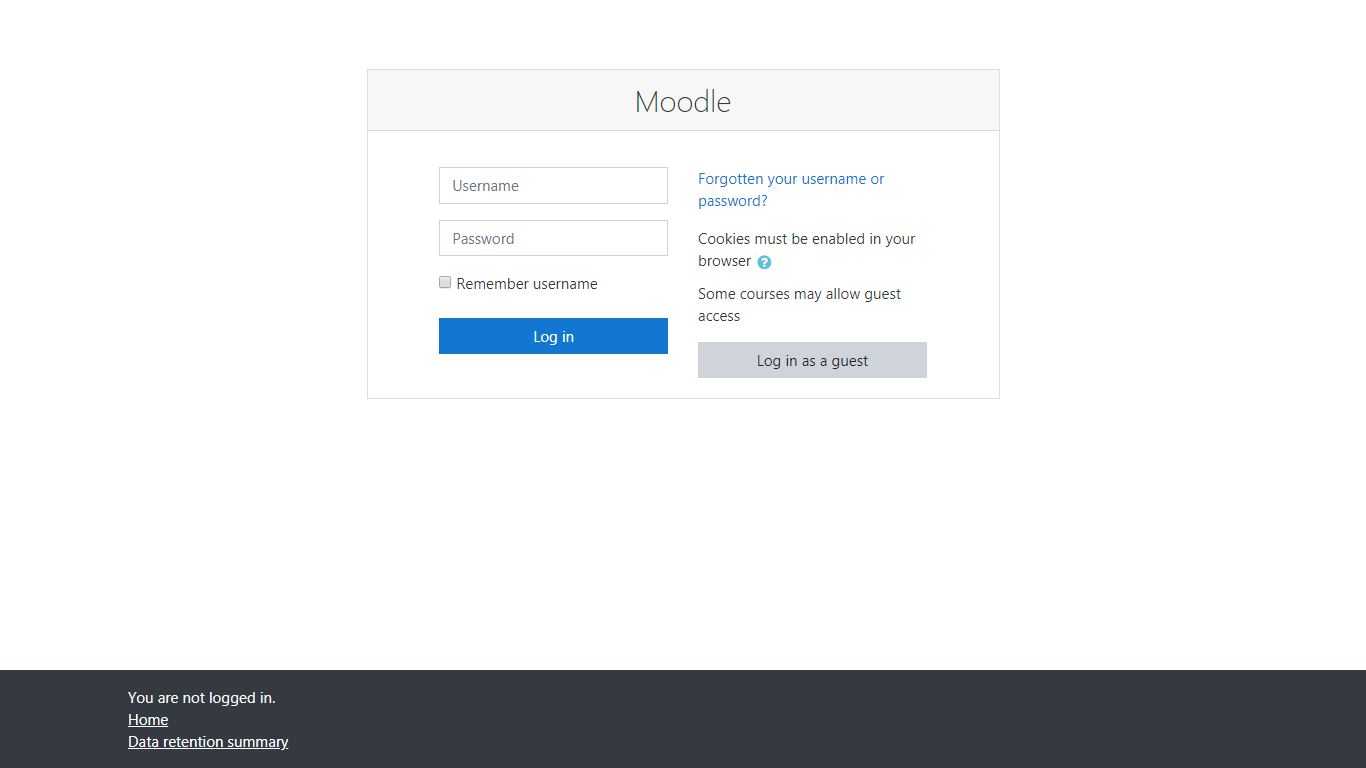
Once you click on it, you will be taken to your login page:
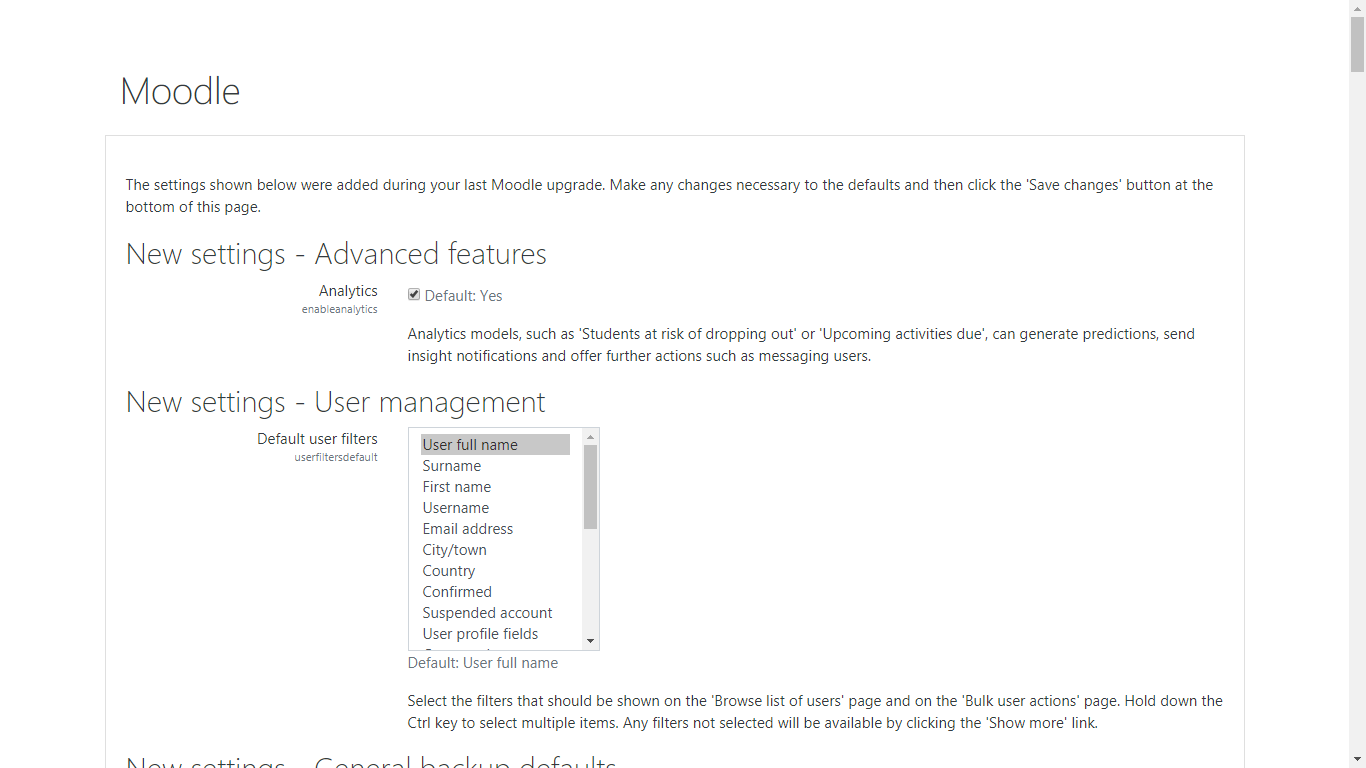
Once you log in, you will be taken to a page informing you of the recently made changes after the Moodle upgrade process. You would need to change these to the way you prefer and once you’re ready, scroll down to the bottom of the page and click on Save changes:
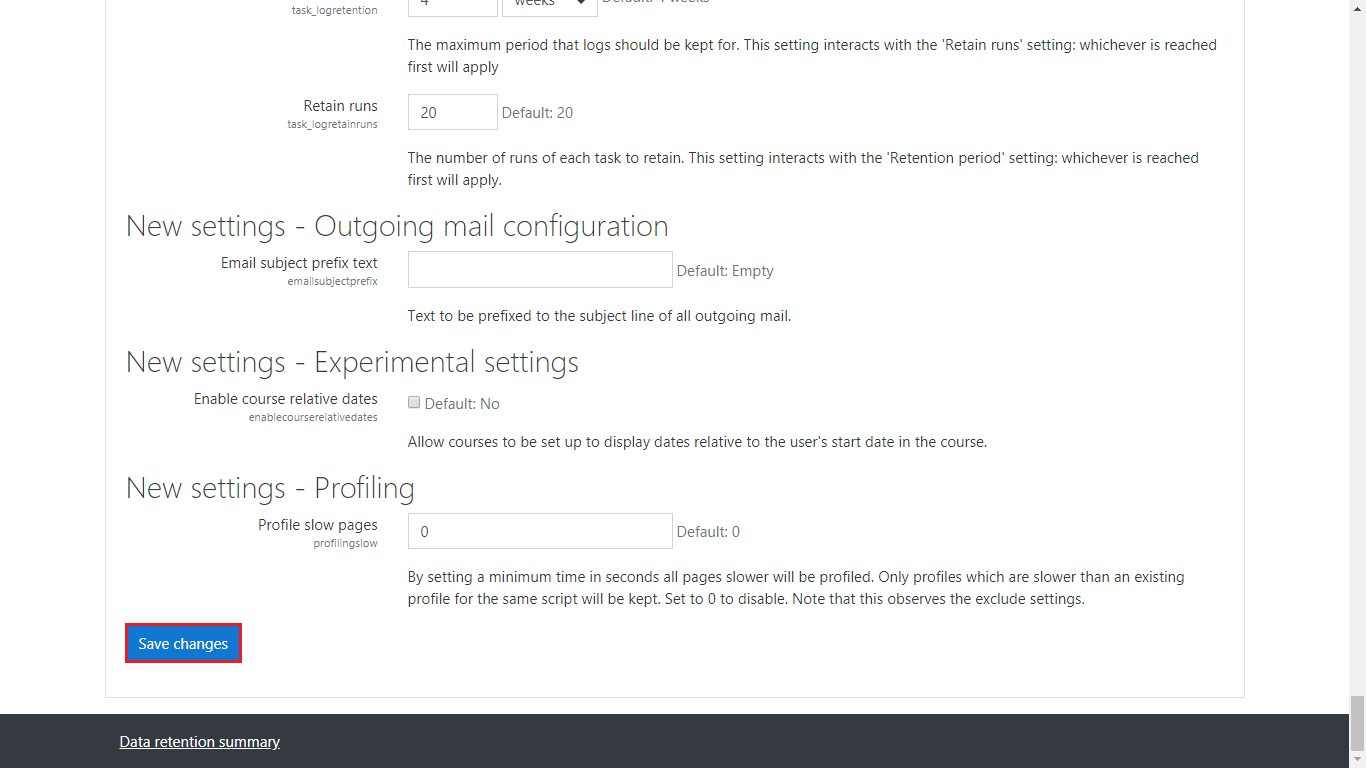
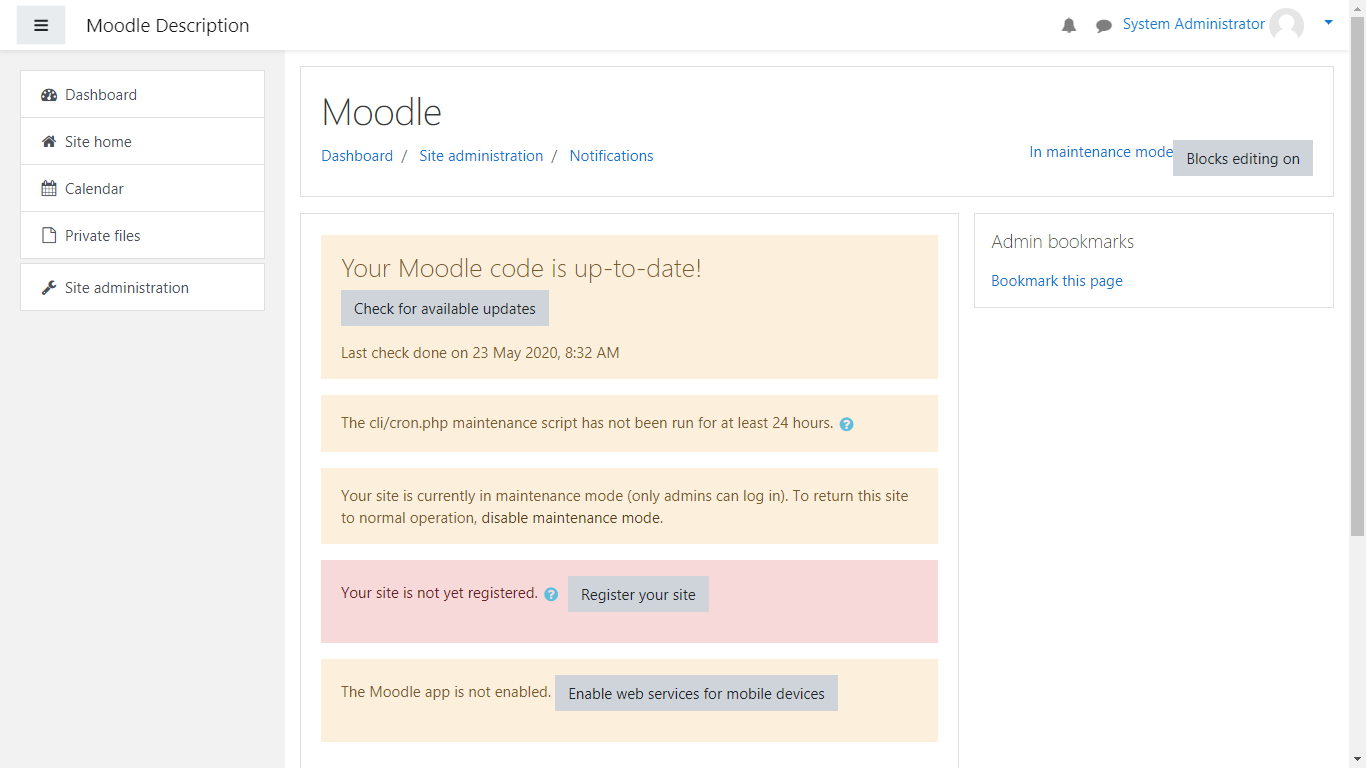
Once you’ve done that, you’ll be taken to your Notifications page, informing you that your Moodle is up to date and the upgrade is successfully completed:
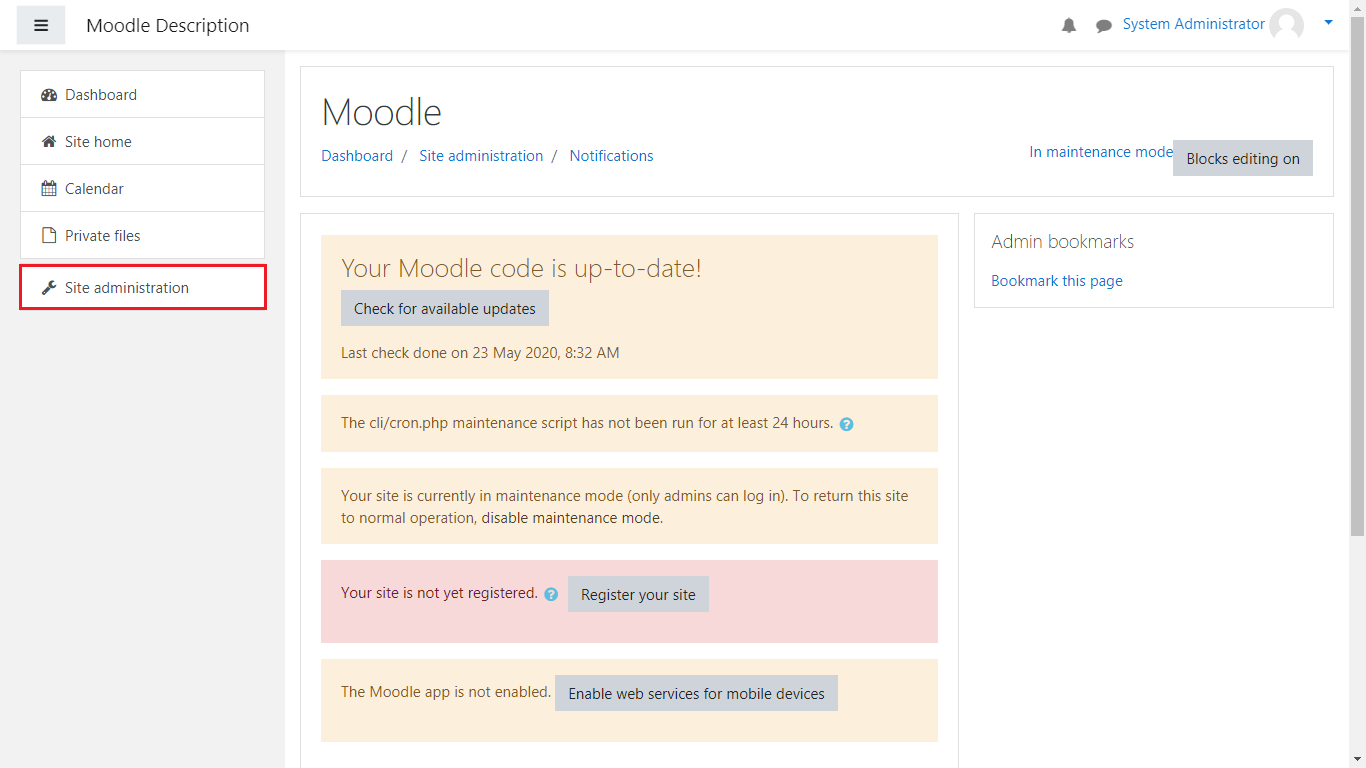
The last thing you would need to do is disable Maintenance mode by going to Site administration > Server > Maintenance Mode:
From the dropdown menu select Disable and click on Save changes:
Once you’ve done that, your website will become accessible to everyone and your Moodle will be working under the new version for everyone. Congratulations, you’ve upgraded your Moodle. We hope this article will help you in upgrading your Moodle!