 Skip to content
How to customize your Moodle dashboard.
In this article we shall discuss the way the Moodle dashboard can be customized to suit your needs and personal preference.
Before we begin, you would first need to access your Moodle Dashboard(by default, the URL of the Moodle Dashboard login page will be https://yourdomainname.com/admin, however this can be altered as well):
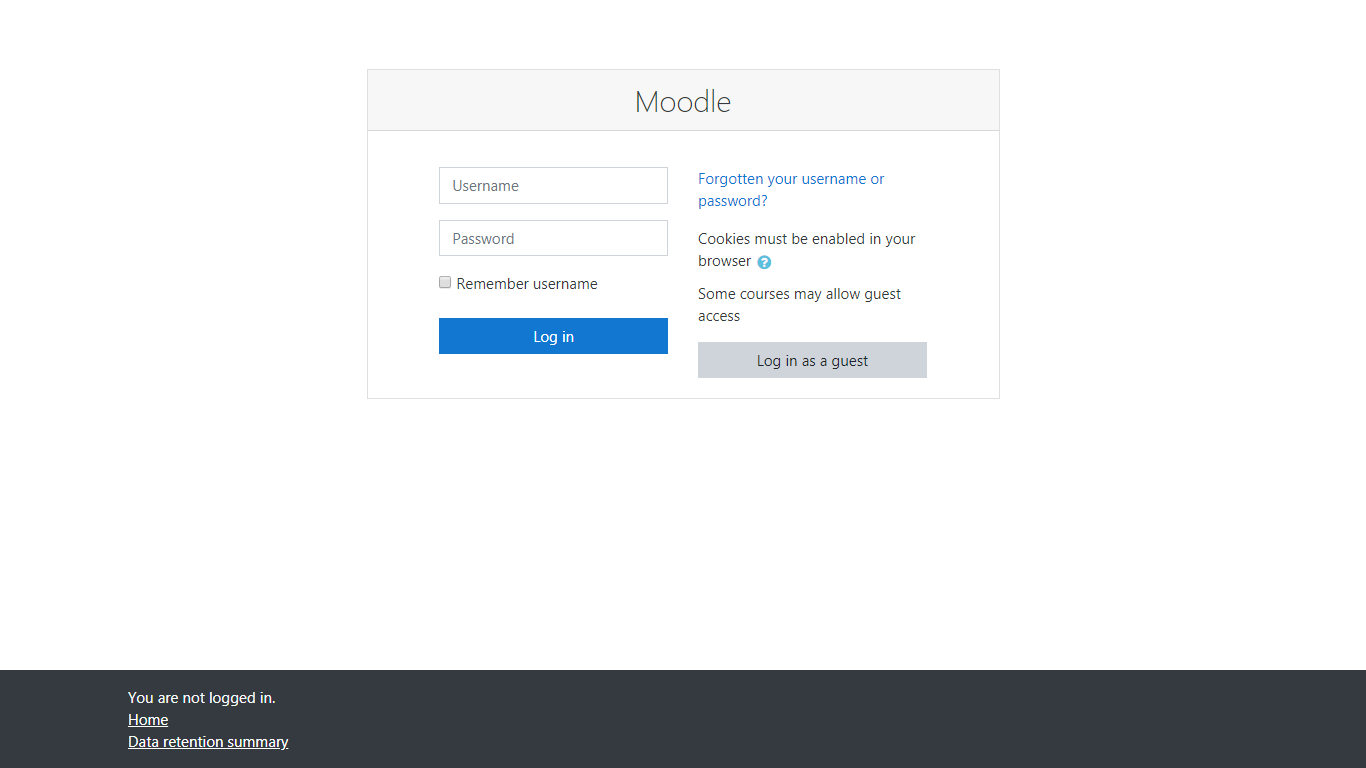
Once you’ve written down your Username and Password just hit “Log in”.
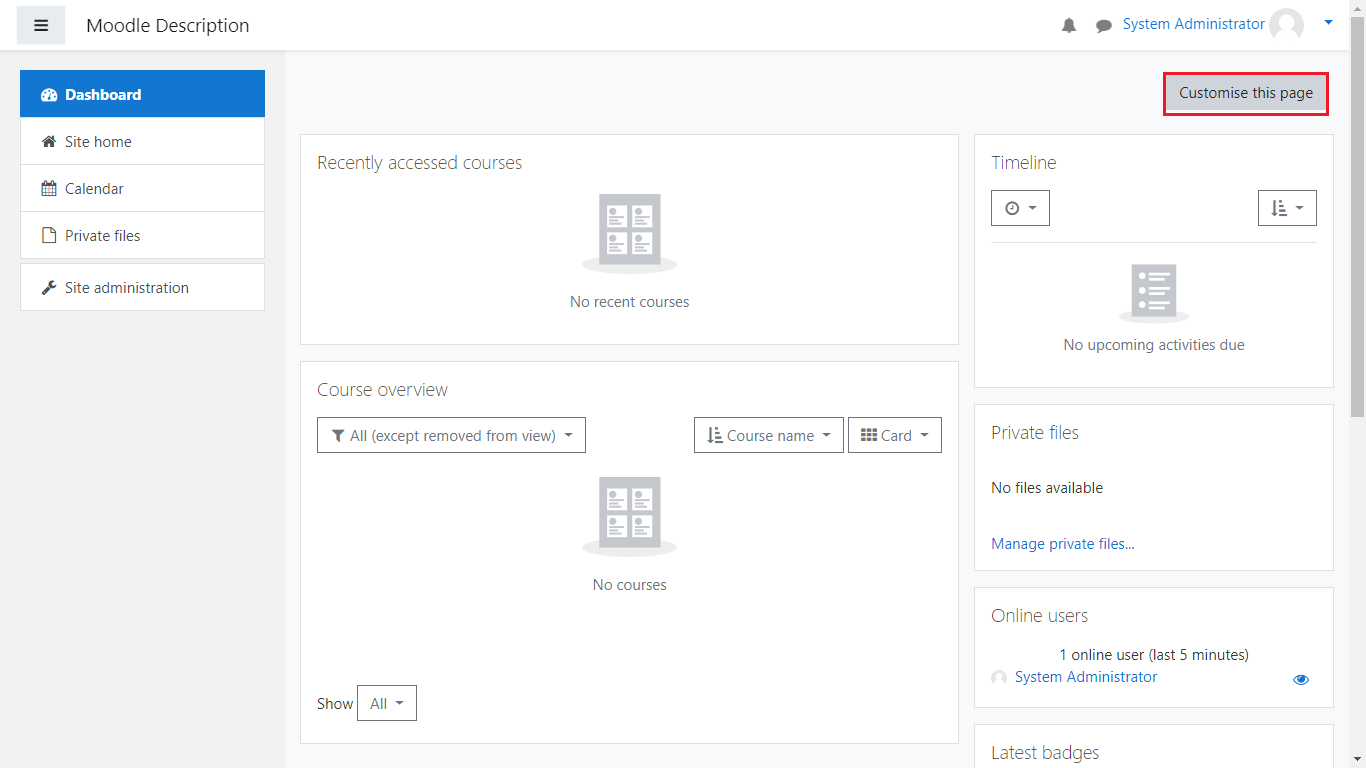
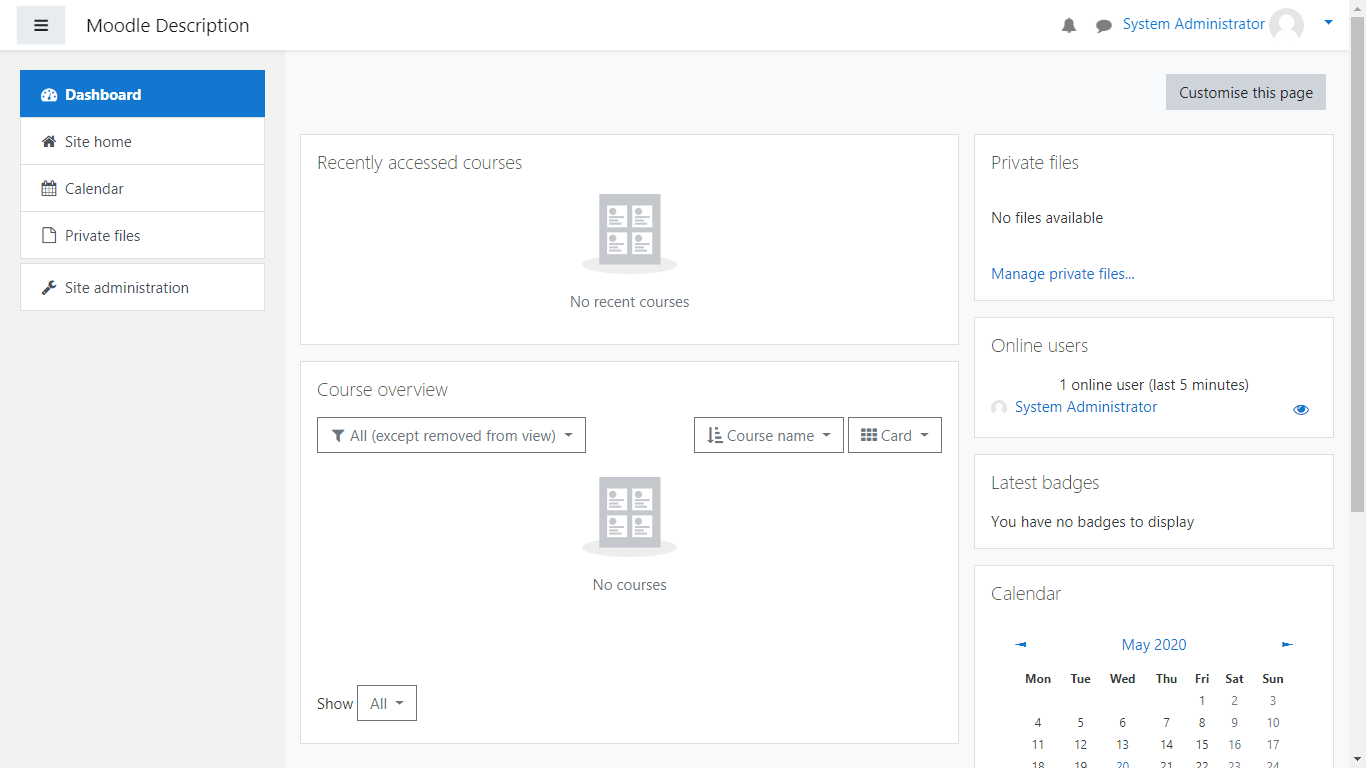
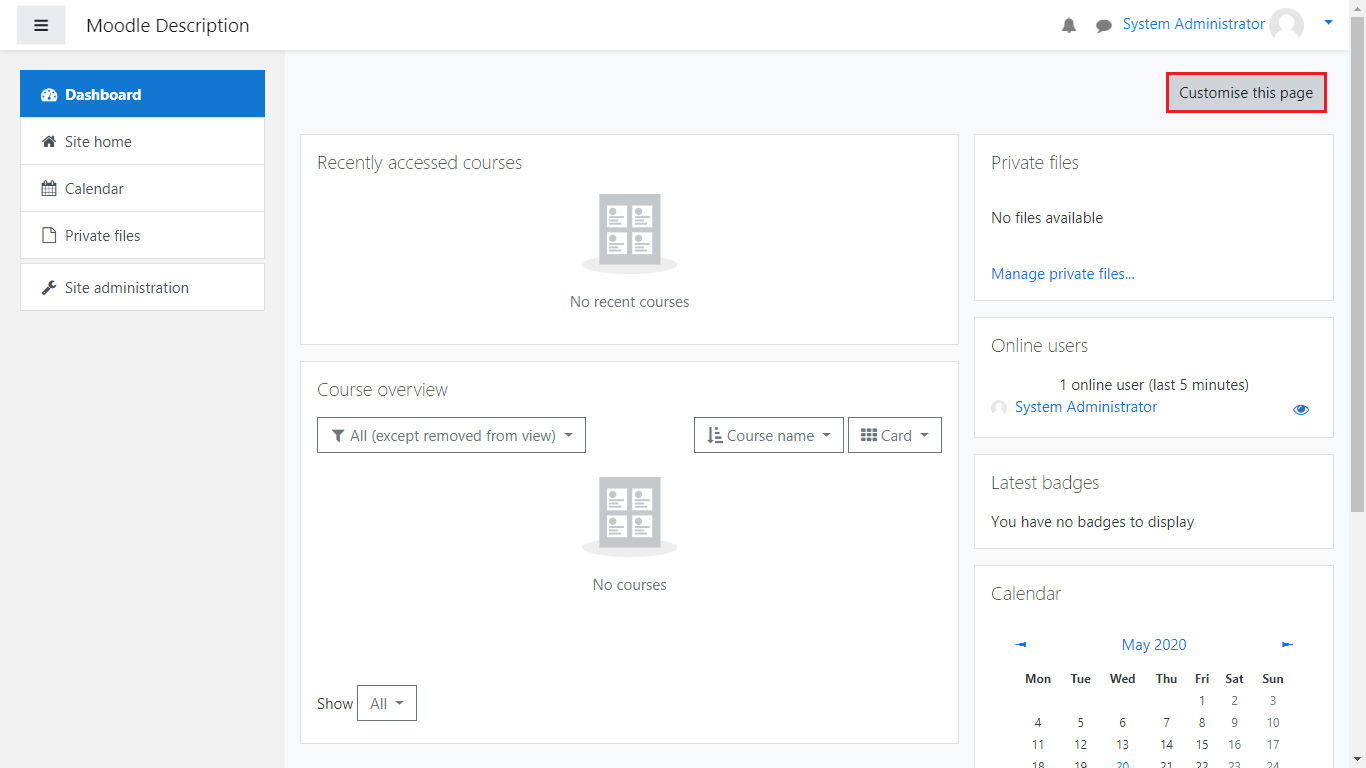
After logging in, you will be greeted with the following page. From here, you may begin customizing your Dashboard. On the right hand side of the Dashboard page, you will see a “Customise this page” button. Clicking on it will allow you to begin customizing your Moodle Dashboard.

Once you’ve clicked it, you will notice a few buttons appearing on the Dashboard blocks(more specifically a cog and a four direction arrow icon).
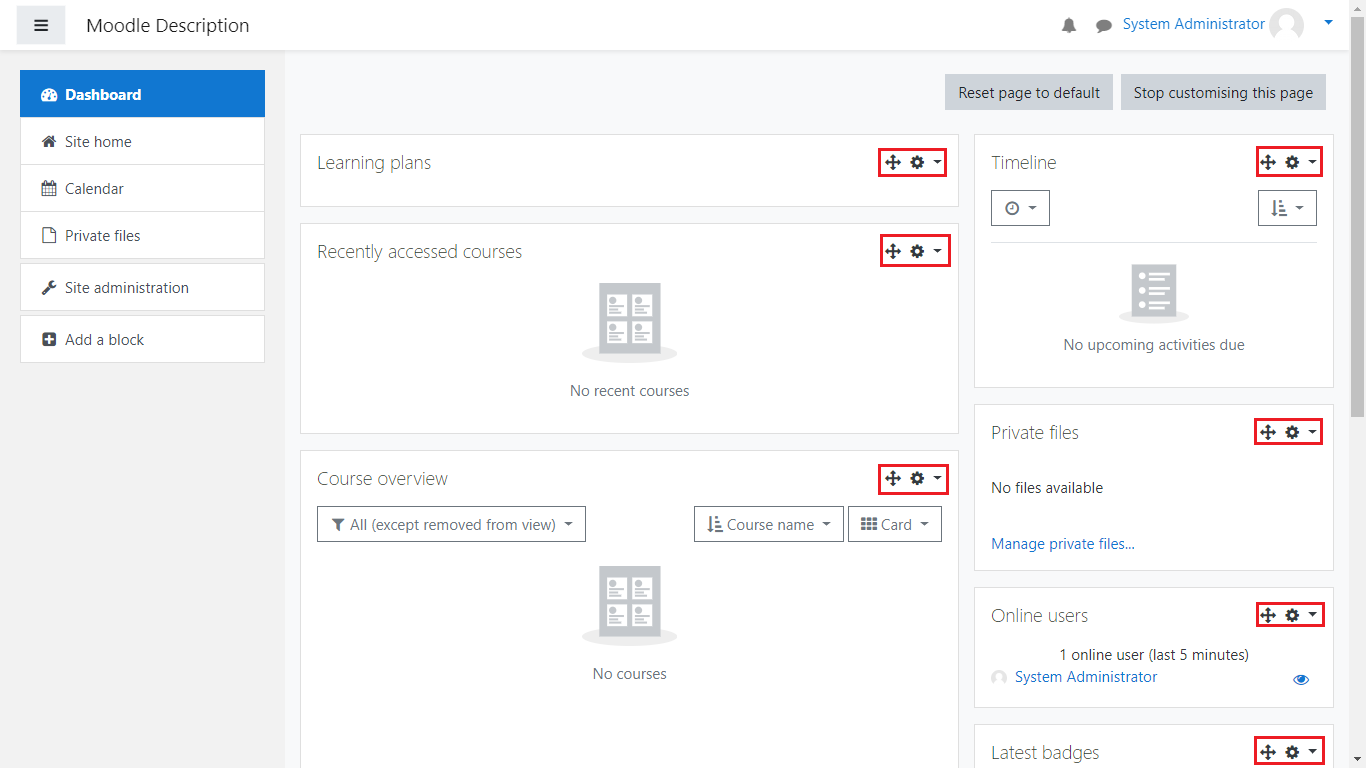
Now before we continue any further, we shall now explain what a Dashboard block is and what its’ use is.
Dashboard block – A dashboard block is a graphical element which represents and provides information based on queries from the database and the users on your Moodle application. An example of such a block would be the “Recently accessed courses” block, which provides details on the most recently viewed courses on your Moodle website.
Now, once we have clarified what blocks are, we shall now show examples of what you can do to customize your Dashboard. Say for example you would like to move a block from one position to another, what you would need to do is hover over the four direction button, left-click and hold the left mouse button and drag the block to where you would like to move it.
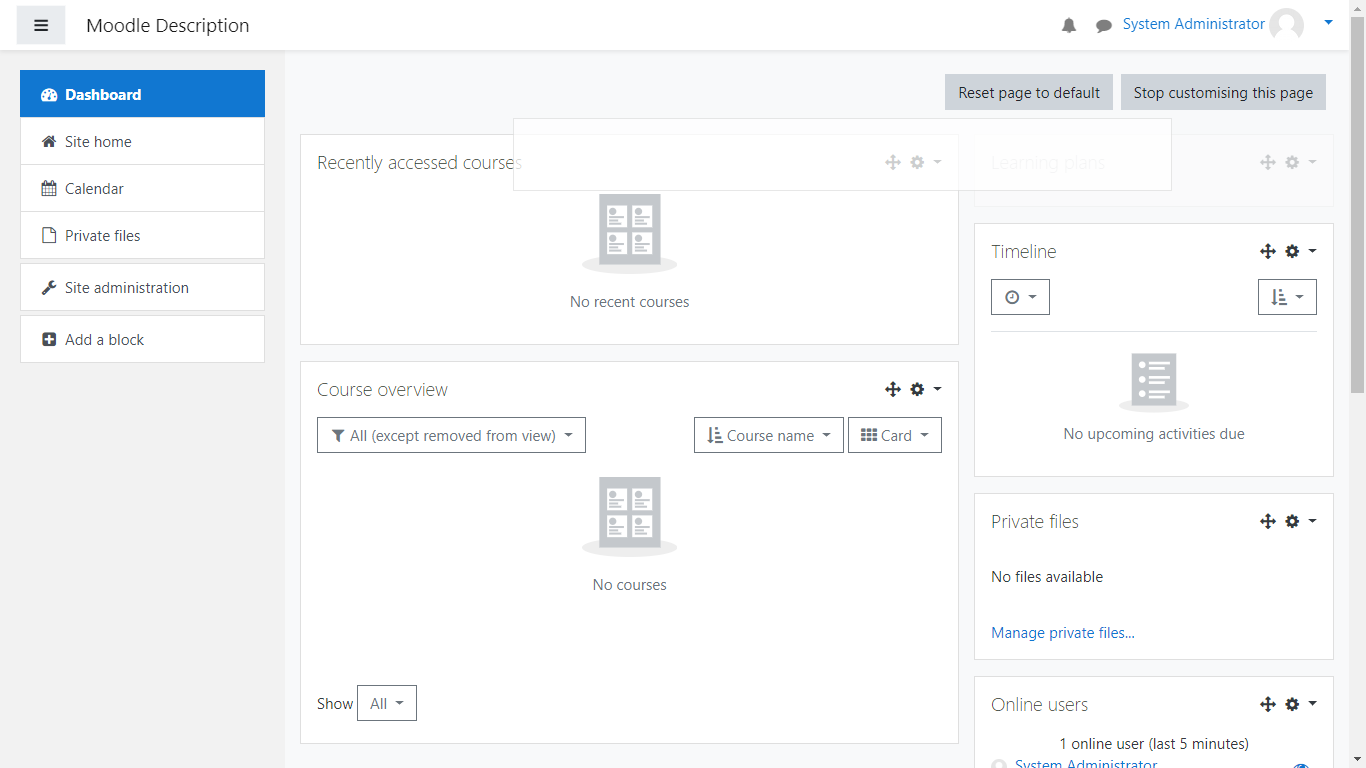
Notice that the place the block will be set will be represented by a shadow. In this image we’re moving the “Learning plans” block to the upper right side of the Dashboard. Once you’re satisfied with its position, just drop the block and it will be put in the place you’ve selected.

Next, we will look at the block options, which will appear as a dropdown menu once you click the cog icon:
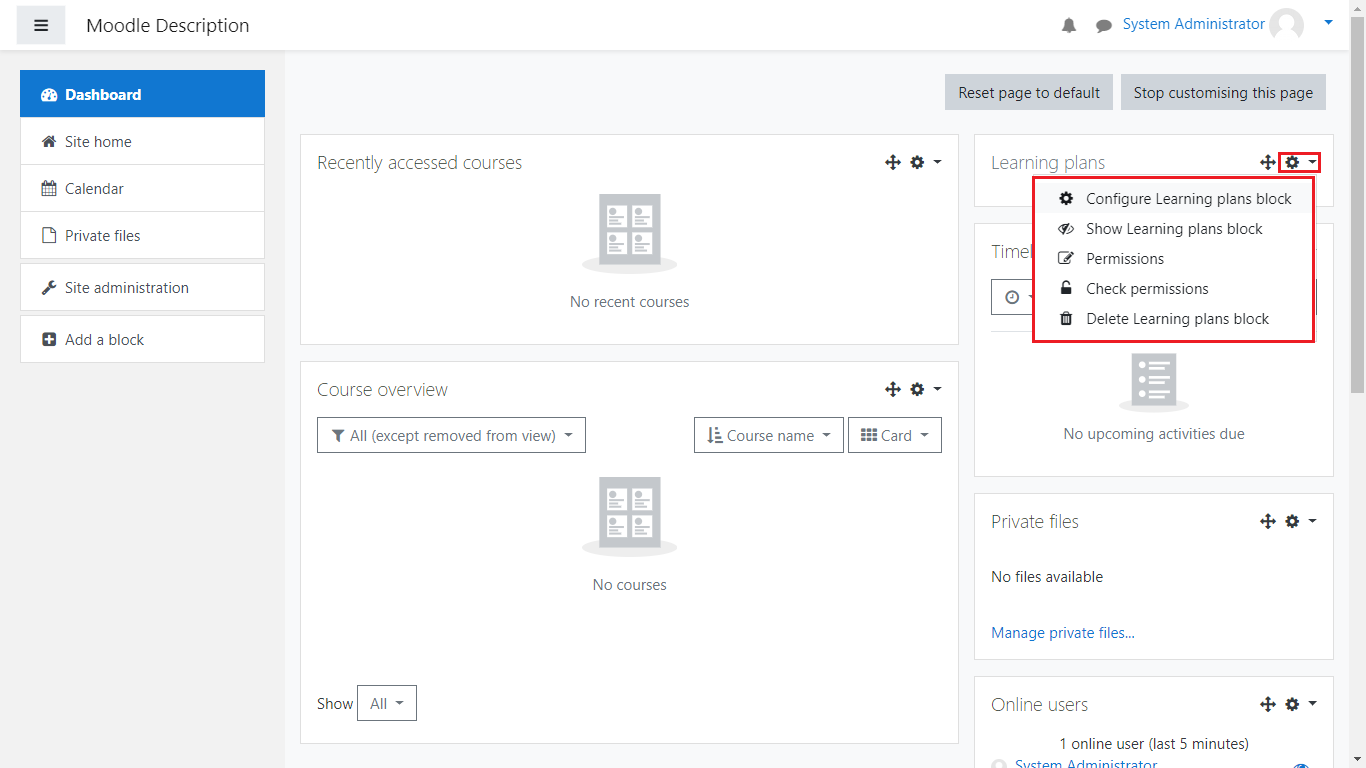
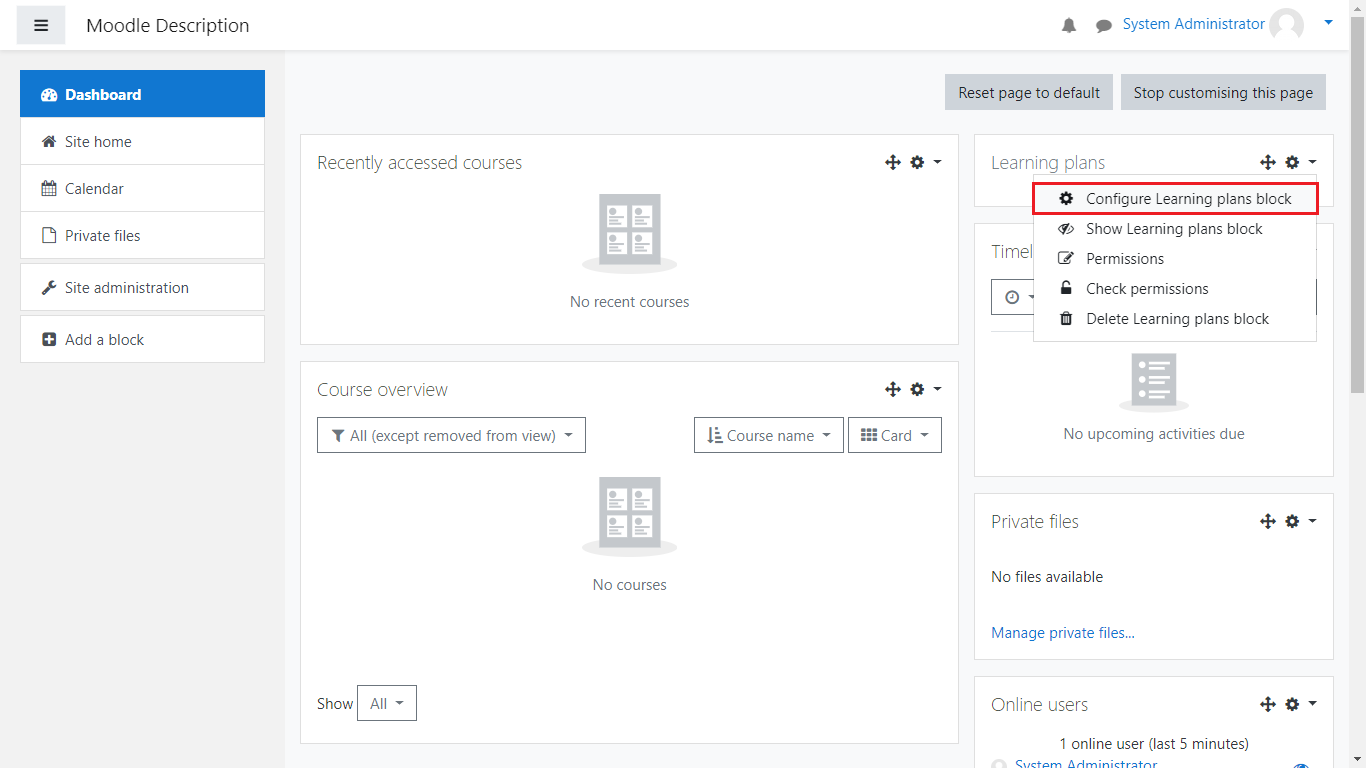
The first option you’re presented with is the “Configure Learning plans block”. If you select it, you will be taken to the block configuration page, where you will have multiple options to modify the block:

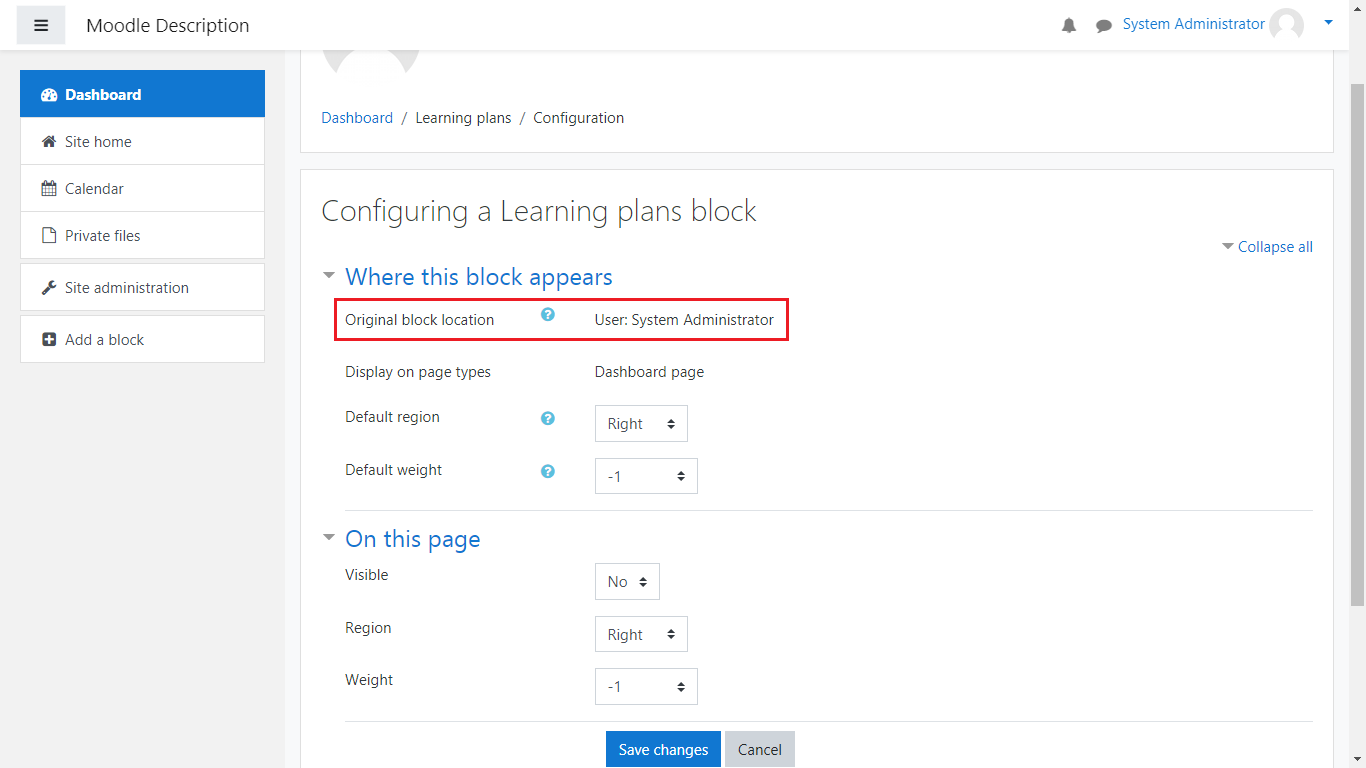
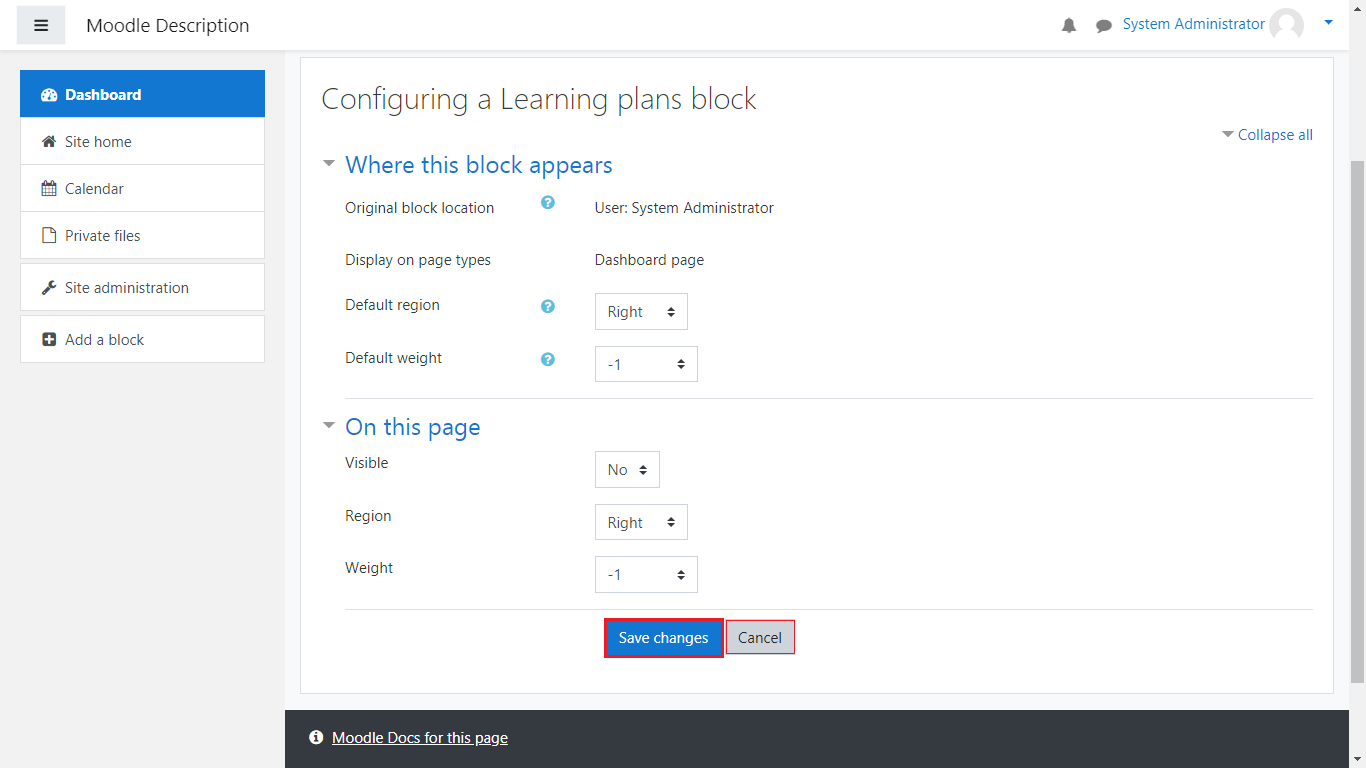
Here you’re met with a few options which allows you to additionally modify the block:
Where this block appears
Original block location – The place where the block was initially created. If for example you’ve set it to appear in a course, it may also appear in other areas of that course(for example the grade assessments or the activities section in that course).
Display on page types – This is self explanatory, it will show where the block will be displayed. In this scenario it is displayed on the Dashboard page.
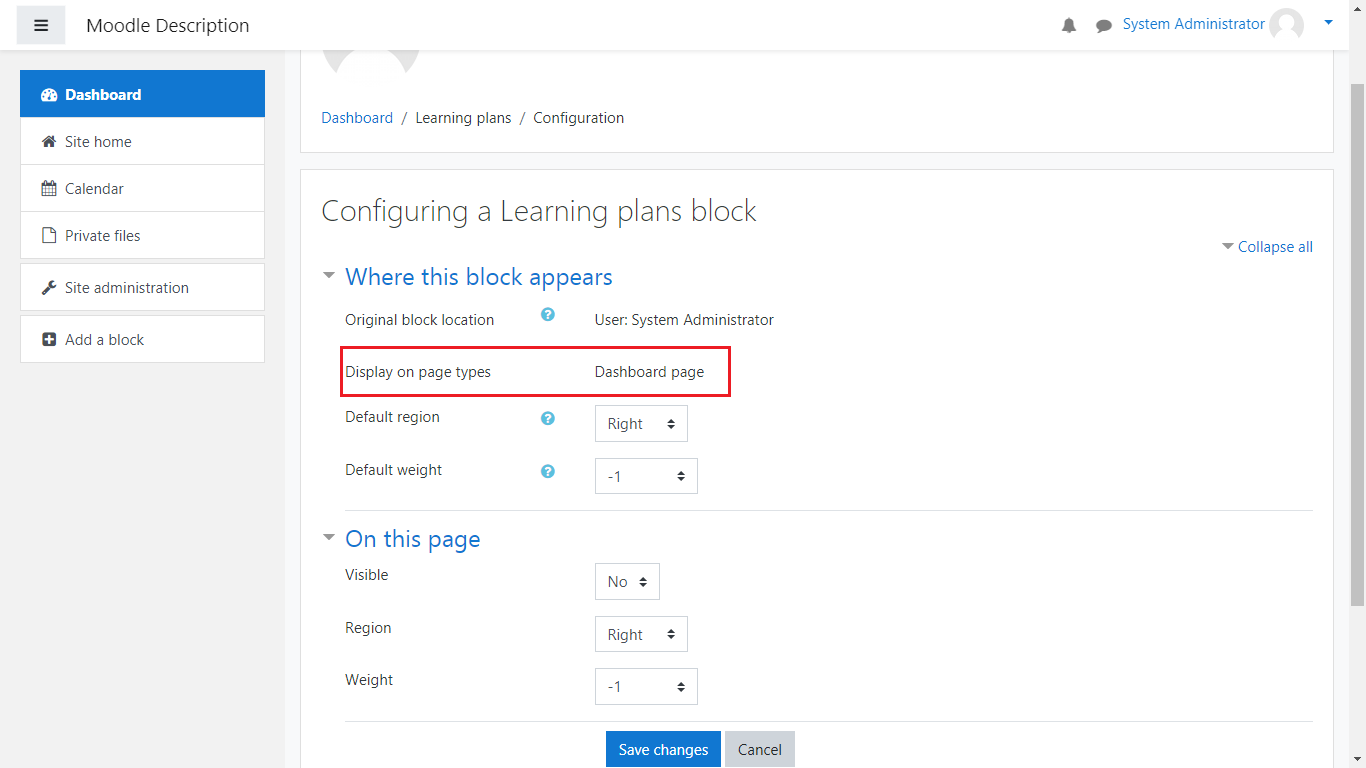
Default region – The place where the block will be displayed by default. Note that some themes can override this and allow for more regions to appear as options.
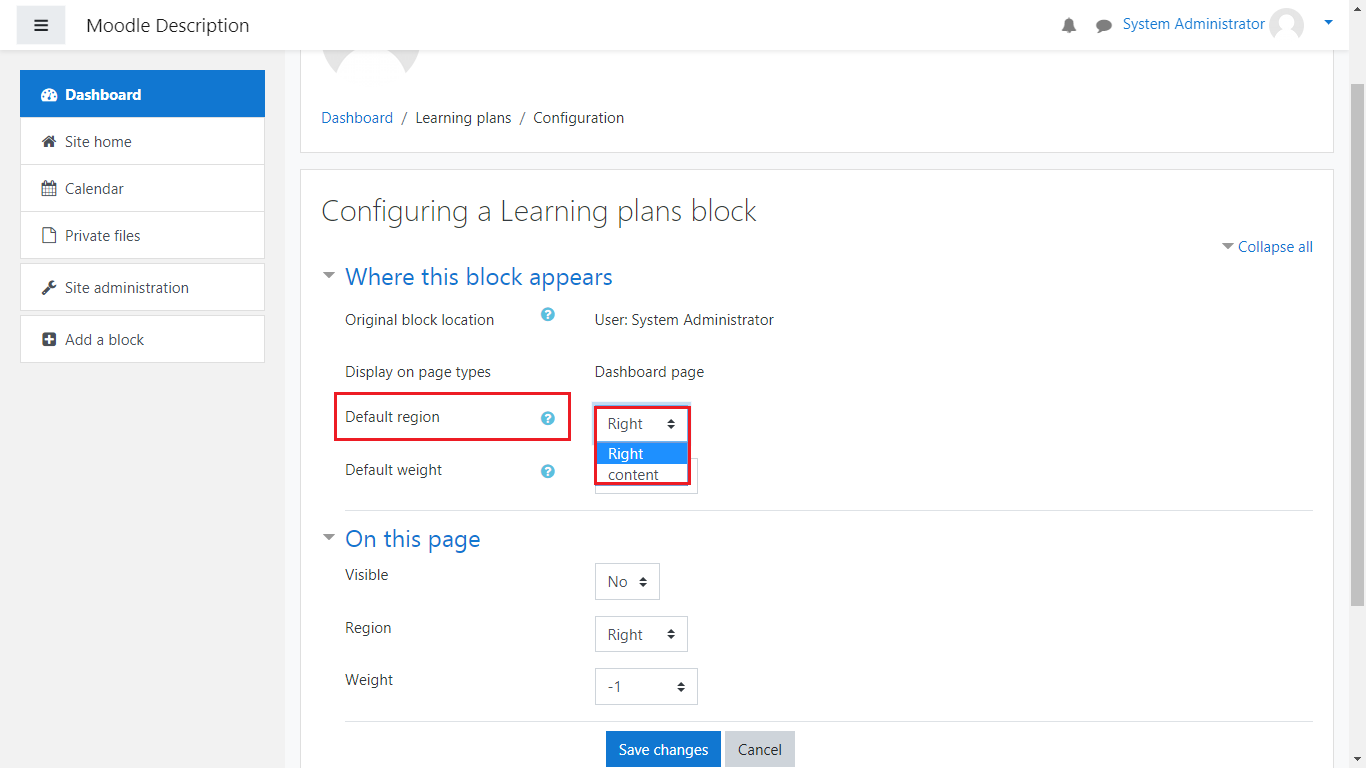
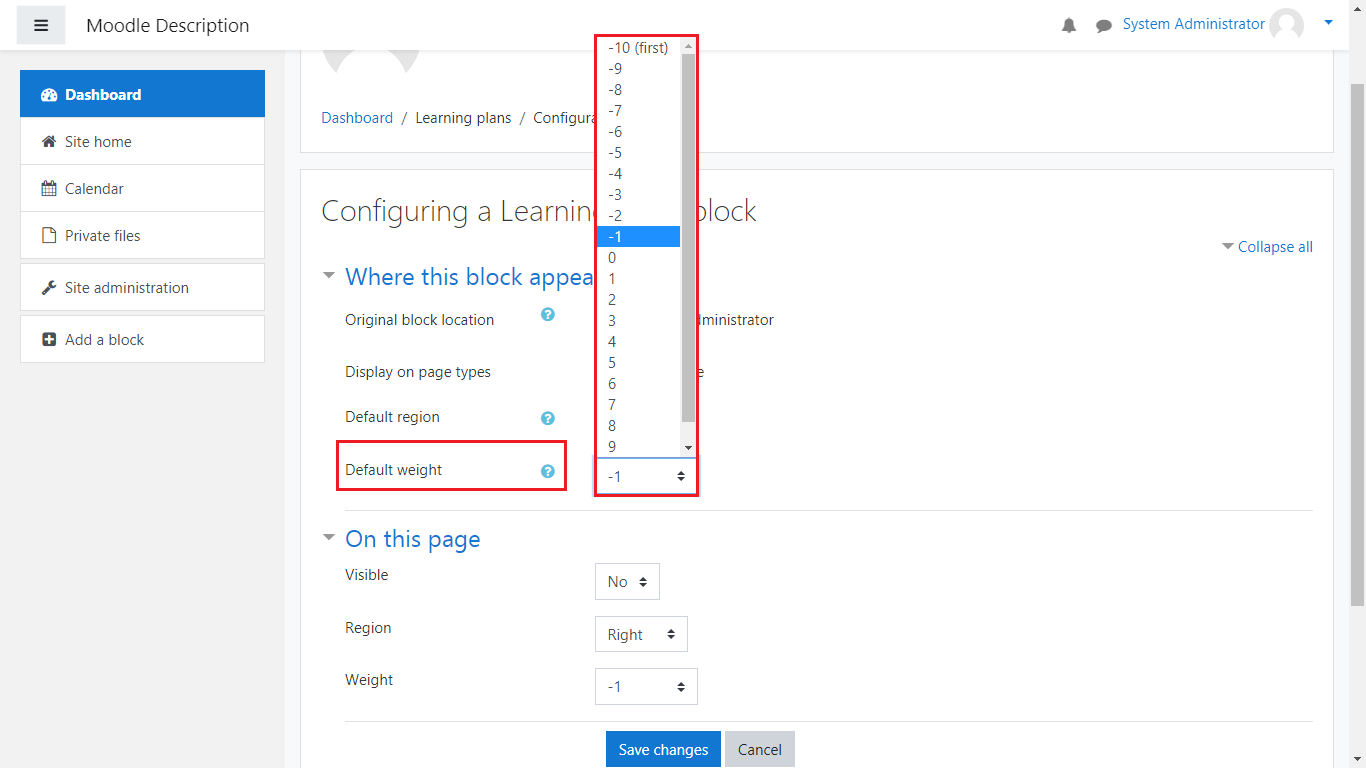
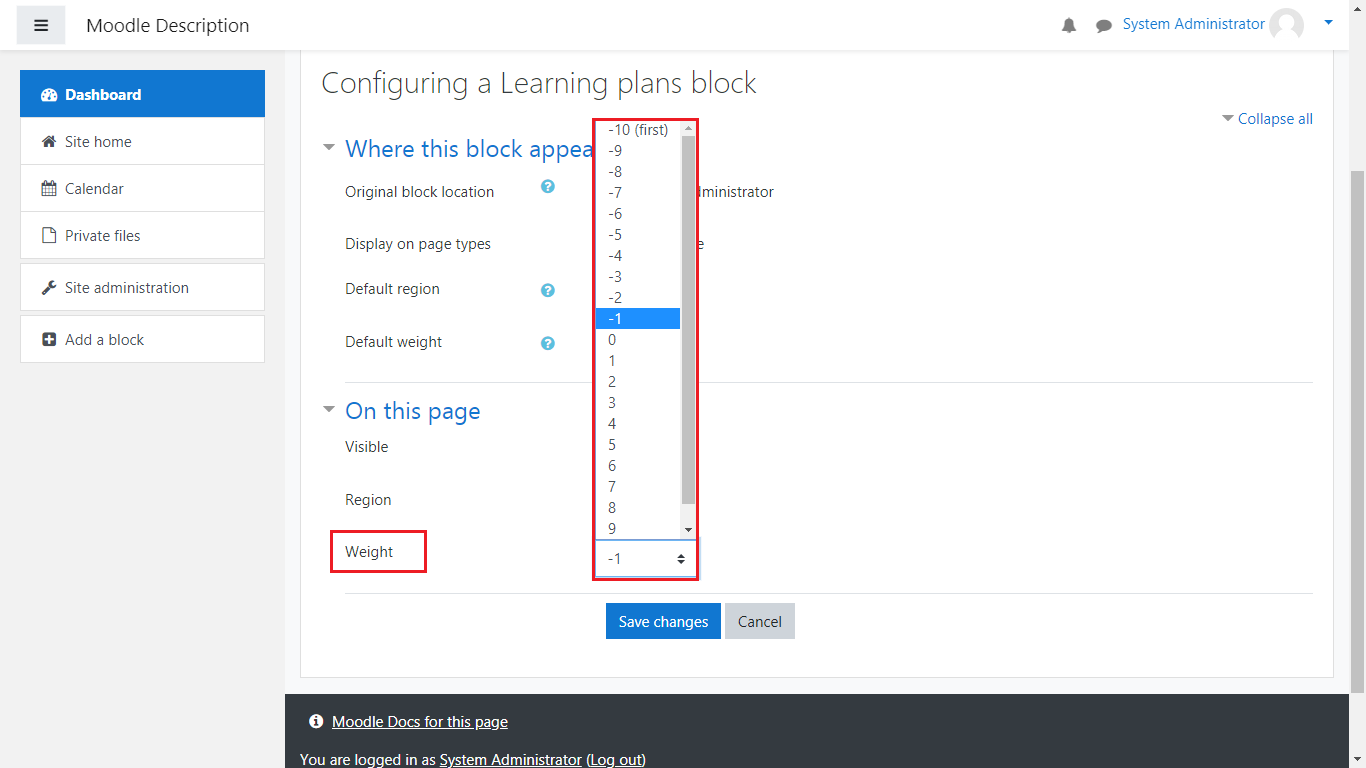
Default weight – This option allows you to roughly choose where the block will display on the page. This comes in play if there are multiple blocks in each region, meaning that only one will actually be on top of the other blocks. The values are from -10(first to appear) to 10(last to appear).
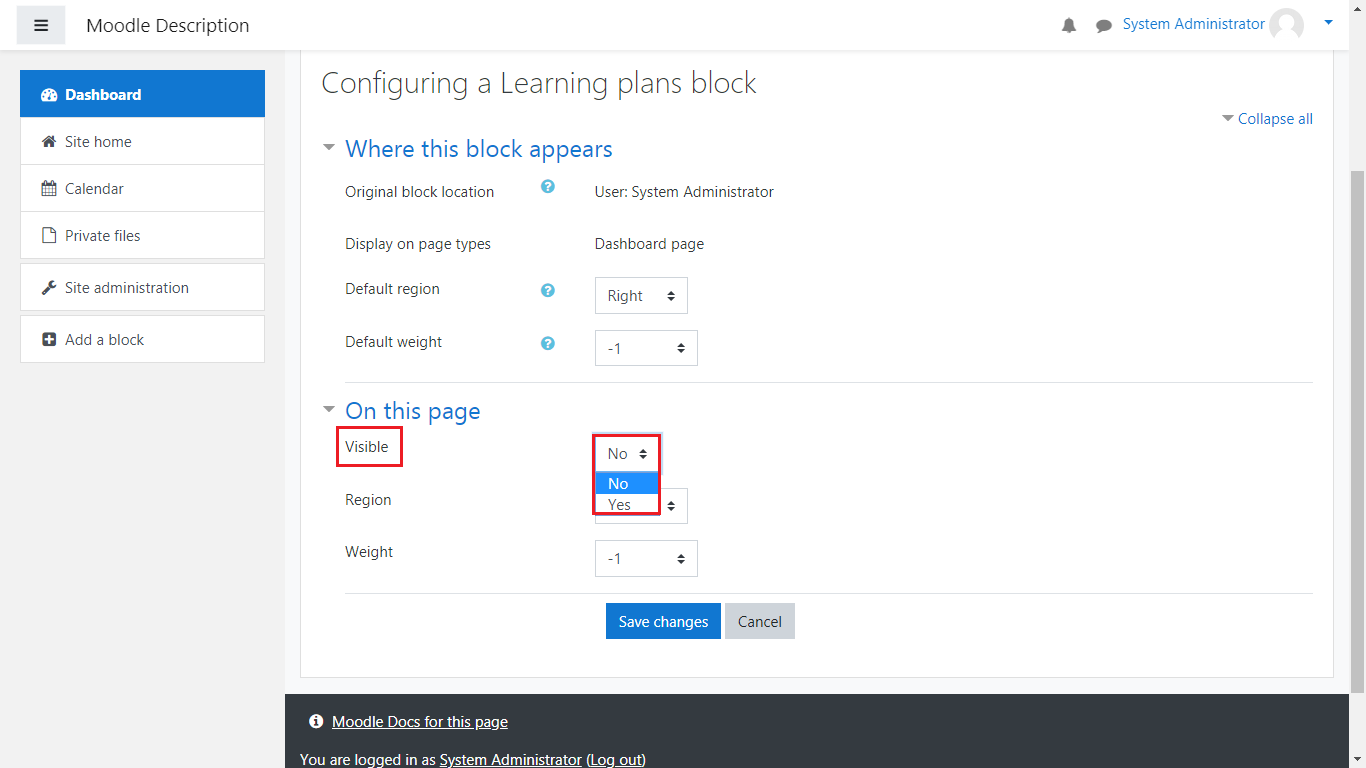
On this Page
Visible – This option allows you to set set the block as visible or hidden(to not appear in your Dashboard once you’re done customizing it).
Region – This is a customizable region for a specific page(such as a course page) which will override the default setting in the Default region section.
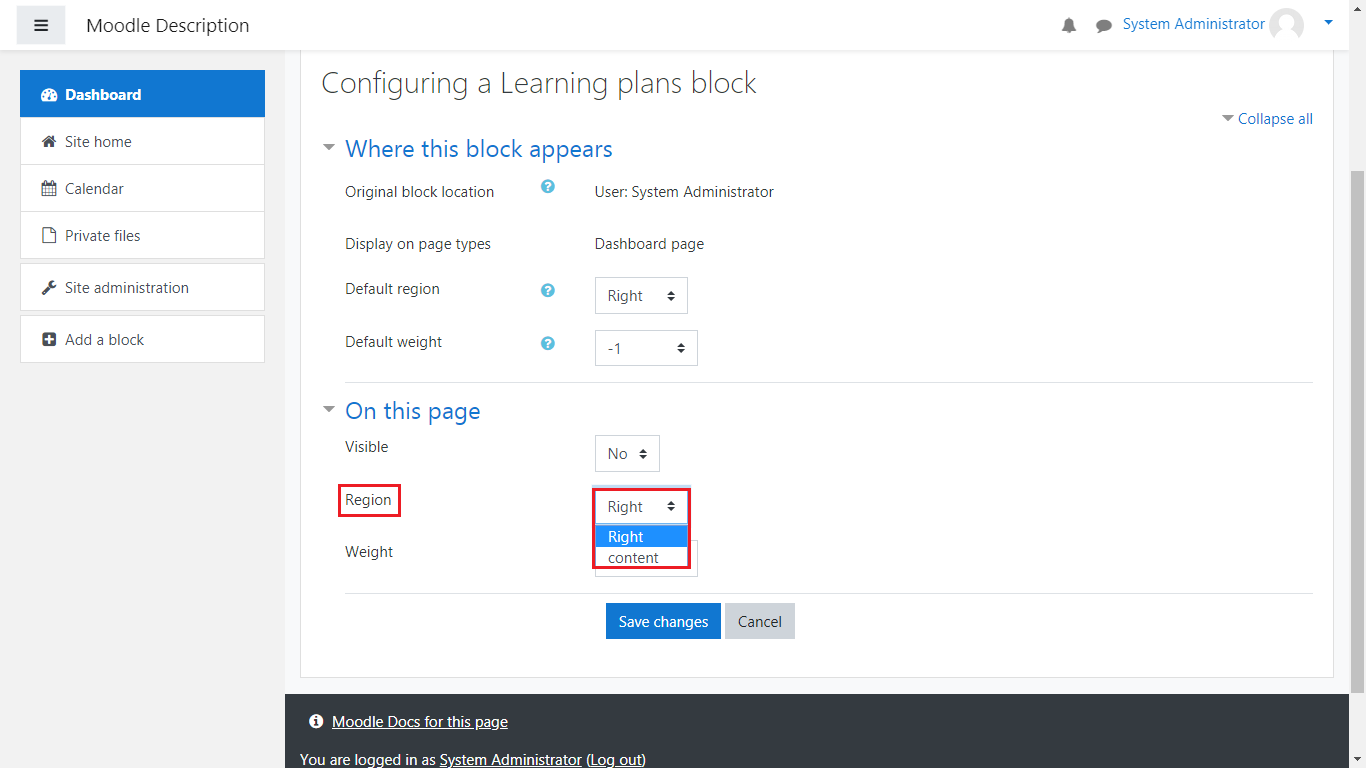
Weight – This is also a customizable weight for a specific page(such as a course page), which will override the default setting in the Default weight section.
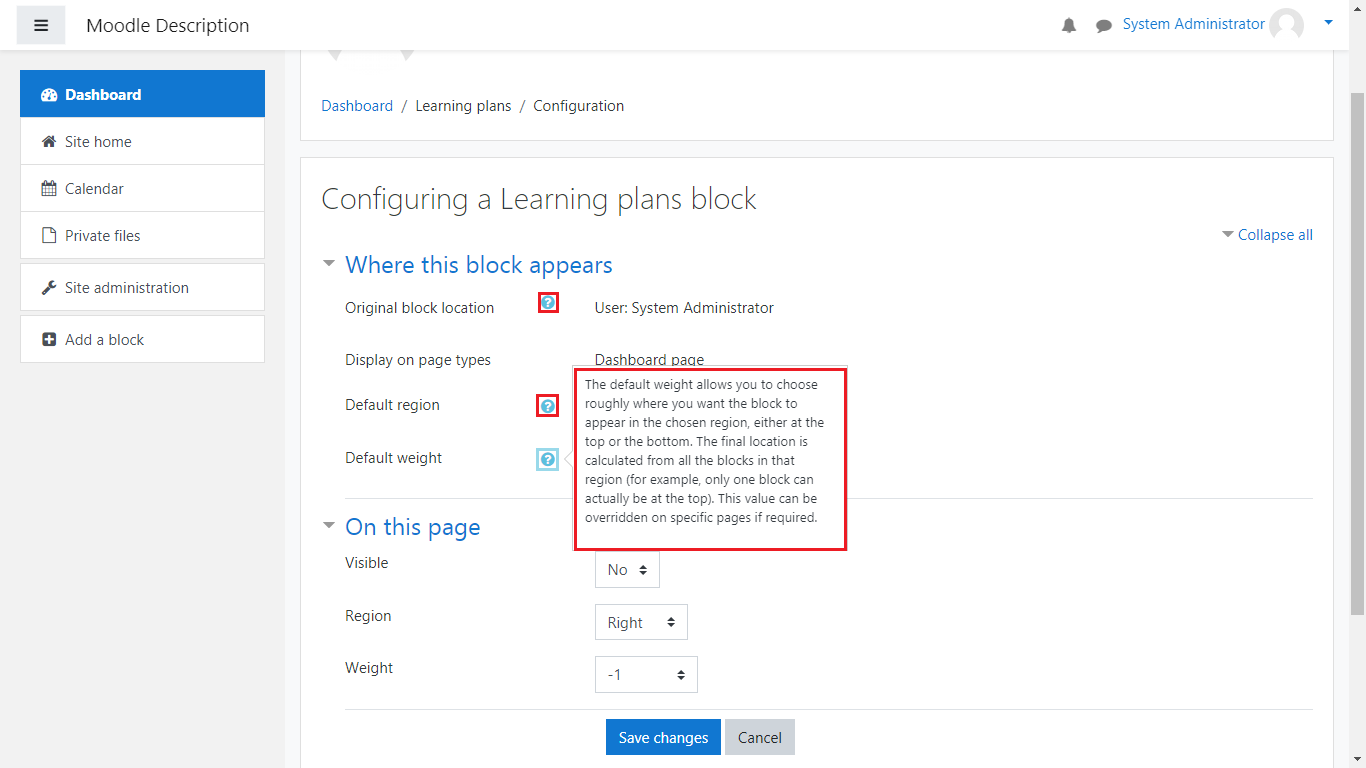
You can also click on the question mark icons and they will also provide you with a brief explanation of what that setting does:
Once you’re ready, click on the Save changes button to save the changes made for that block or cancel to revert to the previous settings for the block.
Now, the second option we’re going to use is the “Show/Hide” option for the dashboard blocks.
This option allows you to hide and show blocks on your Dashboard(if for example you prefer only some blocks to be shown on your Dashboard):
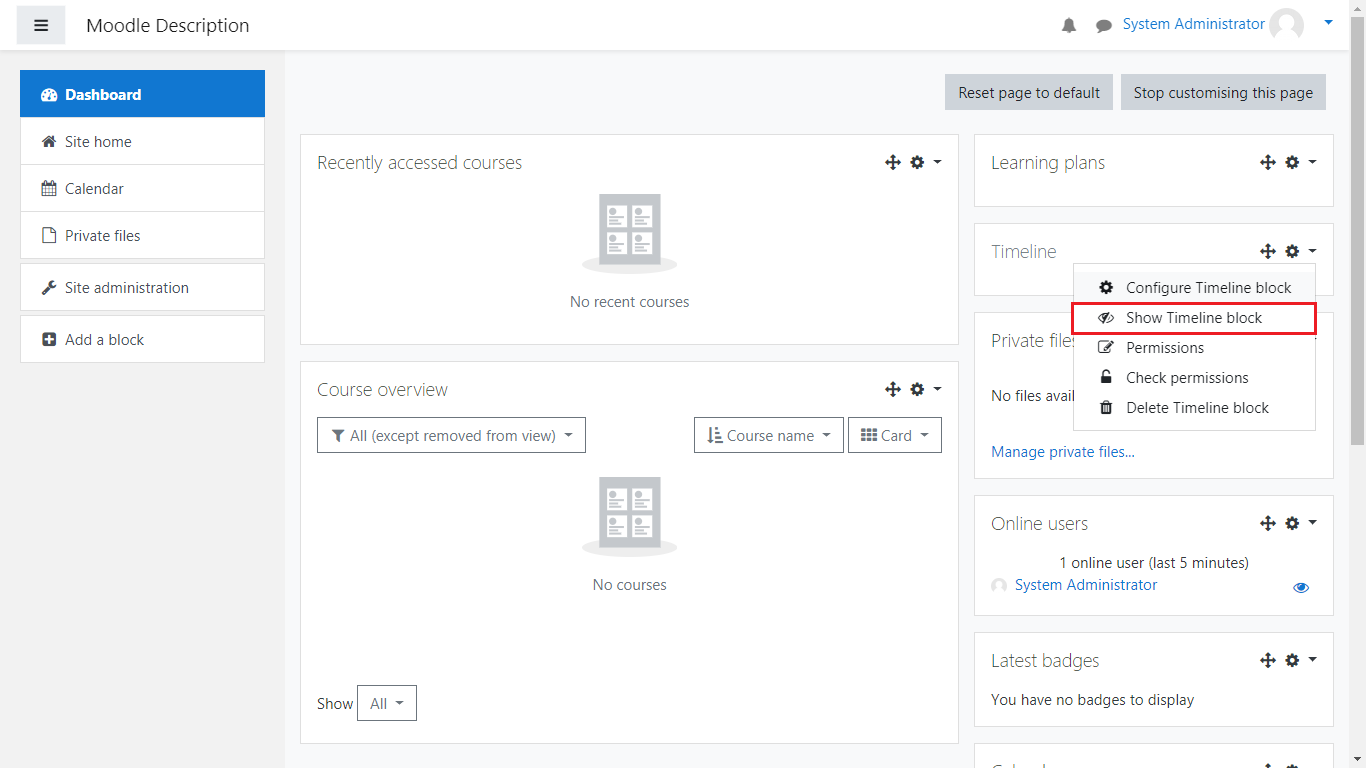
In this scenario we are going to hide the Timeline block and then see how this will affect the Dashboard once we are done customizing it:
- Click on the cog icon and select the “Hide Timeline block”

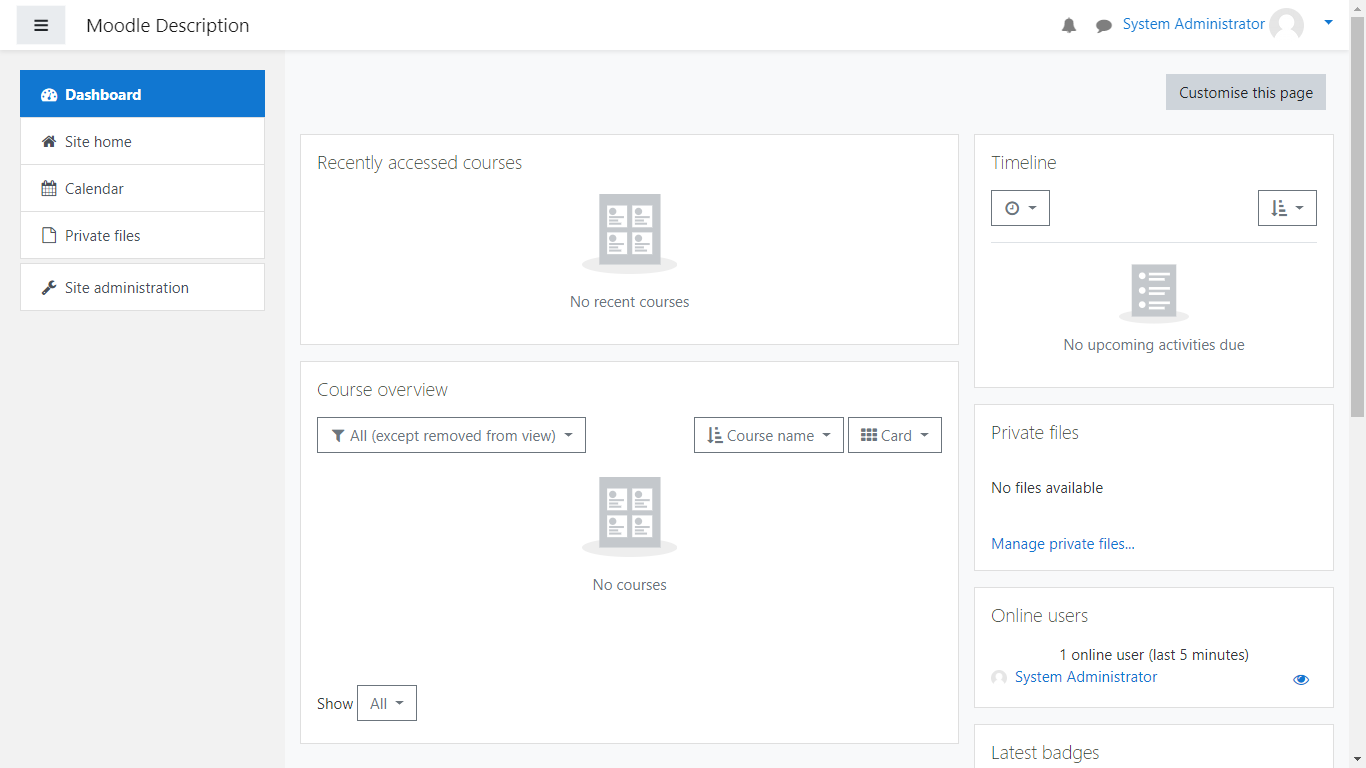
Once you’ve done that, click on the “Stop customising this page” button on the upper right side of the page.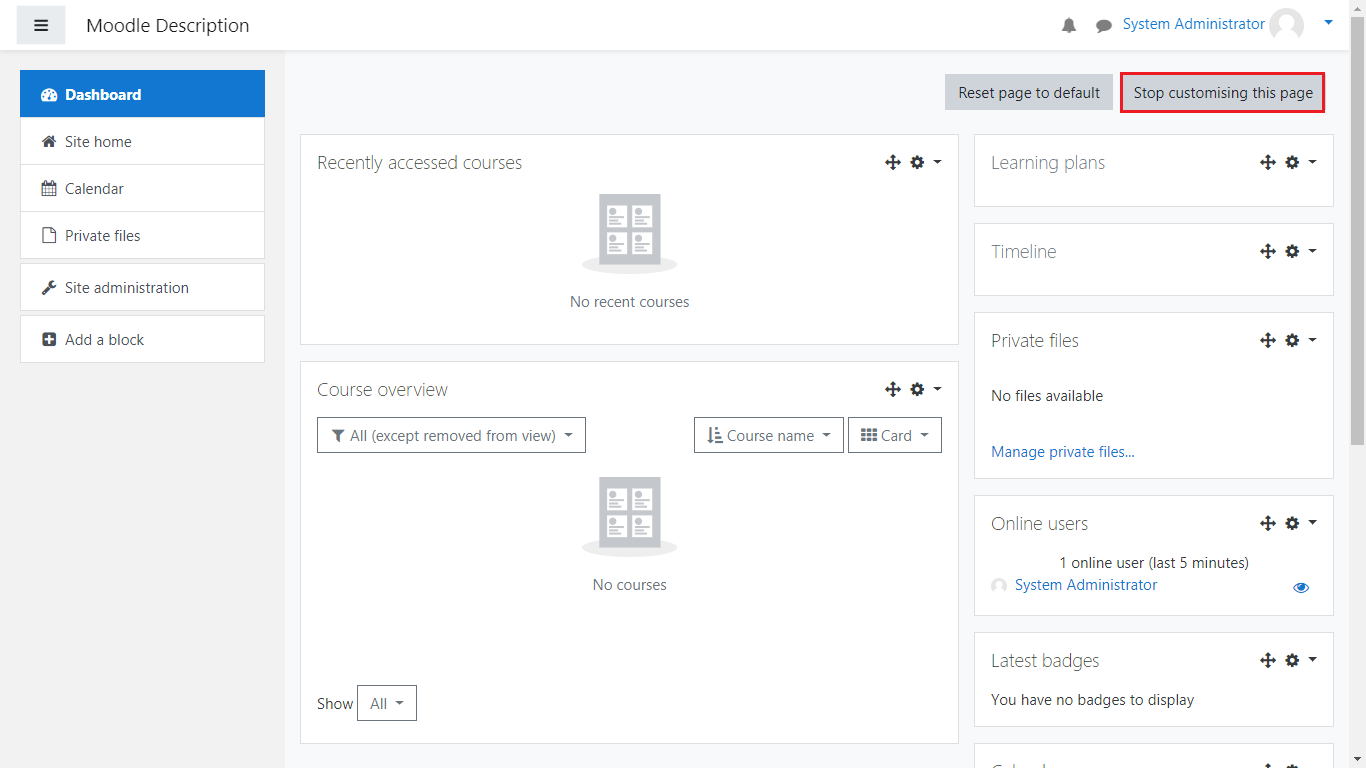
Now once you’re out of customization mode, you’ll notice that the block is not visible in your Dashboard.
Now let us make it reappear, click on “Customise this page” and select the block we just hid.
Once you’ve done that, click on the “Stop customising this page” button and you’ll see that the Timeline block has appeared on your Dashboard.
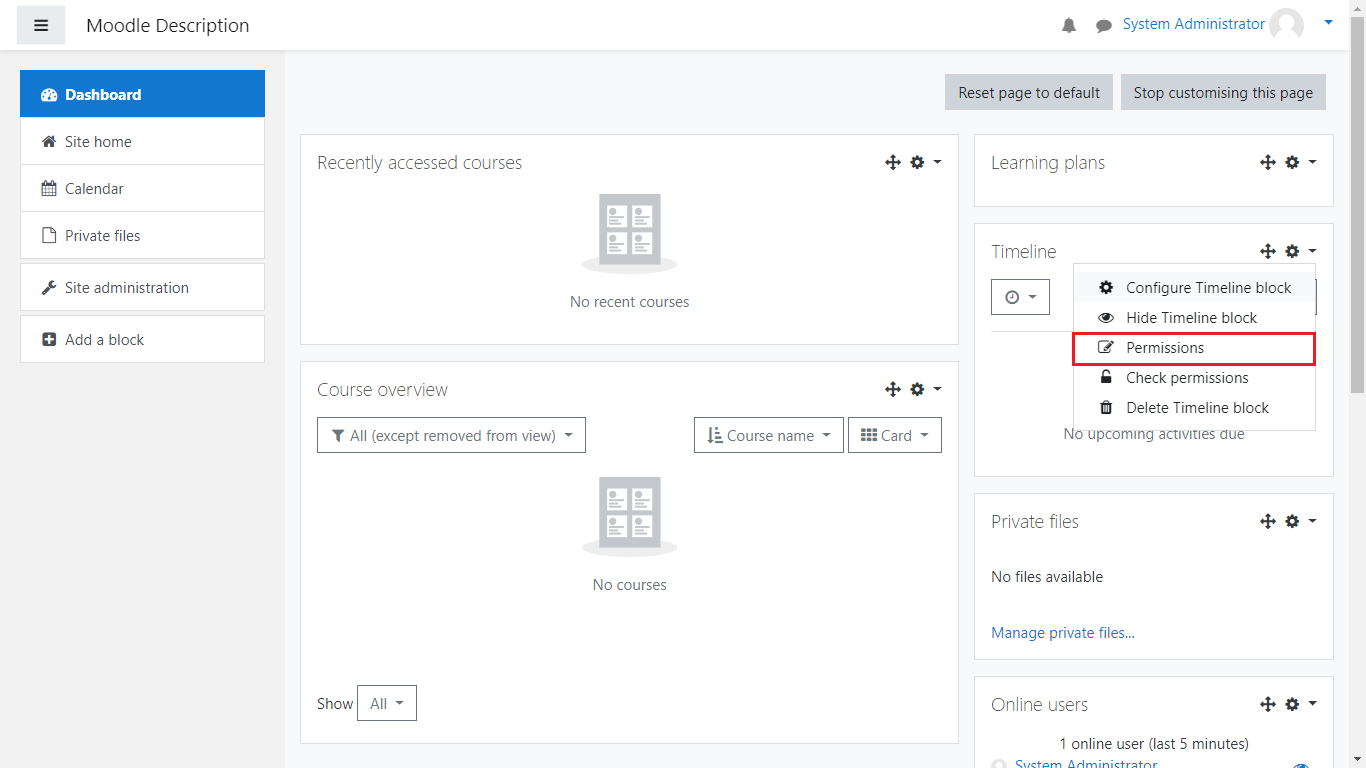
The next option we will review is the “Permissions” option, which allows you to select which groups of individuals can edit and/or view the block in question:
From there, you will be redirected to the Permissions page for that block(in this case the Timeline block).
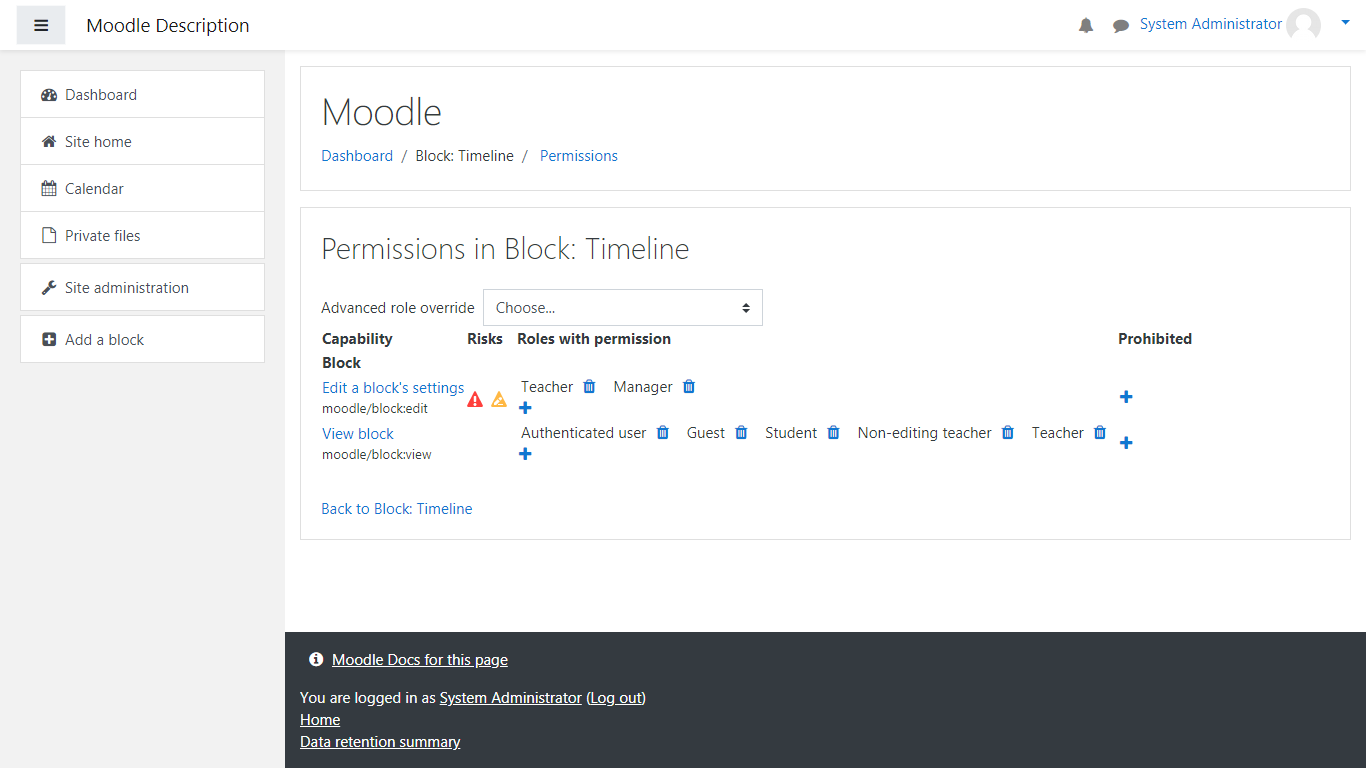
From here you have two sections:
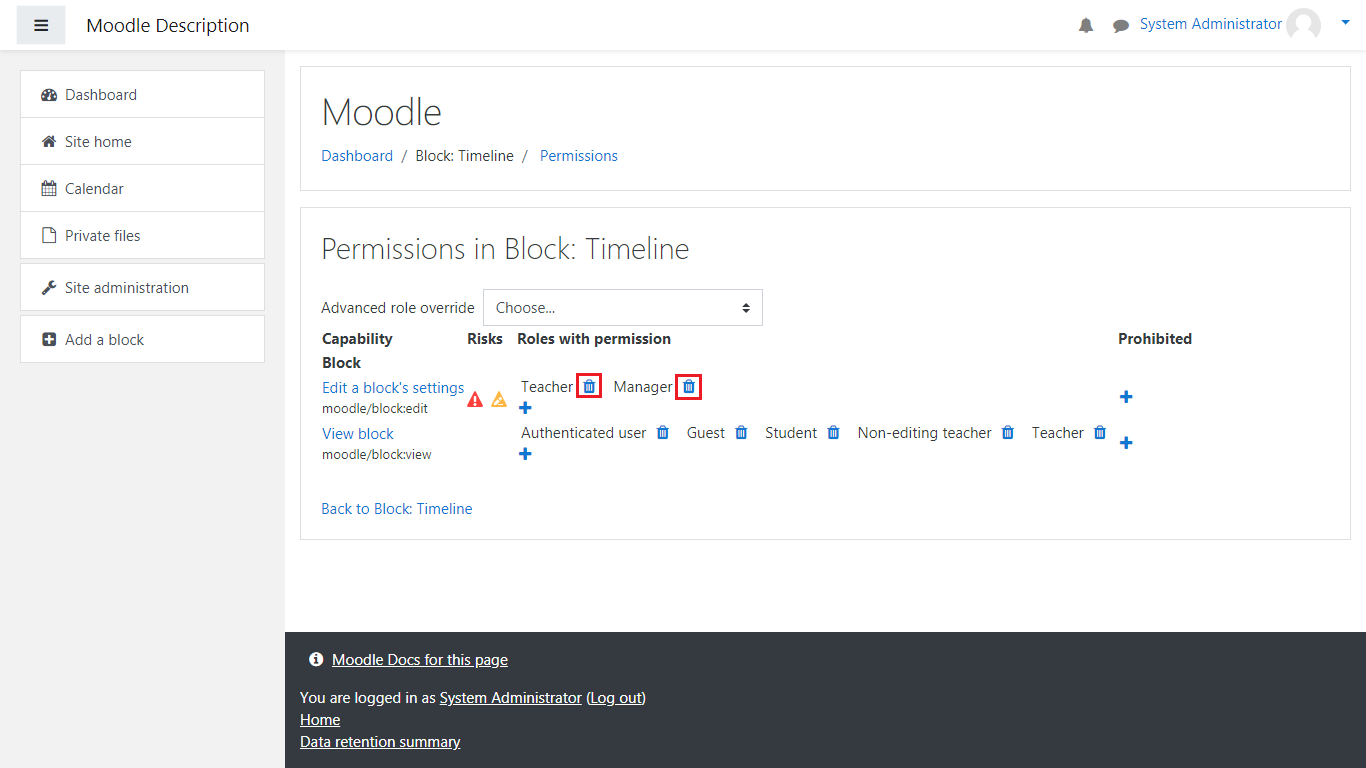
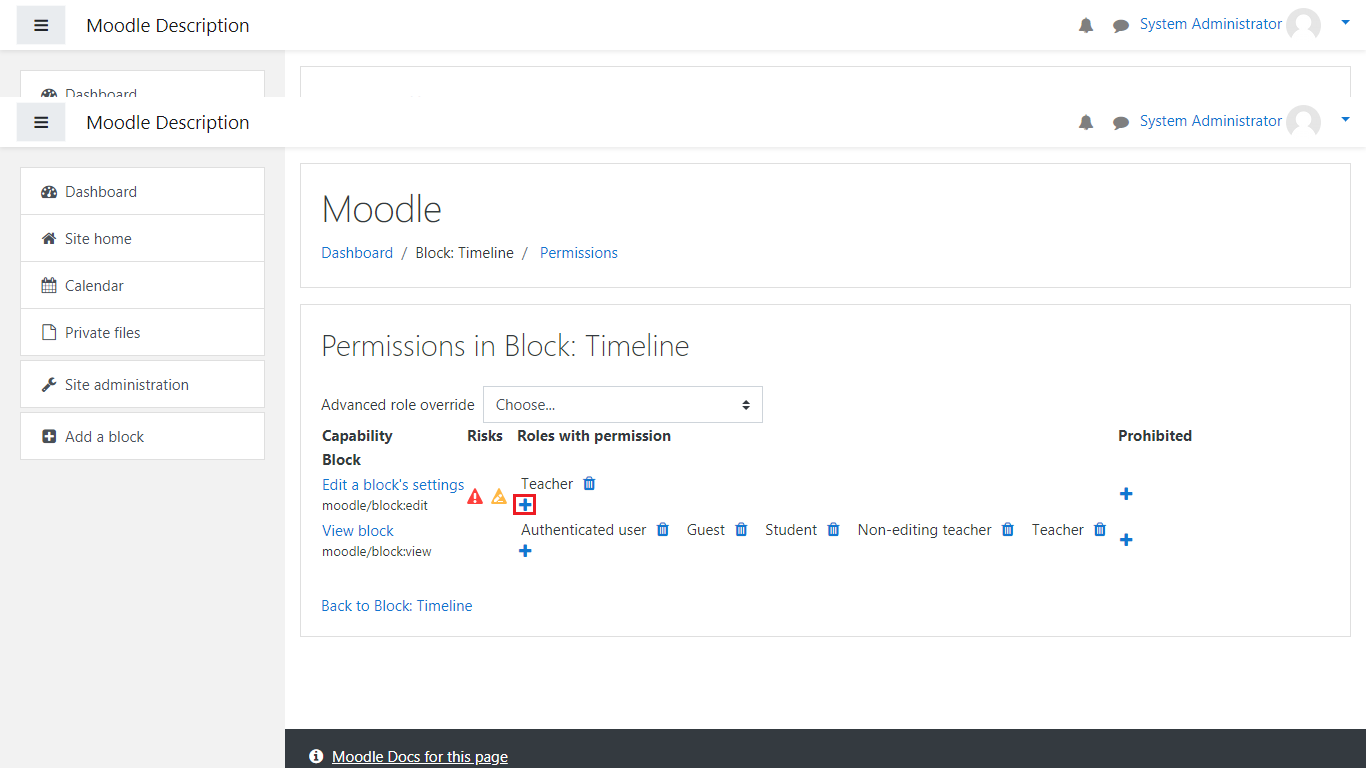
- Edit a block’s setting – these roles have permissions to modify the block and the way it functions. Clicking on the trashcan button will remove the role from editing and clicking on the blue plus sign button will allow you to add roles that can edit the block. Lets try removing the “Manager” role and then readding it:
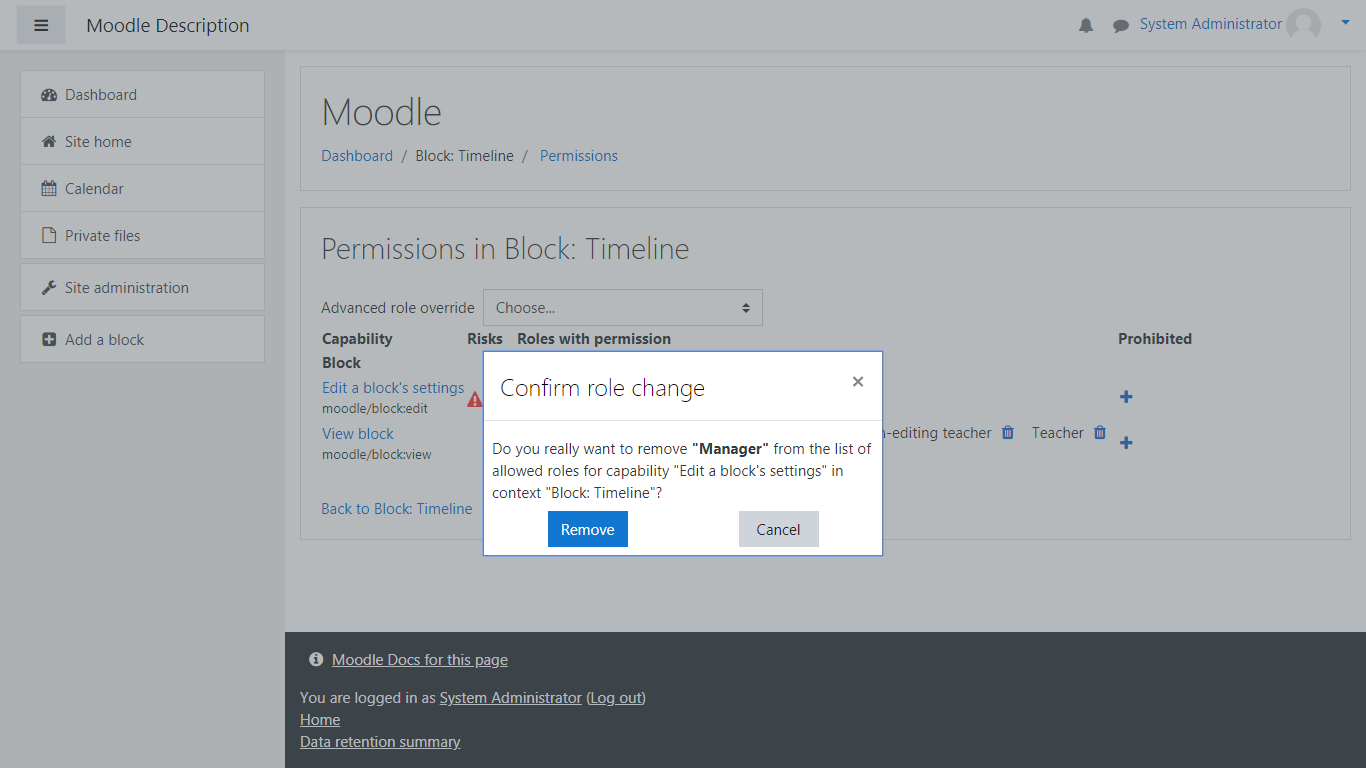
Once you click on the trashcan icon, a popup window will appear which will ask you for your confirmation on removing the role. Click on Remove to validate this change:

Now lets readd the “Manager” by clicking on the plus button:
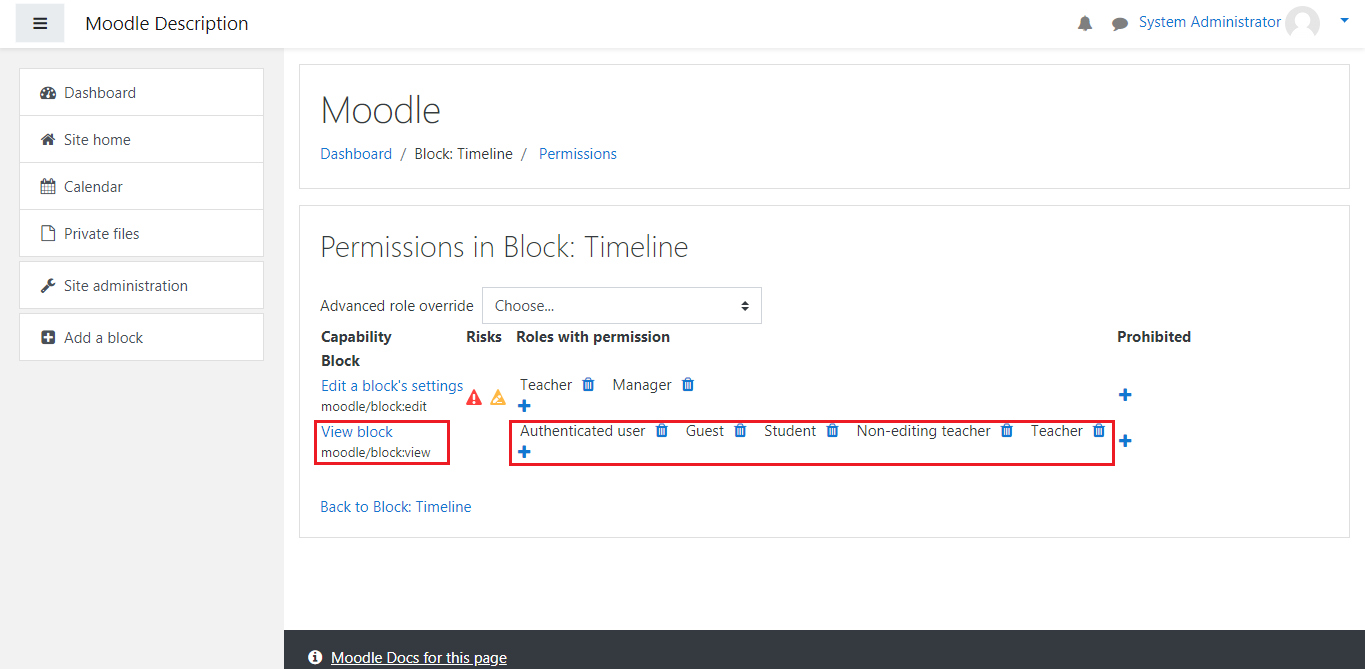
Once again, a popup window will appear, click on the Manager role and the aforementioned role will be added back to the editorial section.


- The second section is the “View block” section. This section allows the specified roles to only view the block, but not make any changes to it(in comparison to the previous section).
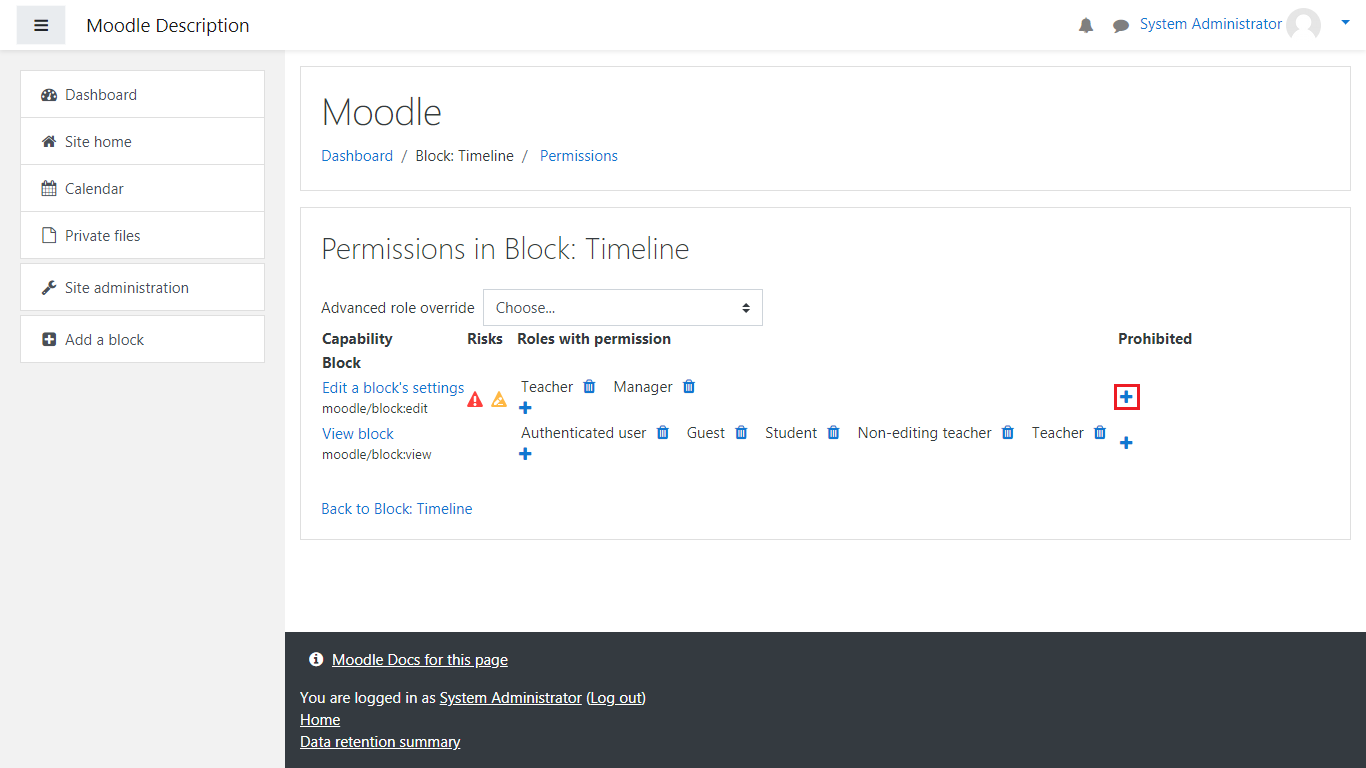
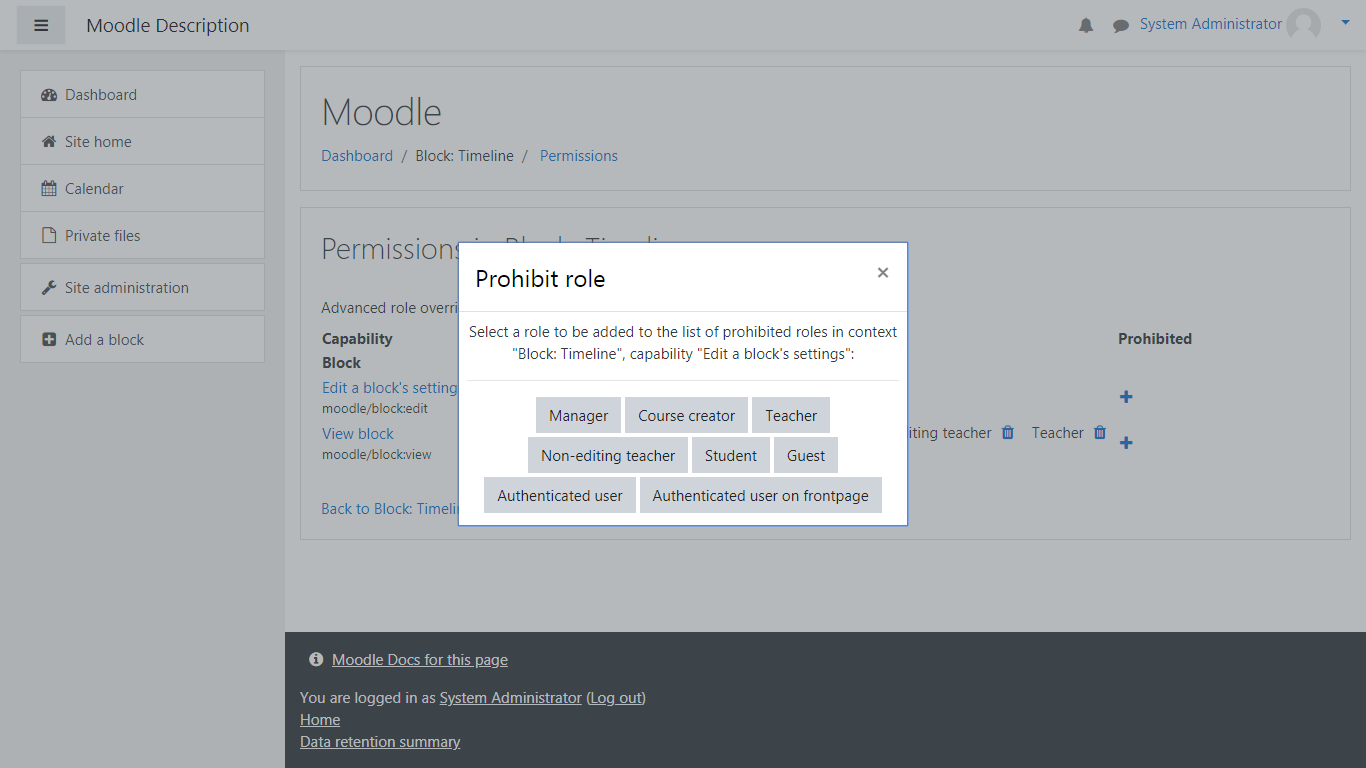
You can also prohibit specific roles from being added to both sections from the “Prohibited” column. For example if you would like to have the “Guest” user to be prohibited from being able to be added to Edit a block’s settings, you would need to click on the plus sign on the column and select the Guest role, as you previously did with the Manager role:
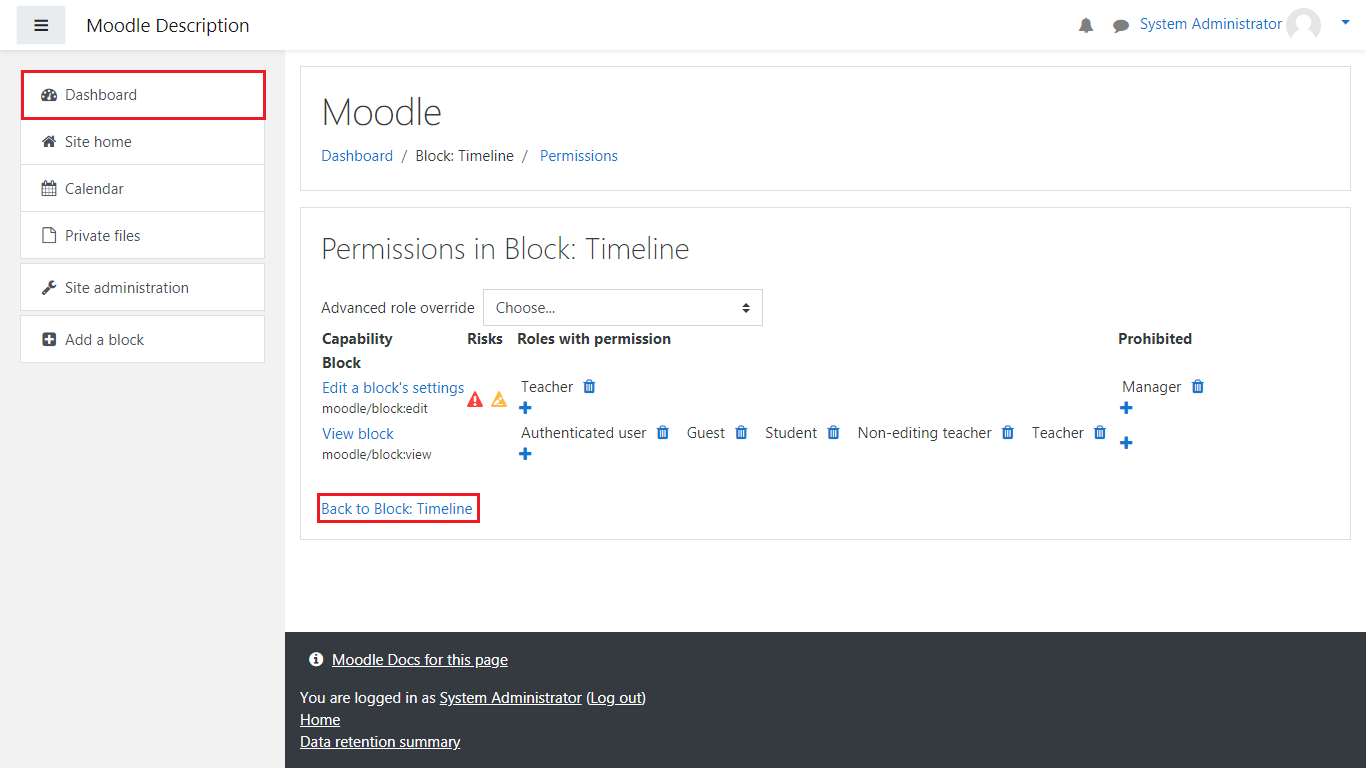
Once you’ve done this, you’ll notice that the Manager role is now in the Prohibited column:

Important Note: In order for the role to have permissions to edit/view a block, you would need to remove it from the Prohibited column, otherwise the role will not be available for selection if you attempt to add it to either section.
Now, let us go back to the Dashboard by clicking on the “Back to Block: Timeline” link or the “Dashboard” button from the sidebar on the left side of the page.
Now, the next option we will look at is “Check Permissions”.
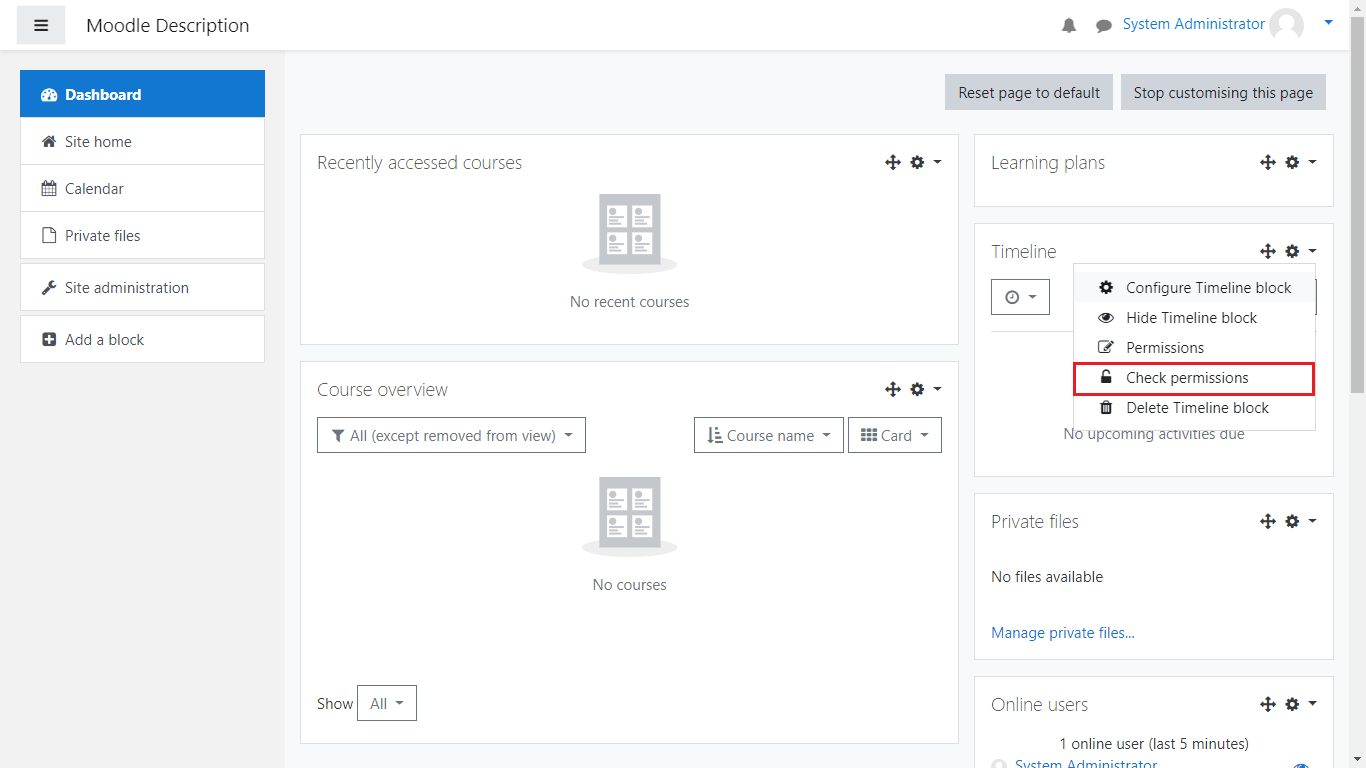
Click on it and you shall be taken to the following page:
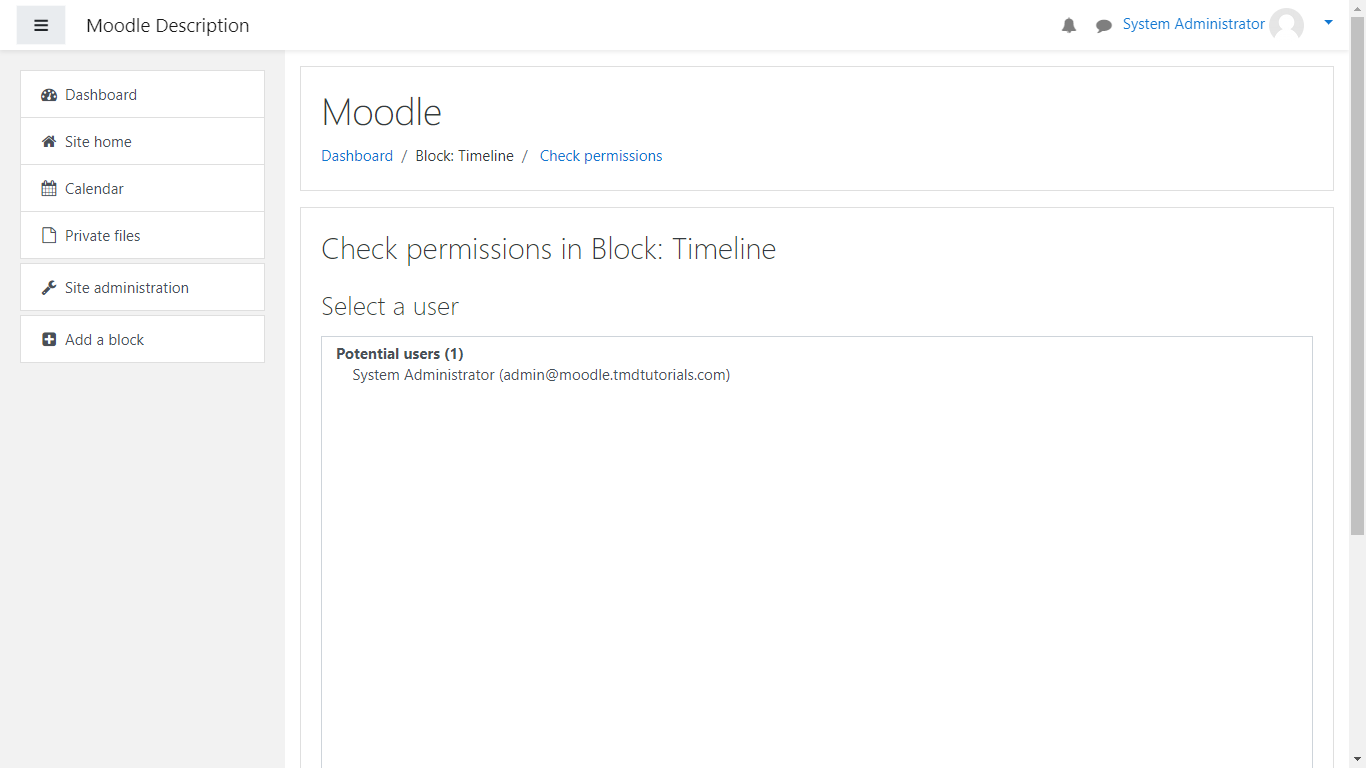
From here you have the possibility to review the users and their permissions. To do this, click on user from the “Select a user” box. After doing so, press the “Show this user’s permissions” button:
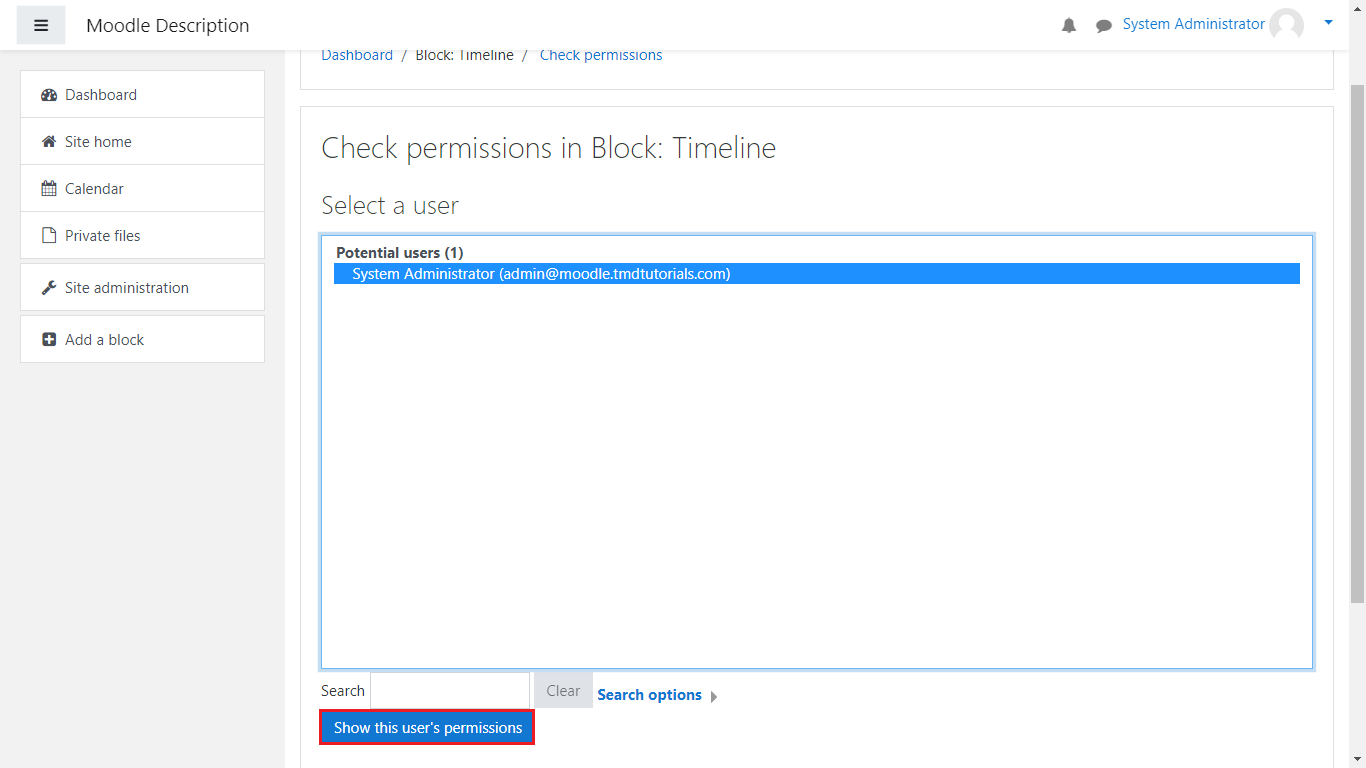
Once you have done this, you’ll see a few sections show up, showing you information about the user’s current permissions and what they’re allowed to do for the block(in this case this is the Timeline block):
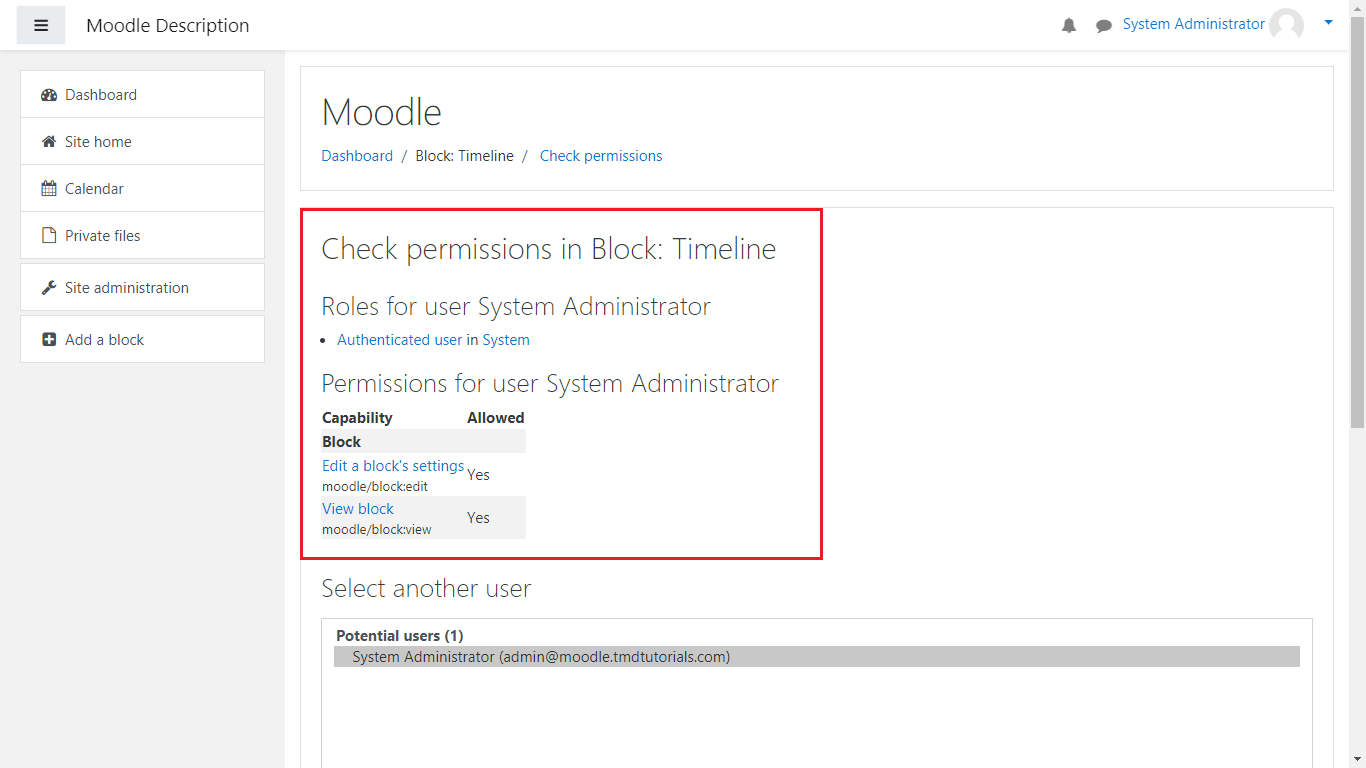
In this scenario we have both permissions to view and edit the Timeline block.
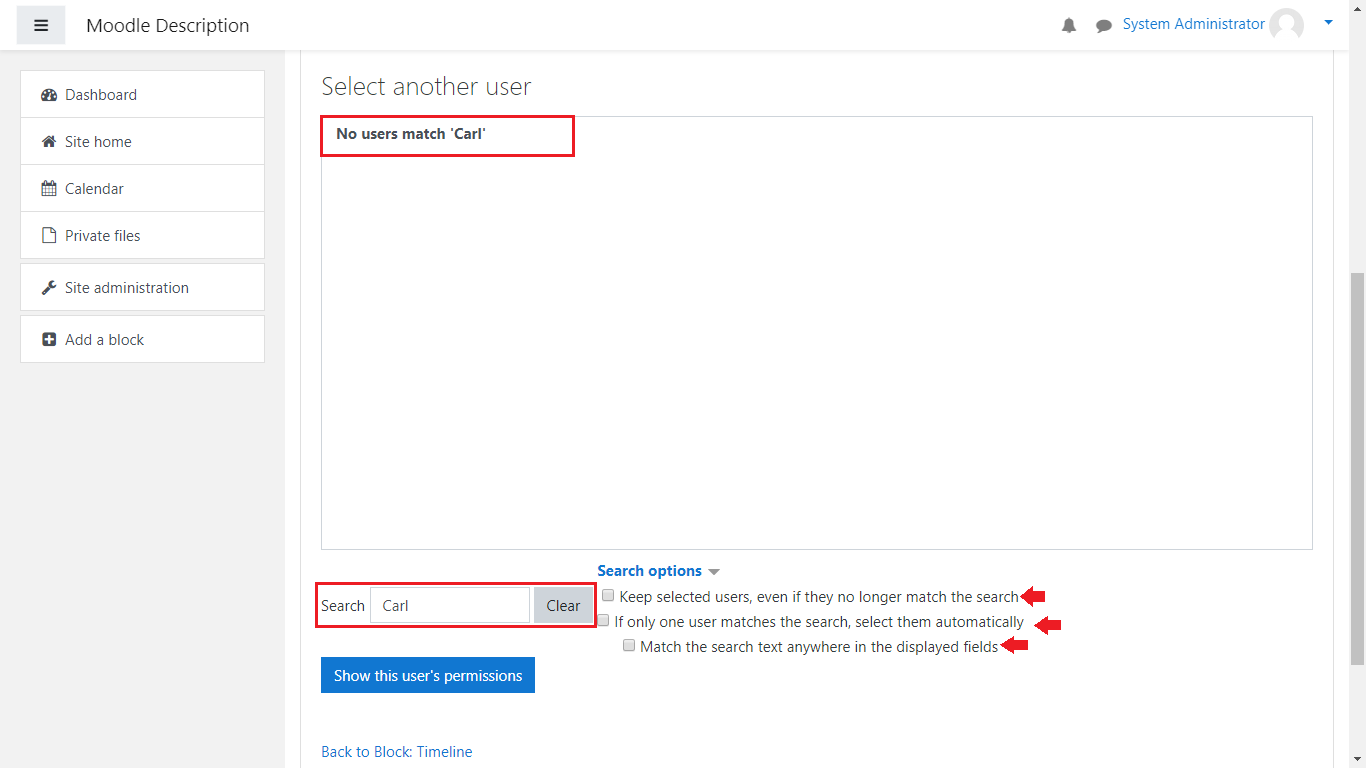
The last thing you can do is search for specific users using the search box on the bottom of the page. In this example, we are searching for a user named “Carl”. You also have search options to make this process easier for you. Notice how no such user is present in the “Select Another User” section:
Now, let us go back to the Dashboard(either by clicking on the Dashboard button from the sidebar or the Back to Block: Timeline link).
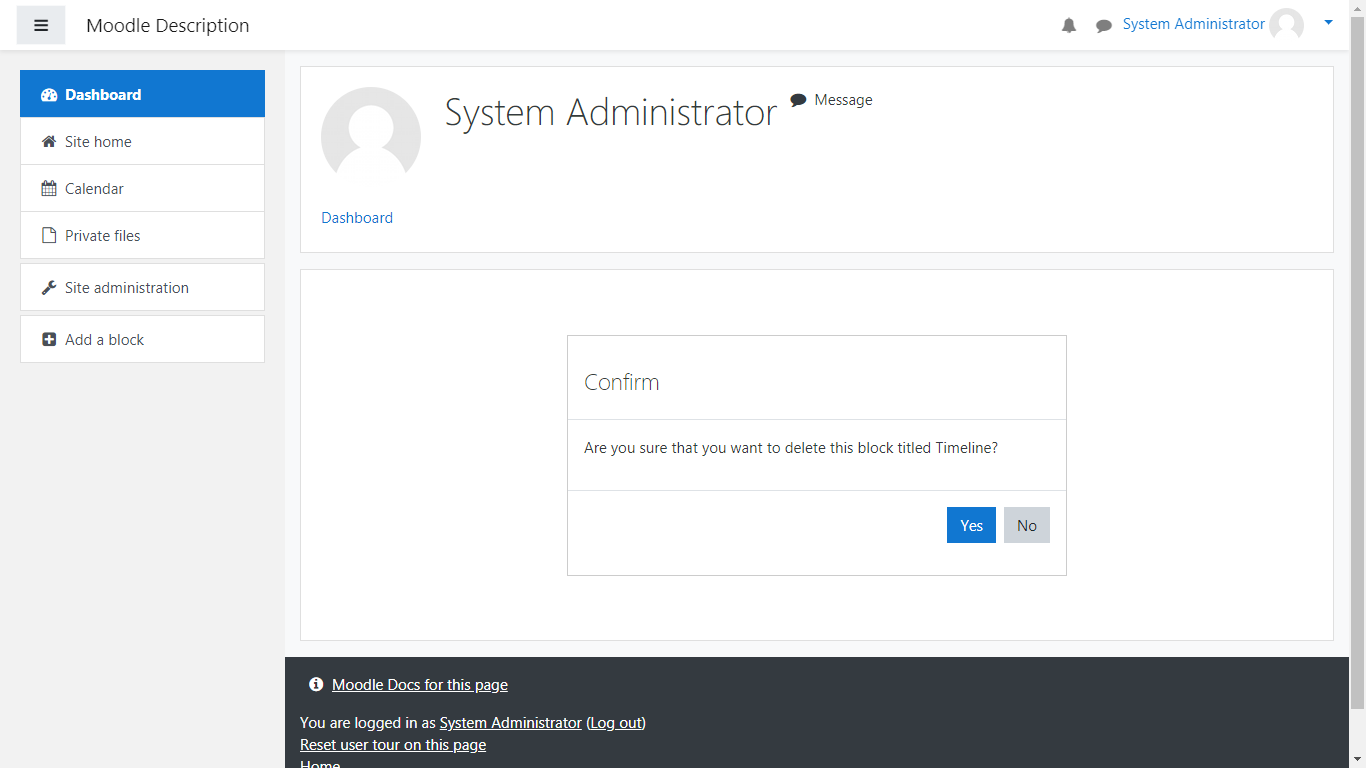
The last option we are going to review is the Delete option, which removes the block entirely from your Dashboard. Do not worry, as you can re-add that block later on, which we will also show here:

Once you’ve clicked it, you’ll be taken to a confirmation page asking you on whether or not you confirm to remove the block from the Dashboard. Select Yes.
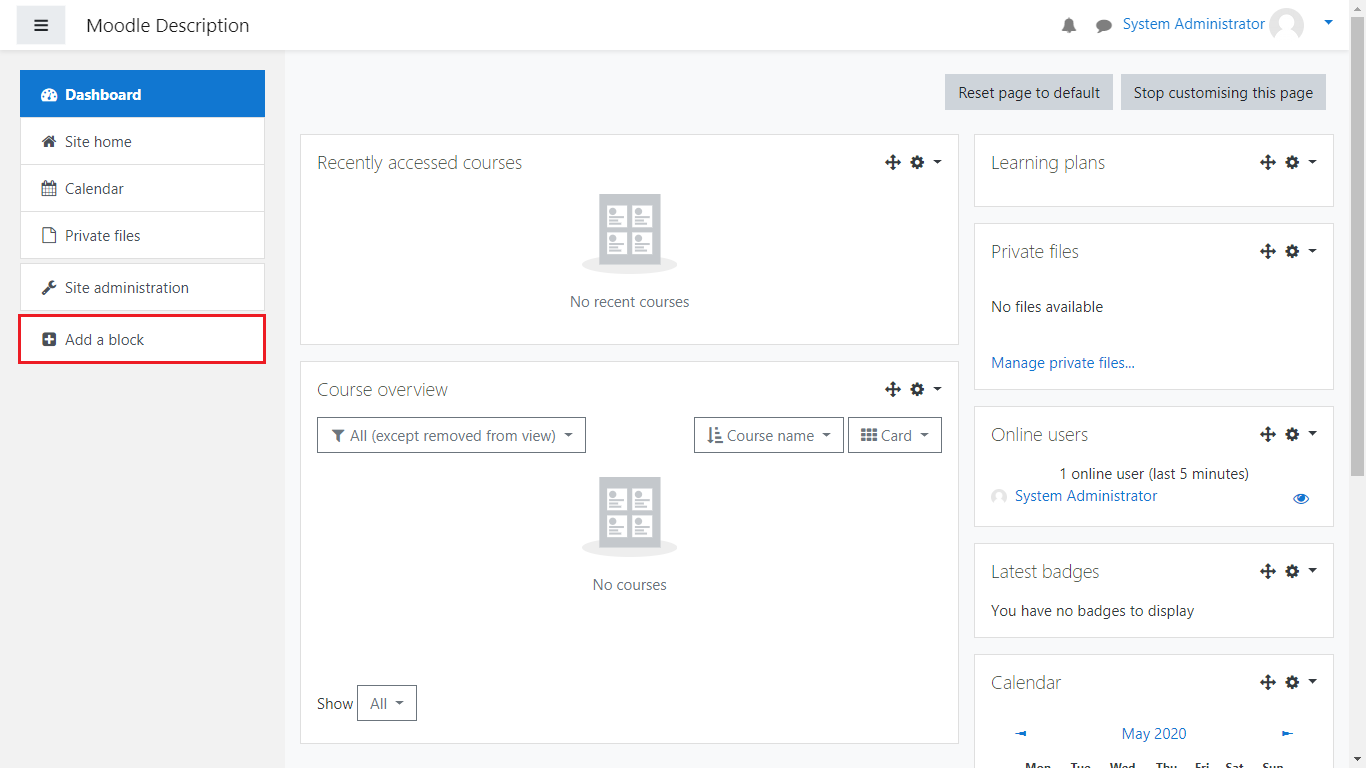
After doing so, the block is fully removed from the Dashboard, however now we will re-add it to your Dashboard as we mentioned.

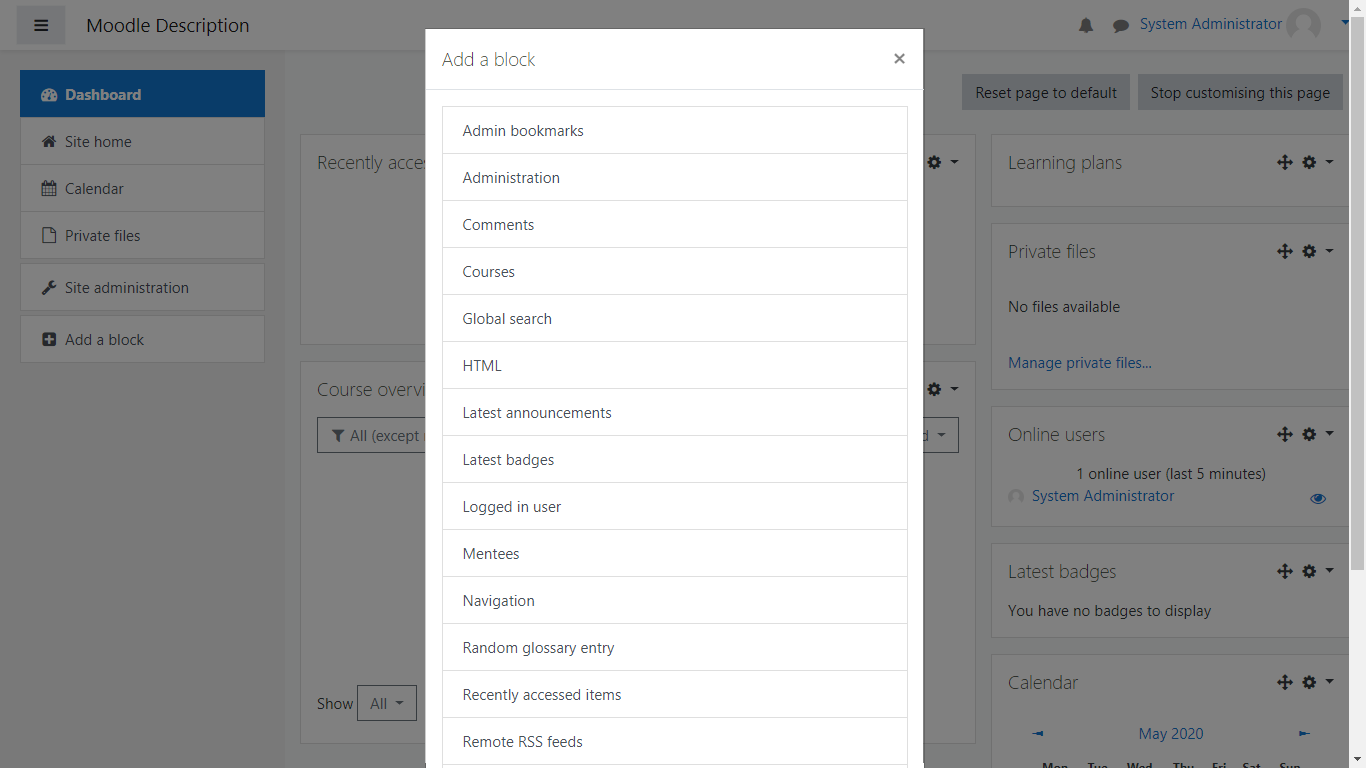
Click on the “Add a block” button on the sidebar to your left:
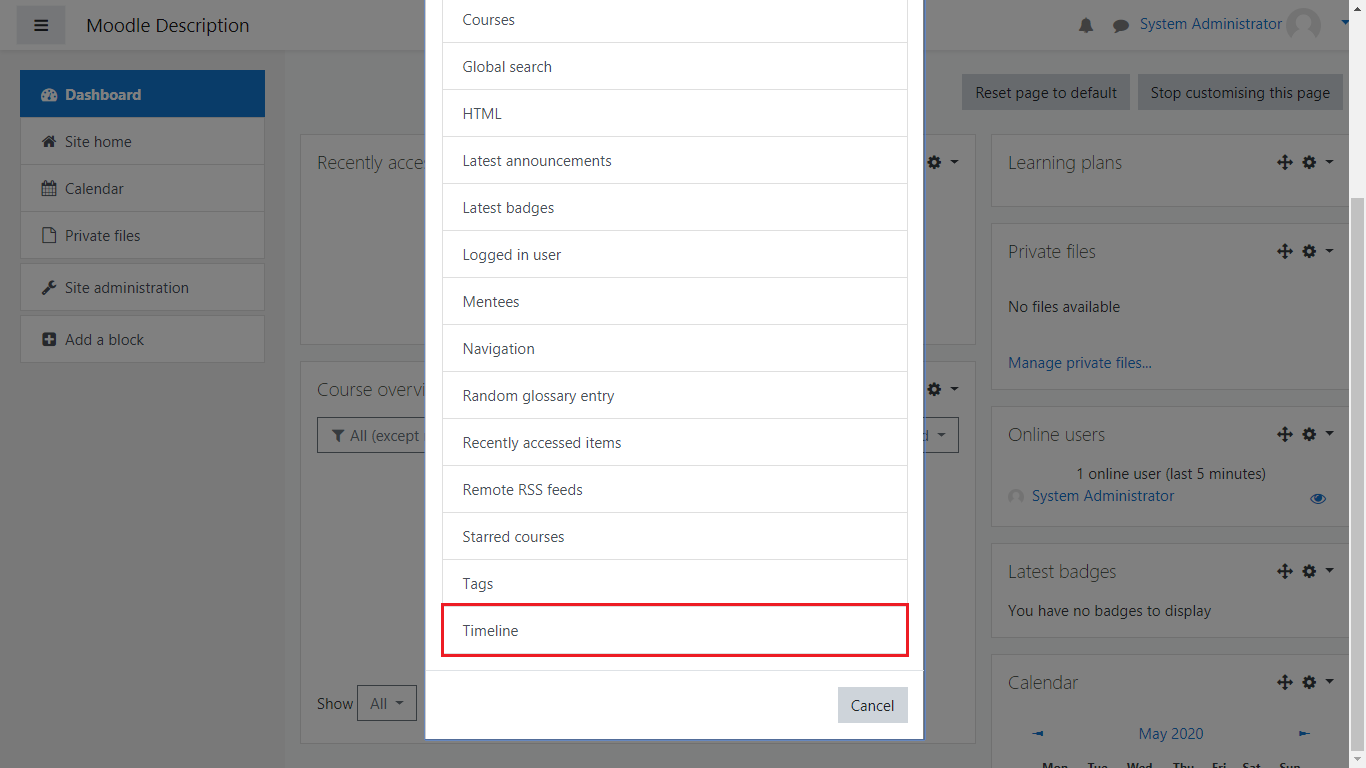
From here, a popup window will appear with a multitude of different blocks you can add. In this scenario we will add the Timeline block:
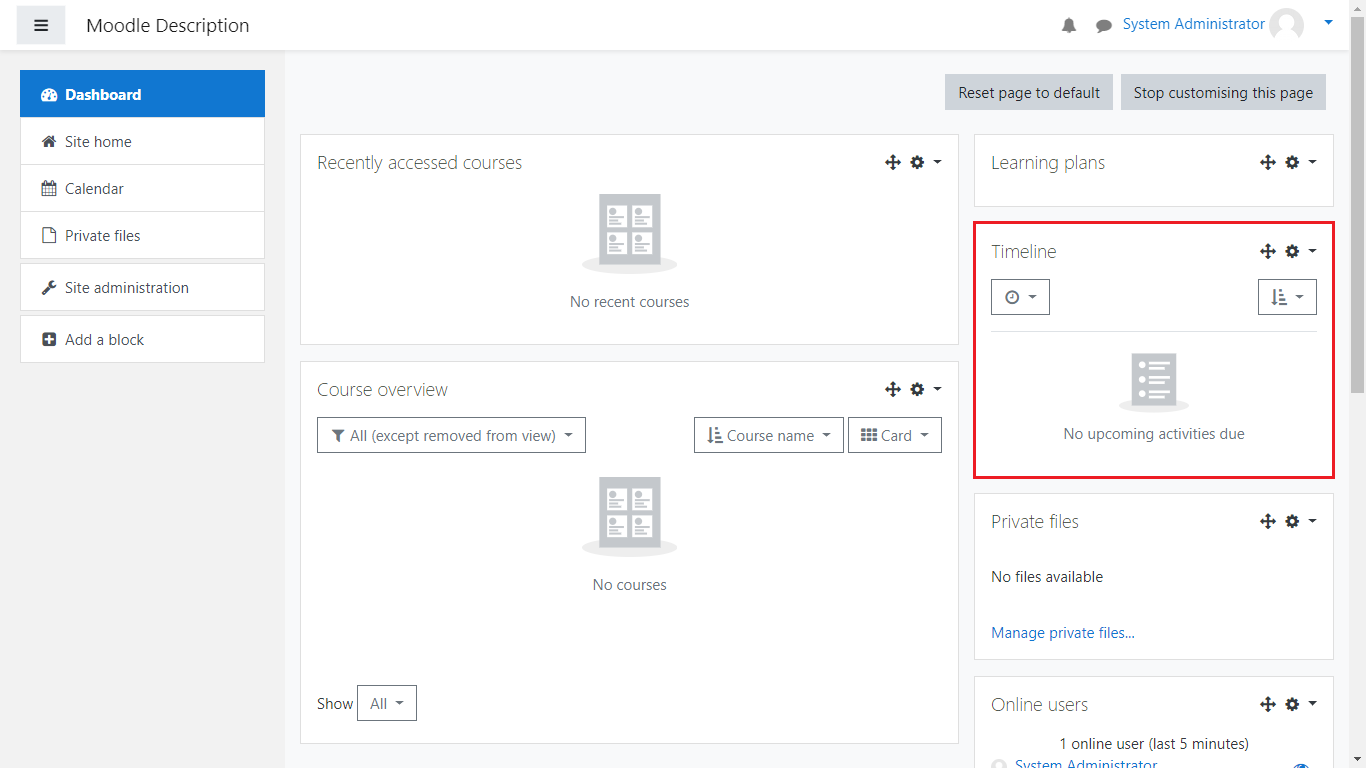
Click on the block in order to add it back to your Dashboard:
Once you’ve done that, you’ll see that your Timeline block is back on your Dashboard:
This concludes our article on customizing your Moodle Dashboard. Good luck!