 Skip to content
In case you need or prefer to install a new Joomla instance manually, here is how to proceed:
- You would first need to access their website to download the installation package:
https://www.joomla.org
- From there, you can use the “Download Joomla!” button to download the latest stable version available. It is recommended to always download the latest stable version available, unless having a need for a specific older version. For such cases,, Joomla provides all of the previous versions available for download from the Download & Extend tab at the top of the page.
- Once the installation package .archive is downloaded to your local device, you will need to upload the file to your cPanel account.
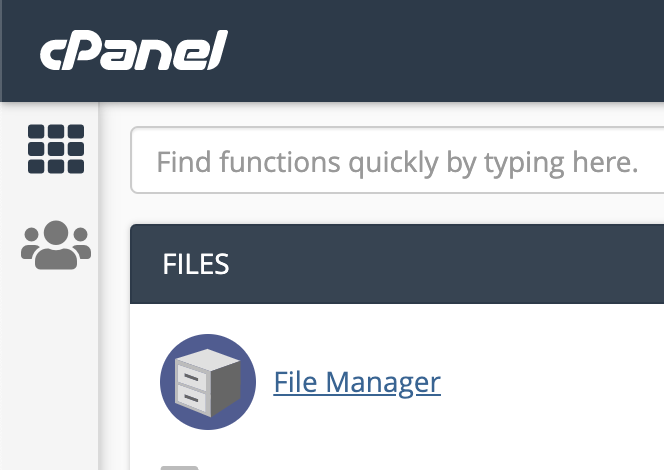
To do so, access your cPanel account and open File Manager:
Navigate to the document root folder of the Domain or Subdomain to which you wish to install Joomla.
Click on the “Upload” button at the top menu to proceed with uploading the Joomla installation file. Once the file has been uploaded you can right-click on it and extract the .zip archive.
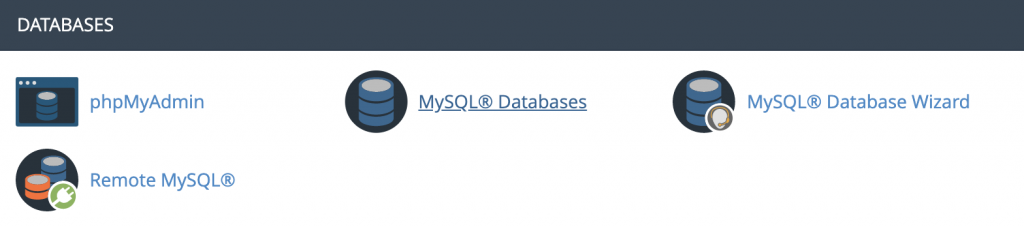
- At this point, you can access MySQL Databases in your cPanel account in order to create a new database and database user for the Joomla website:
- You can create a database and database user by the same name, make sure to save the password as it will be needed for the installation and add the database to the user by granting it full privileges.
To begin the installation, visit the domain or subdomain by typing it in your browser. If your website is for example, on domain.com, you can simply visit:
This will automatically redirect you to the manual installation page:
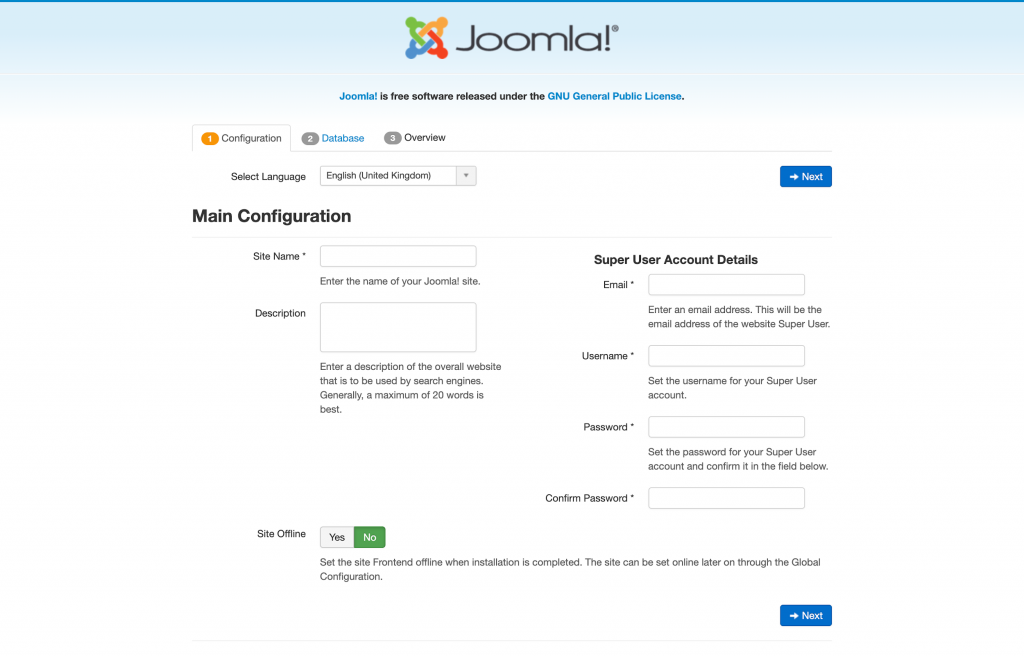
On the first field, fill in the fields for website name and description, as well as the login credentials for the Administrator user of the website and click on “Next” to access the next page:
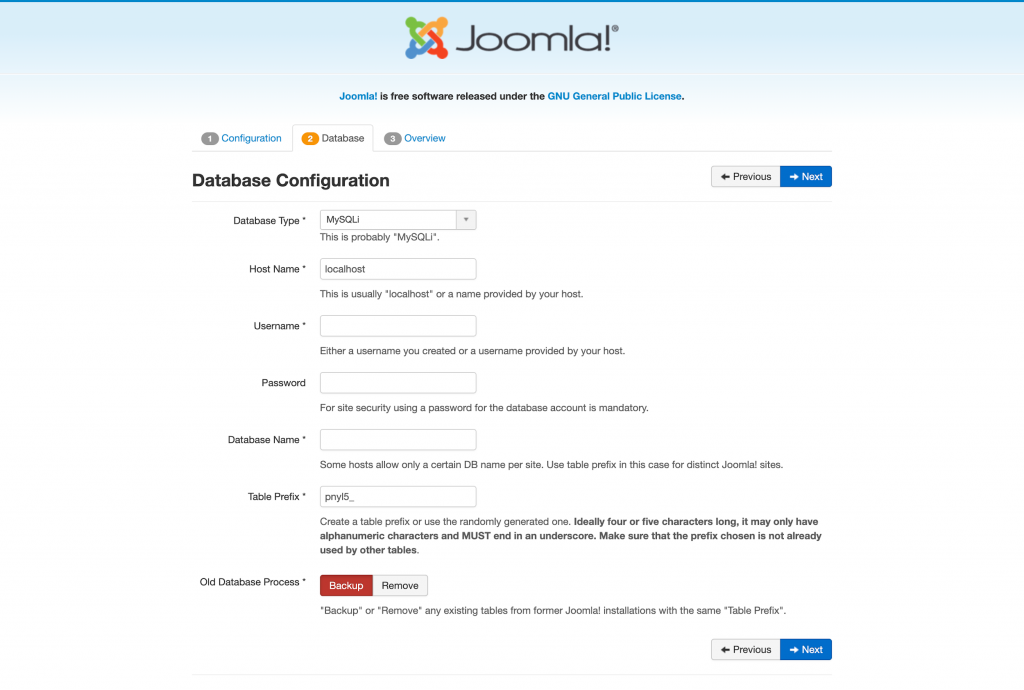
Here, you should leave the first two options on default and then copy/paste the database name, user and password for the MySQL Database which you created earlier.
The next and final page will present you with the option to add sample content to your new Joomla installation and provides and overview on the previously selected settings. Do not install sample data if your website is going to be mutli-lingual. To finalize the Joomla 3 installation. Click on the “Install” button and wait up to a couple of minutes for it to complete.:
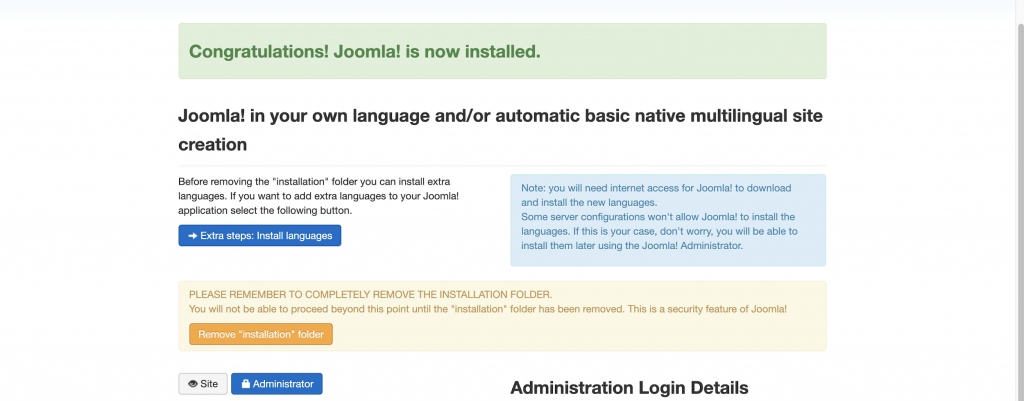
As soon as the installation is complete, Joomla 3 will provide you with optional Extra Steps. You can install additional language packages or skip this step if not needed. You can then click on the “Remove Installation folder” button, which is an additional security feature of Joomla.
The manual installation of Joomla 3 is now complete and you can start building your website!