 Skip to content
How to install Joomla modules
In this tutorial we would like to provide you a few quick steps that will help you install Modules for your Joomla website.
To begin, you would need to be logged into your Joomla’s administrator dashboard. In case it has not been changed, the login URL should be yourdomain.com/administrator, where you would need to fill in your administrator Username and Password.
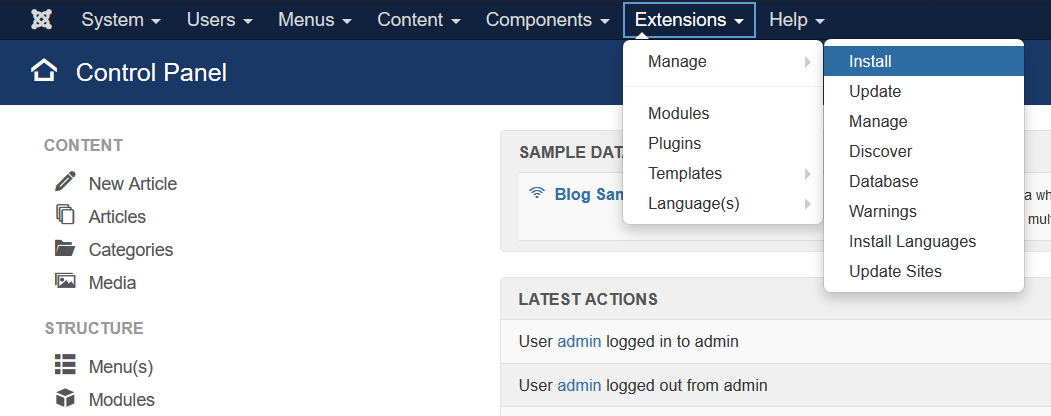
Once logged in, locate the top menu, where from the “Extensions” drop-down select “Manage” -> “Install”.
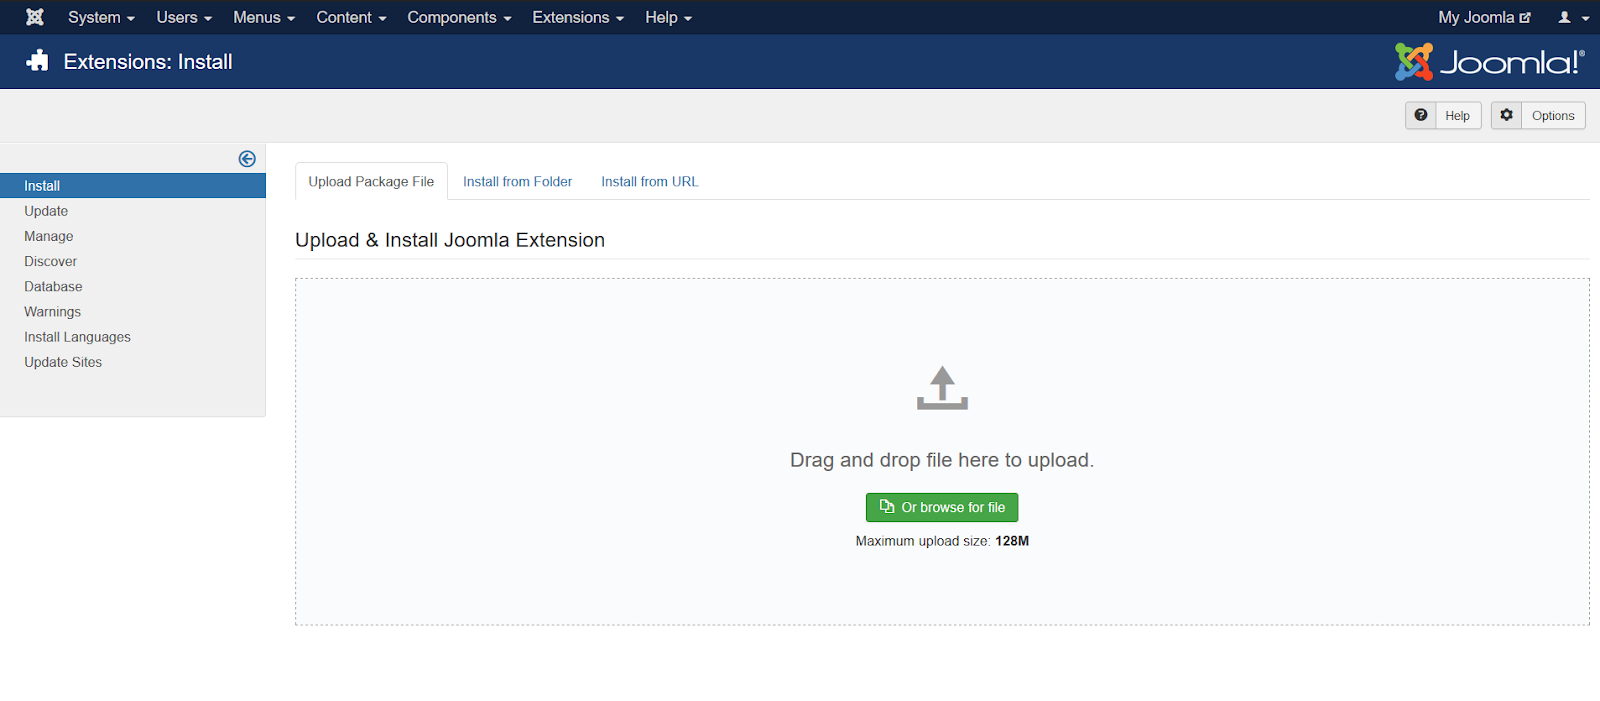
On the next screen, you would need to upload the Module either via the “Drag and Drop” feature or via the “Browse for File” button from your local device. When the upload is complete, the module will be installed automatically.
Once uploaded and installed, the final step would be to enable the Module. To do that you would need to return to the homepage of your Joomla dashboard and click on “Modules” from the menu located on the left-hand side of your screen.

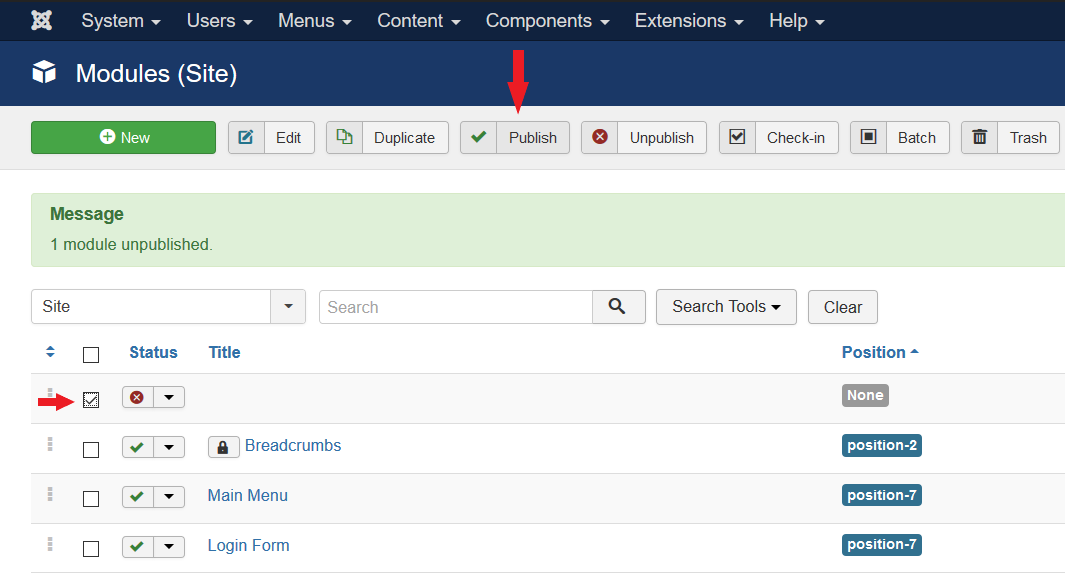
On the Modules page, find and click on the newly uploaded module. Change module status from unpublished to published.
All it is left to do now, is to assign the module to the pages, on which you want to have it installed. To do so, click on the Module and go to Menu Assignment.
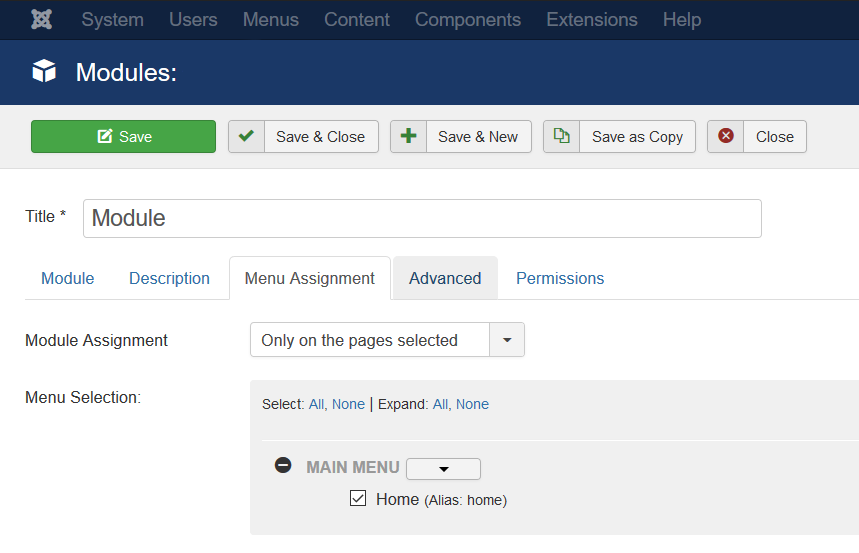
Now the module is fully active and you will be able to use its functions on the selected pages.