Skip to content
Here we will show how to perform a quick automated Joomla installation.
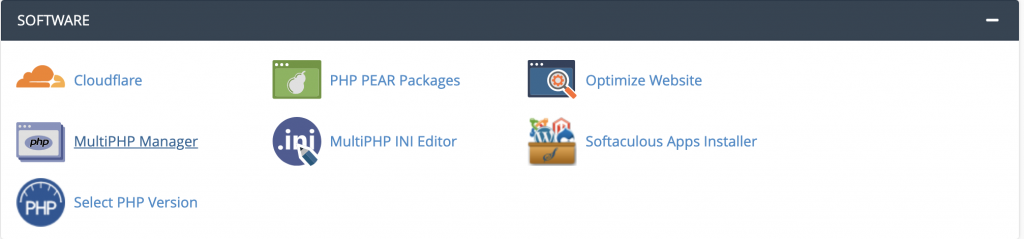
First, log in to your cPanel account then scroll down to the Software section and click on the Softaculous Apps Installer:
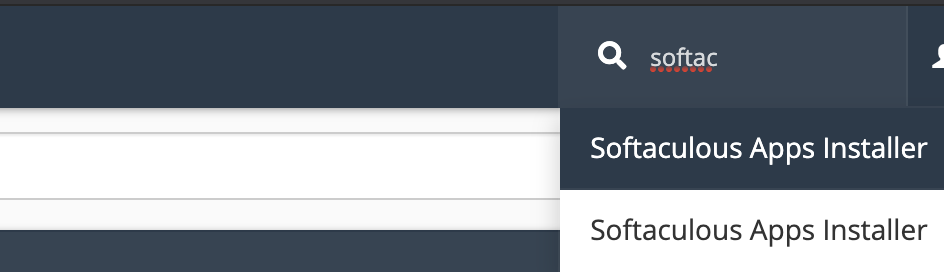
You can also use the search bar at the top right corner to start typing “Softaculous” and hit enter once it appears to open it:
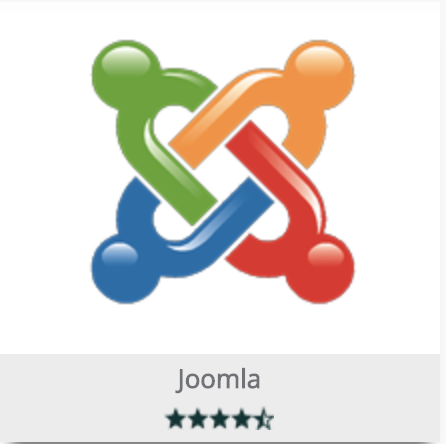
Once you have accessed Softaculous, you should be able to view and click on the Joomla icon:
Or, you can once again use the search-bar on the left side of the page:
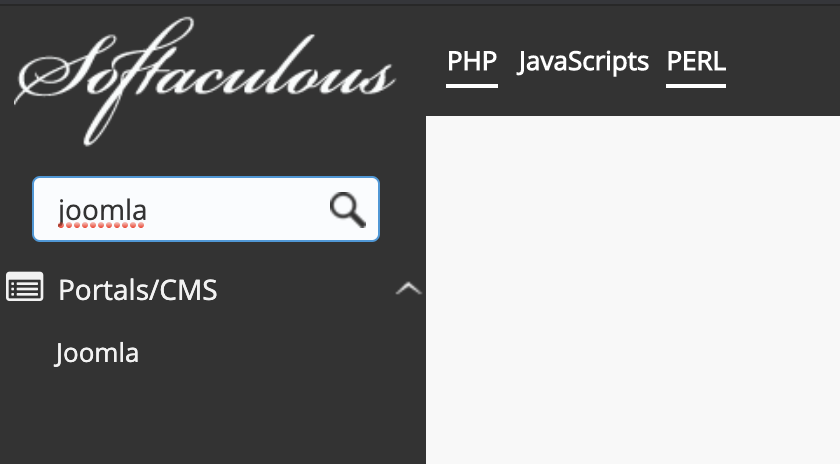
Once Joomla is selected, click on “Install now” to proceed with the installation.
This will be the first part of the page you will be displayed with:

- The first field will let you choose the version for the installation. Usually, the latest version available is automatically selected, as it is recommended to use the latest version available, unless another version is particularly needed. In our case, this was the 3.9.18 version.
- The second field is for setting the website’s URL. To use the “https” prefix, the domain or subdomain should have an SSL certificate installed. At the second part, the Domain(or Subdomain) is selected.
- Important: Take note of the third field “In Directory”. By default it will be auto-filled in our case, with “joomla30” . This will place the installation in a sub-folder to your domain, from which it will load from such a URL:
https://www.domain.com/joomla30
To avoid this and have your website on
https://www.domain.com
Make sure to delete the “joomla30” or similar entry. It can also be changed to any subfolder name of your choice:

- Next, you can select the Site Name and Description, which will be displayed on the homepage of the installed website and can be later changed.
- The next essential step is setting the Administrator Account infomration. Here you can select the username, password and email for the Administrator Account with which you will build and manage the website.
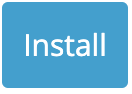
- To complete the installation process simply click on the “Install” button and wait for the process to complete:
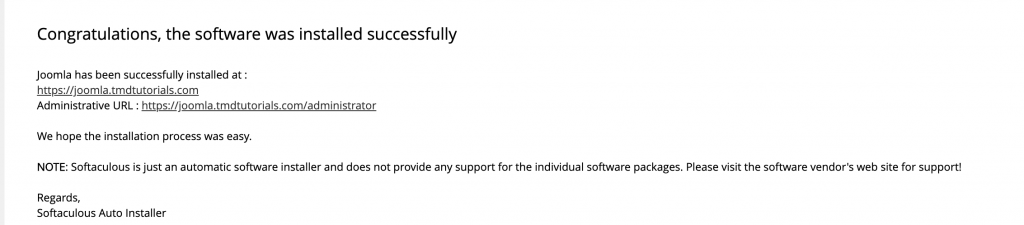
Once Joomla has been successfully installed, you will be displayed with the URLs to the website and its Administrative area: