Skip to content
To perform a manual installation of the Dolphin script you should first download the latest version from the official Dolphin website.
Please note that in order to download the application you will need to create an account on their website.
Once you download the Dolphin-v.7.x.x.zip file extract it on your local computer. The extracted files and folders have to be uploaded to your hosting account where you would like to have Dolphin installed. You should make sure to upload them in the root folder of the application. This can be easily done via FTP client such as FileZilla following the instructions here.
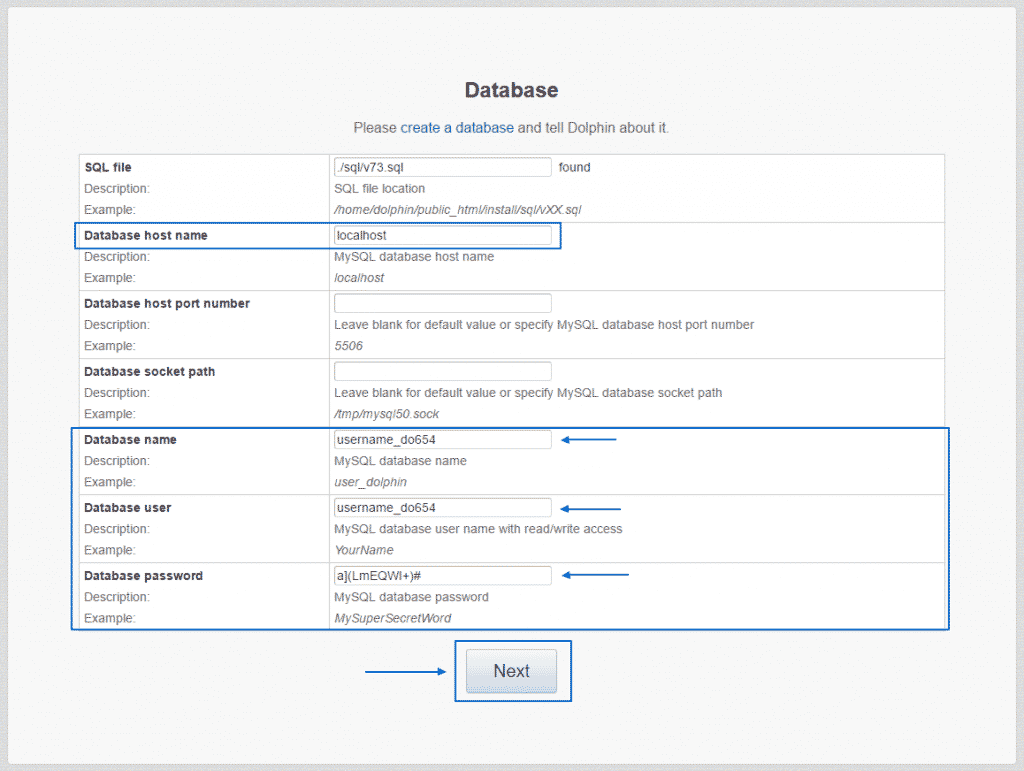
Once the files are uploaded to your account you should create a database for the application. You can find more information on how to do that in our article here.
As soon as the actions above are performed you can proceed with the actual installation. To do so type the exact URL to the root folder of the application in the browser. In case that you are installing it in the public_html folder you should access yourdomain.com and if you are installing in in a subfolder you need to go to yourdomain.com/subfolder.
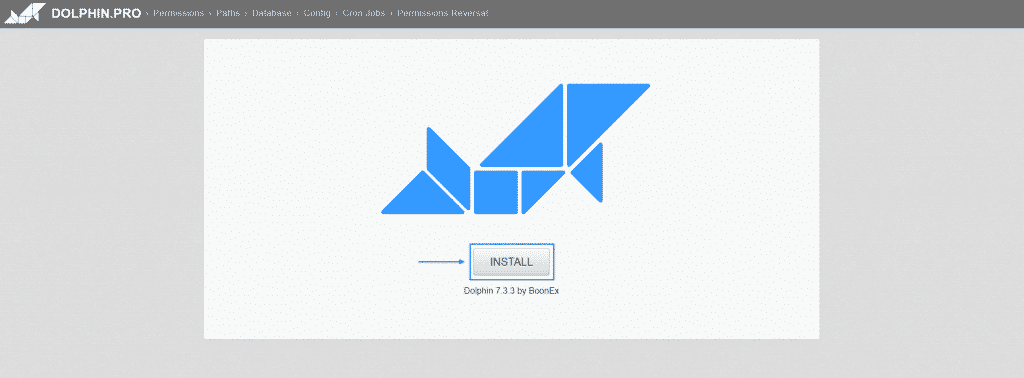
Now you should be able to see the first screen of the installation wizard. Click on the Install button to proceed:
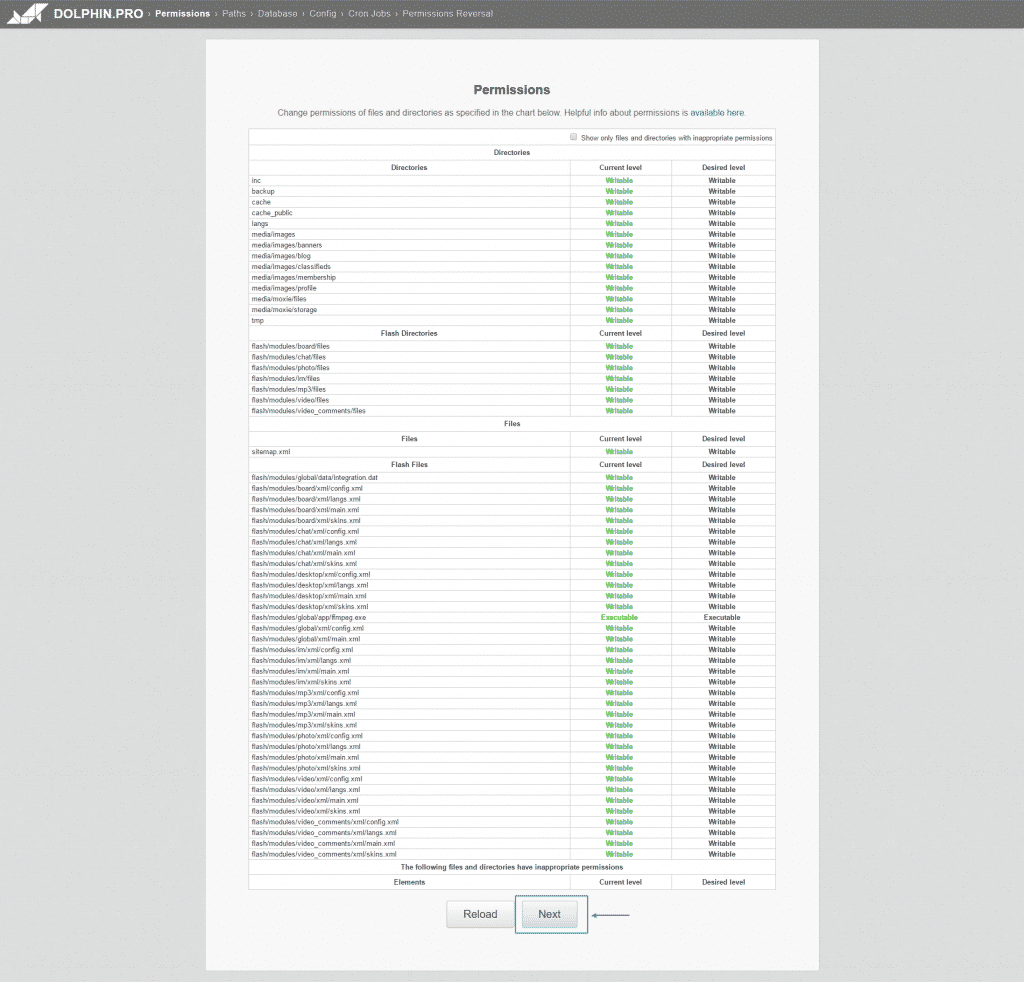
On the next page a system requirements check is made. Click Next:
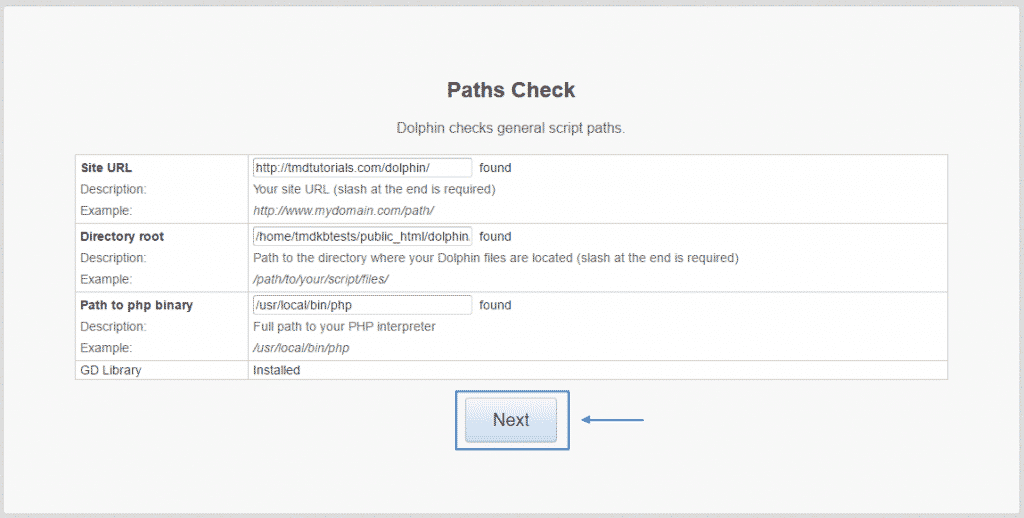
On the next step a patch check is made. Click Next again:
Now you need to enter the credentials associated with the database you have created:
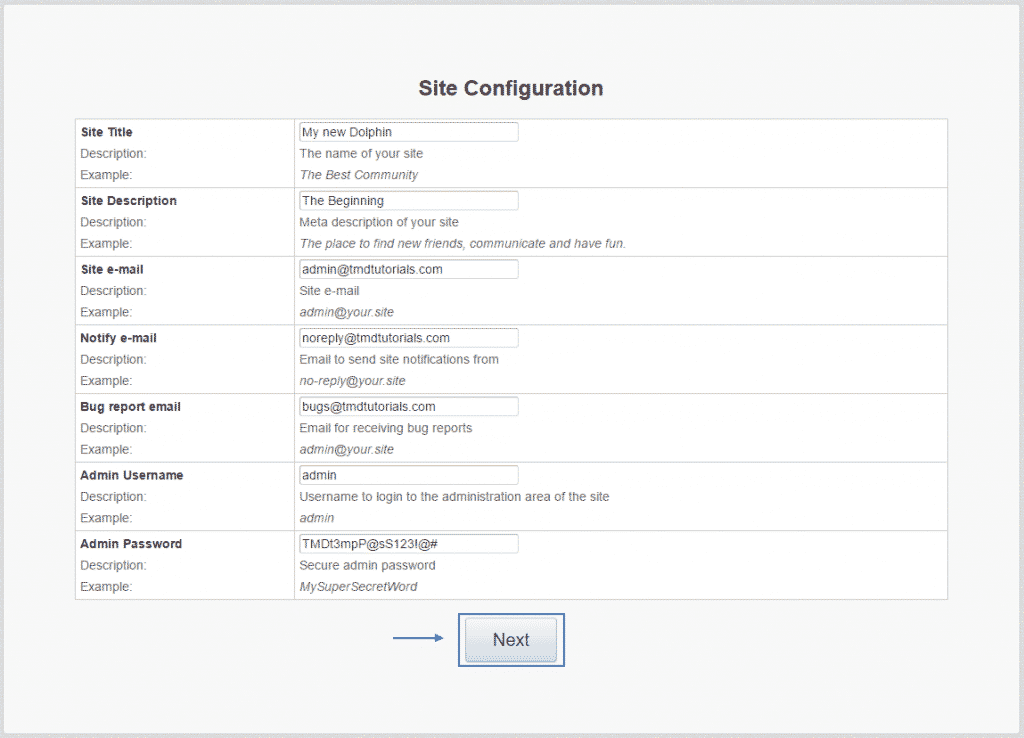
On the following page you need to set the Site Title, Site Description, Site e-mail, Notify e-mail, Bug report e-mail, Admin Username and Admin Password:
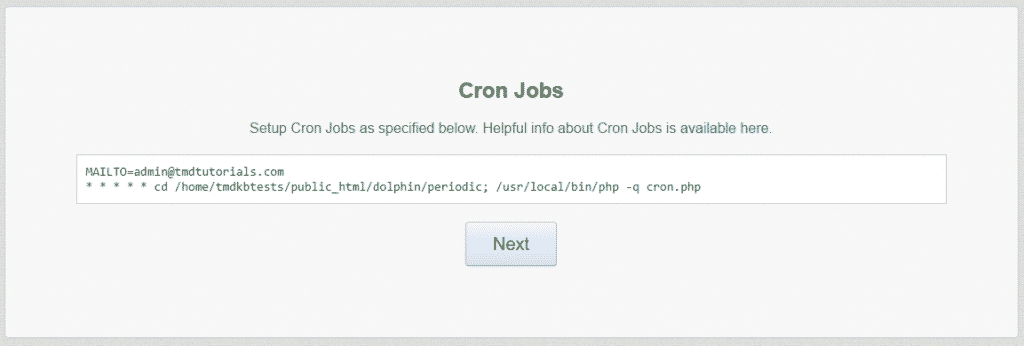
The next step is to configure the Cron Jobs associated with the script:
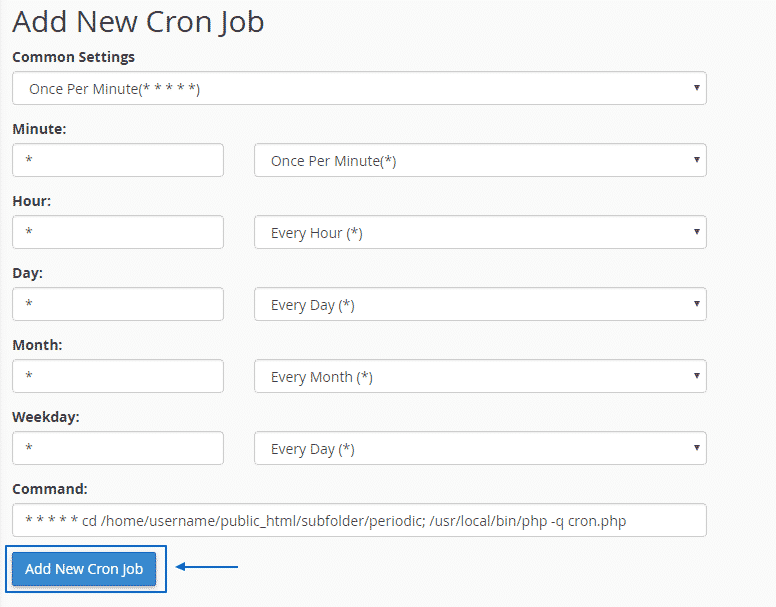
To do so you need to go to your cPanel and navigate to the Cron Jobs feature, located under the Advanced section:

Here you should paste the command provided in the screen above:
Getting back to the installation wizard click the Next button.
Afterwards you need to change the permissions of the inc folder from 755 to 555. It is located under the root directory of the Dolphin application. This can be achieved via the File Manager in cPanel. You can find more information on how to do that here.
The final step of the installation is to remove the install folder:
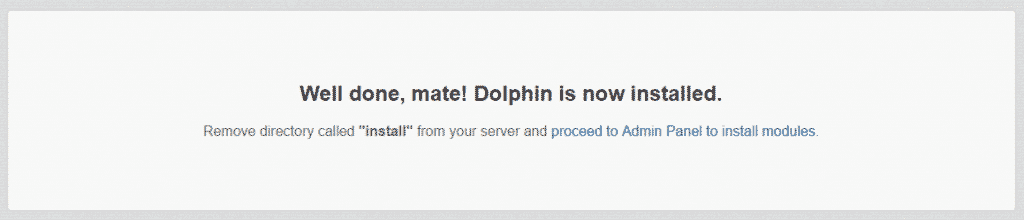
You can do that either via the File Manager in cPanel or using your favorite FTP client.
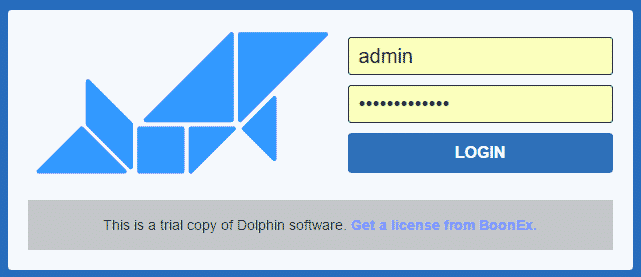
That is all you need to do. You can now access the administration area of your application via the following URL:
yourdomain.com/administration: