Skip to content
Here we will show you how to install the Dolphin application using the Softaculous auto installer. It is available in all of our Dolphin hosting packages.
These are the hosting requirements of the script which you should consider before installing it:
Linux/Windows OS
Apache 1.3 or higher/LiteSpeed web server
PHP 5.3.0 or higher
PHP 5.4.0 or higher is a must if you would use the Facebook Connect module
MariaDB
Mod_rewrite Apache module
CG PHP library
Cron Jobs support
Ffmpeg
The application is compatible with all of the packages we currently offer but you need to have in mind that once the members of your community grow in number you should consider an upgrade to a higher plan that will provide you with more resources.
Let’s now head towards the actual installation.
First you need to go to your cPanel via yourdomain.com/cpanel. Once you access it click on the Softaculous icon, located under the Software section:

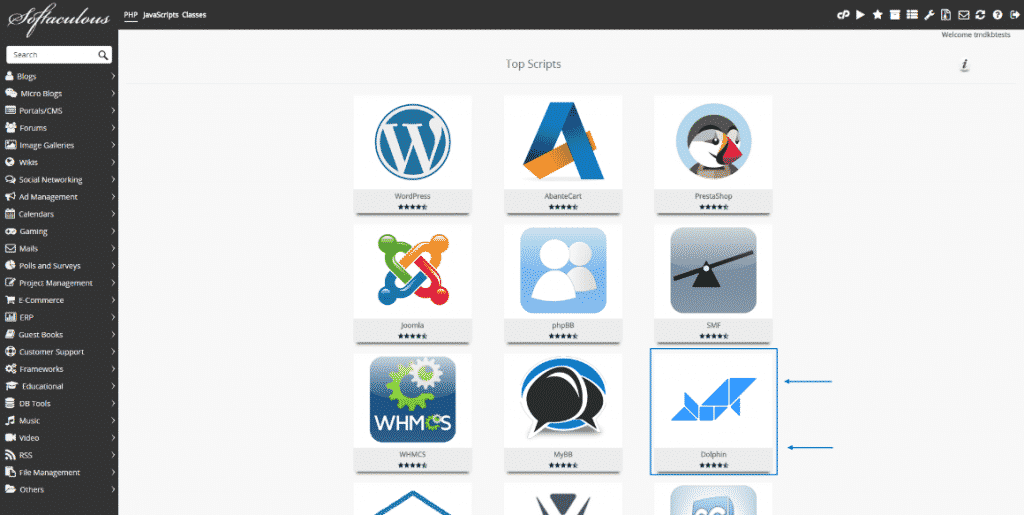
Clicking on it will lead you to the Softaculous main page. There, among the Top Scripts, you should find the Dolphin icon:
It will redirect you to the overview page of the application. To install it you will need to click either on the Install tab or on the Install Now button:

On this step you need to choose the protocol (http or https), the domain and the exact directory under which you want to install Dolphin. You should also set the Cron Job timing:
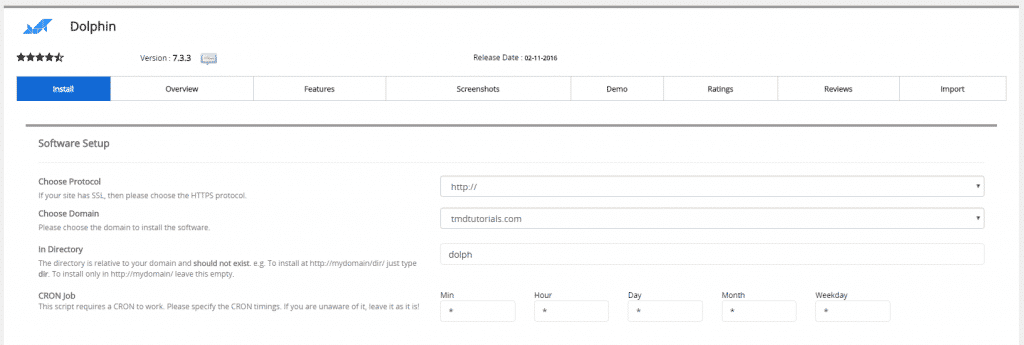
The version of the application available in the Softaculous auto installer is the latest one which allow you to use the latest features of the script.
Choose the domain name under which you would like to install Dolphin and the folder you would like to operate in. The simplest way of that decision is to ask yourself whether you would like to have the website atwww.yourdomain.com or at www.yourdomain.com/subfolder.
If you want to install it directly under your domain name leave the directory field blank. If you would like to put it under something like /dolph or /network or /community, then fill it respectively in the directory field (omitting the / sign).
In our example below, we are installing Dolphin in a folder named “dolph”, under the tmdtutorials.com domain, so it will be available at www.tmdtutorials.com/dolph when finally installed.
Further on you will need to apply the following details for your Dolphin application:
-Site Name – The name of your website
-Site Description – A short description on your website
-Admin Username – The username you will use to access the Dashboard of your application
-Admin Password – The password you will use to access the Dashboard of your application (Please change the default one to a string that is secure enough and still easy to remember)
-Admin Email – The administrative email you will use for your application (Please provide a valid email address because you might need to use it later)
-Bug Email – an email address on which the visitors of your website can report any bugs associated with it
-No-Reply Email – an email address from which you can send newsletters and any other information that does not require any response
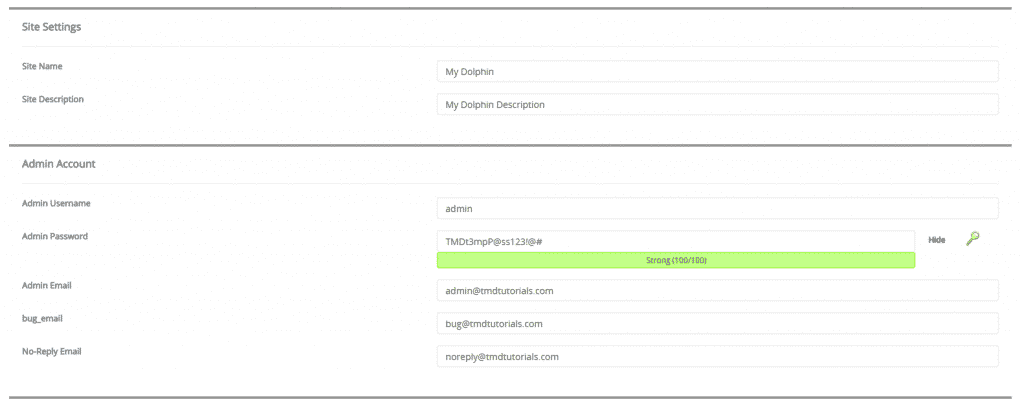
As soon as you are ready filling these details, please revise the whole page, making sure that you have filled the correct details and write the most important down. Once you do so, you are ready to proceed.
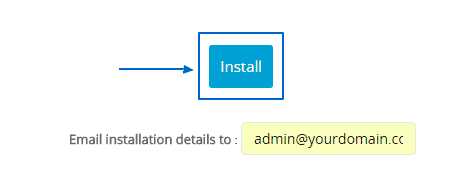
Now fill in the email account on which you would like to receive the installation details and click on the Install button:
Wait for a couple of seconds while the installation is in progress. Once it is completed you will be prompted with the frontend and administrative URLs:

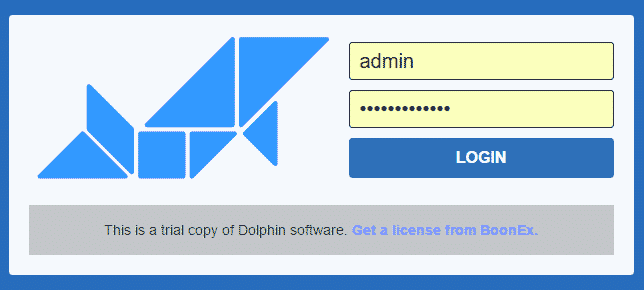
As simple as that it was! Now you are ready to proceed and begin configuring your new Dolphin website! Click on the Administrative URL and you will see the login screen: