Skip to content
VTiger CRM, being one of the most popular scripts of its kind on the market today with more than four million downloads, has a big community of active users, who can help you out with advice at any given point. The latest version of this platform offers amazing functionalities for your small or medium-sized business and it is just one install away with our special vTiger hosting packages.
As mentioned before, there are two ways in which you can install your vTiger CRM – automatically or manually. In this section of the tutorial, we are going to focus on the latter. Here are the steps, which you need to follow to perform a manual installation of vTiger CRM by yourself.
First, you have to download the most recent version of the application from the official website of vTiger CRM on your computer. When you do that, you should then unzip its content. Afterwards, you must upload the already unzipped content into the root directory of the script via FTP. Here, on this link, are some detailed instructions of how you can do that.
Before you proceed further, have in mind that you will also need an empty database. Make sure you have one available, or if you don’t – just create new one through your cPanel. If you are not familiar with the procedure of doing so, here is our guide for performing this task.
Then, you will just need to access the root folder of your vTiger CRM by typing the URL in your browser:
yourdomain.com
Make sure that you include the subfolder’s name in the URL. If, for example, there is a subdirectory named “vtiger” in your public_html folder and the script’s files are uploaded in it, your URL should look like this:
yourdomain.com/vtiger
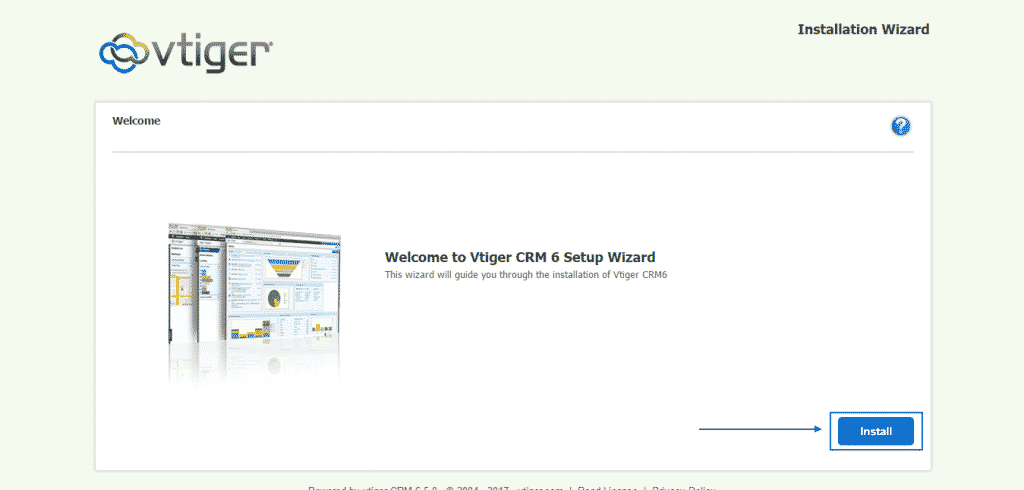
As soon as you type down the right URL and press Enter, you will be redirected to vTiger’s Installation Wizard, where you need to select the Install button:
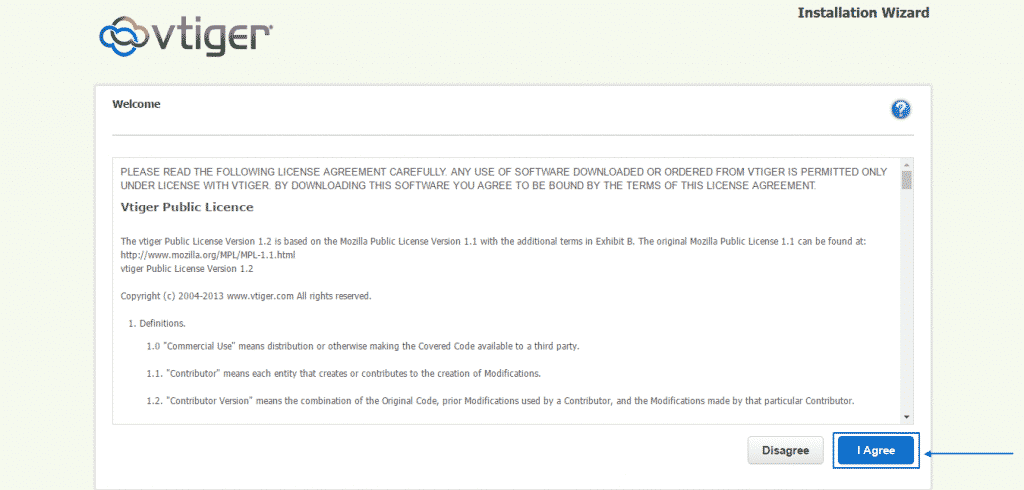
Then, you will see the full Terms & Conditions. You can read them and then click on I Agree:
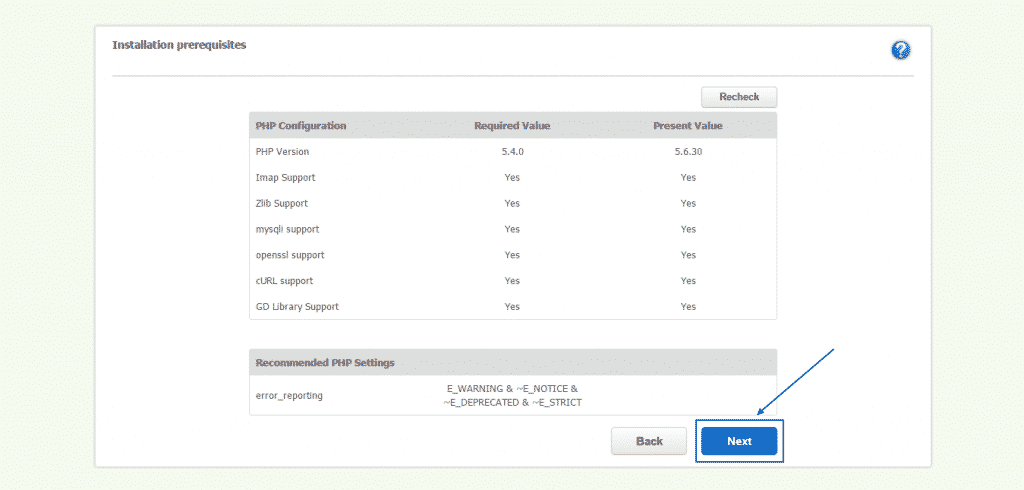
Next, you are going to see the PHP Configuration and recommended PHP Settings and then press on Next:
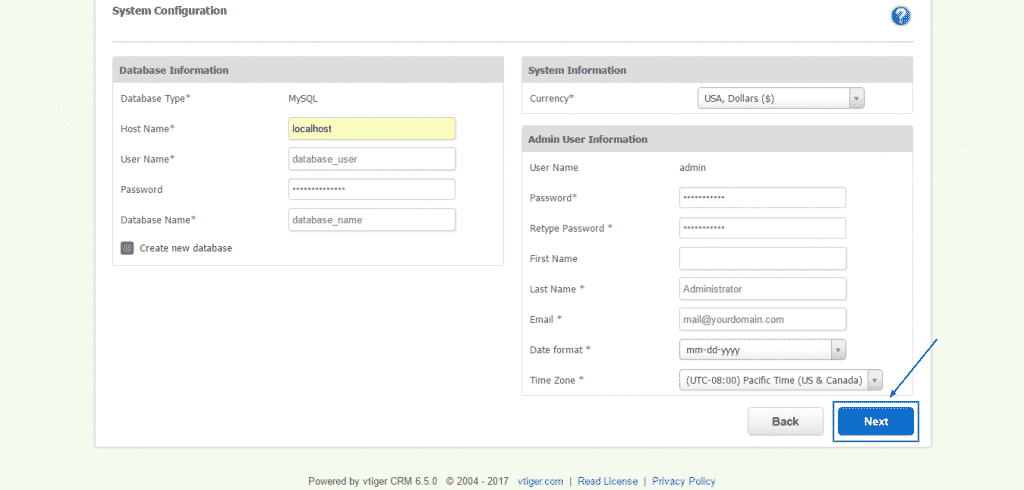
Afterward, in the System Configuration section, you will be able to fill in all the details of the newly created database, to set the preferred currency as well as to add all the needed user information, including the date format and time zone. When you are sure that all of the details are correct, simply click on the blue Next button at the bottom:
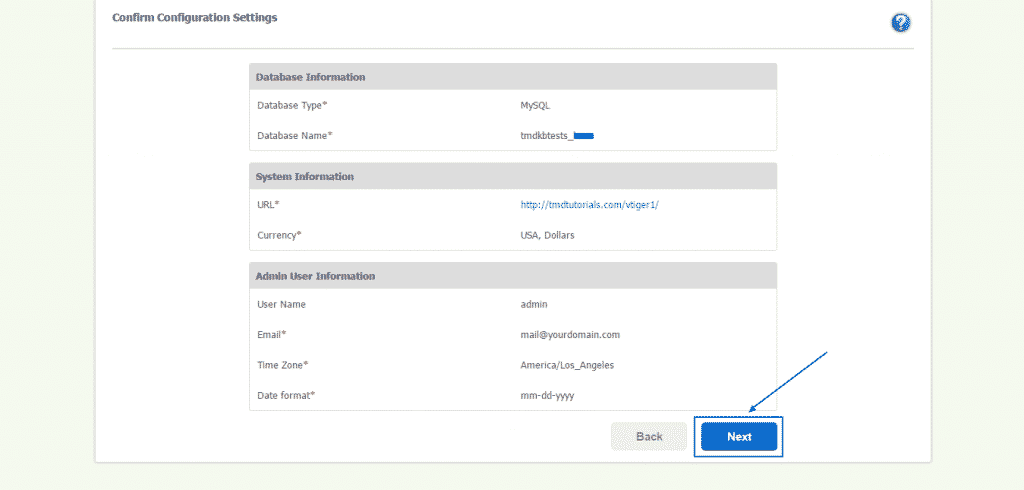
You will then see a confirmation page of the main information, you have just filled in and you need to press on Next again if everything is alright after the double checking:
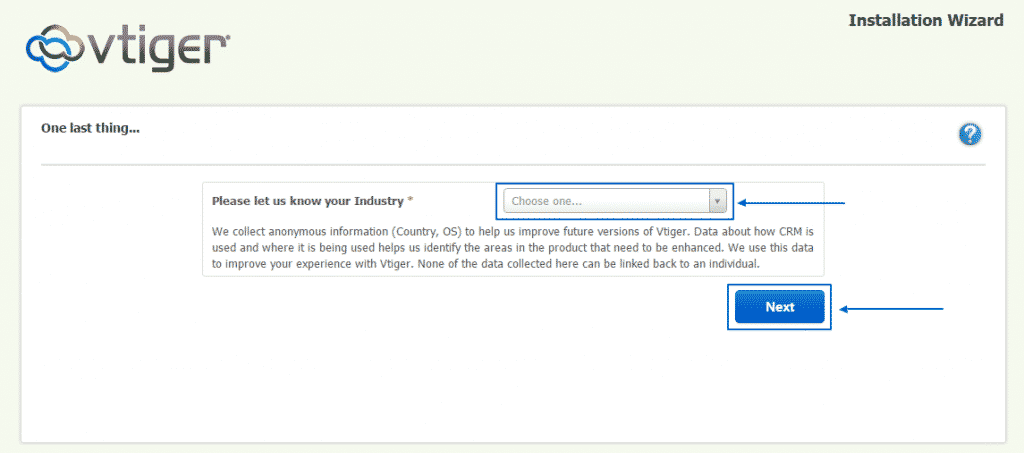
Then, vTiger is going to ask for the industry in which you are operating. You just have to select the proper one from the drop-down menu and select the Next:
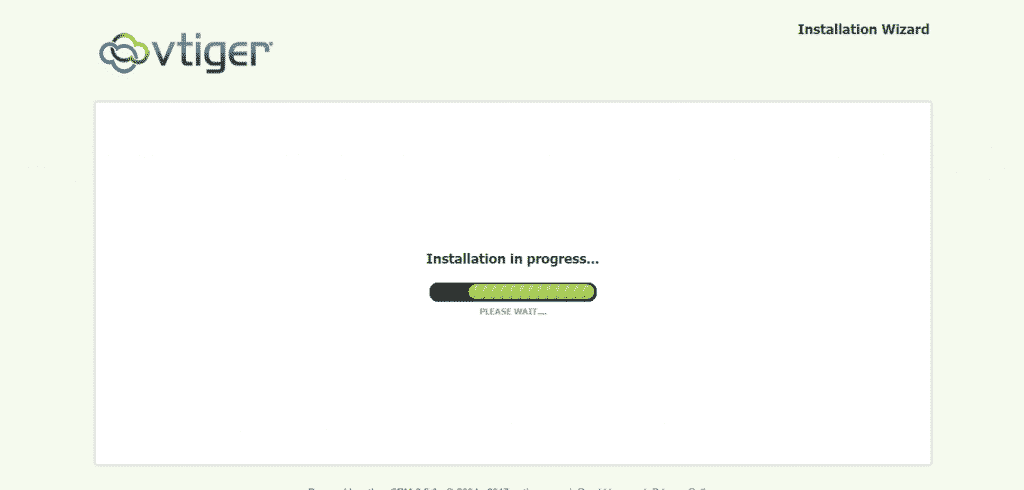
The installation will take some time, during which you will see the screen below, with the moving installation bar:
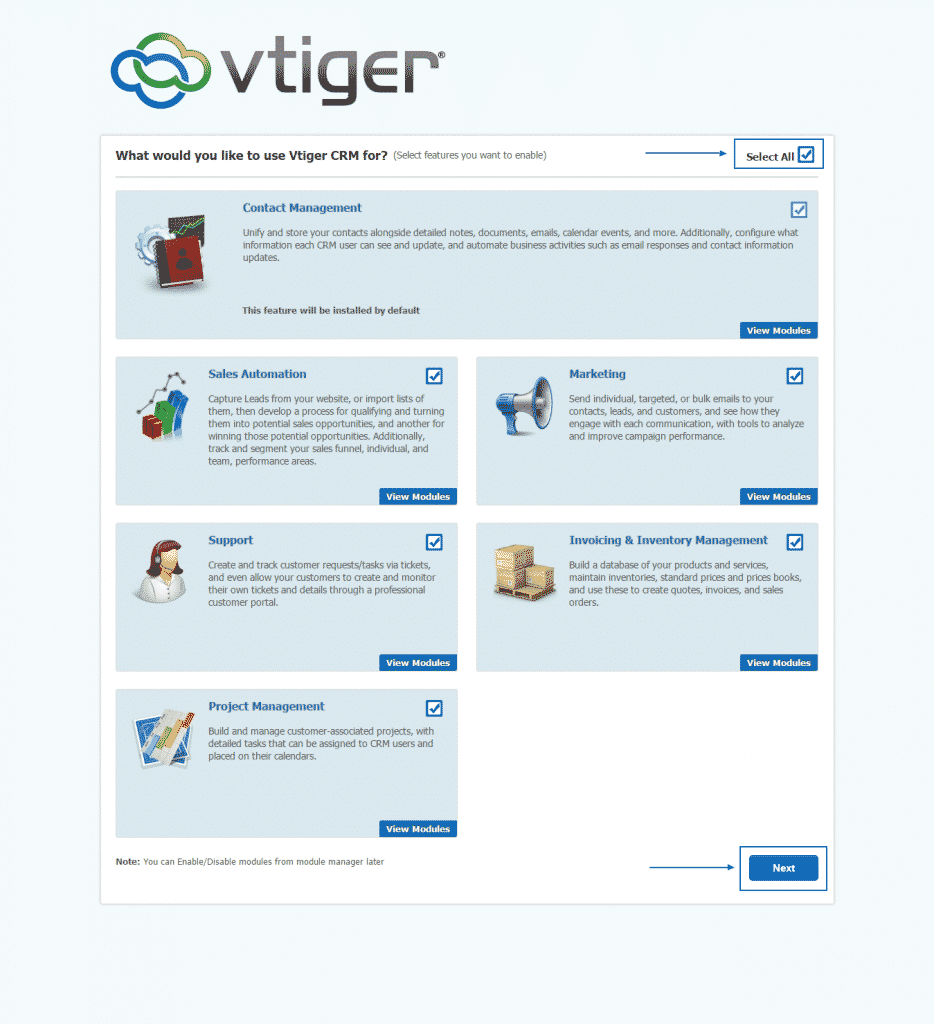
Once the installation process of vTiger CRM has been completed, you will be redirected to a page, where you can select the features, you want to enable, based on your needs. For the purposes of this tutorial, we have selected all of the options. After you are done with the selection, click on the Next button one final time:
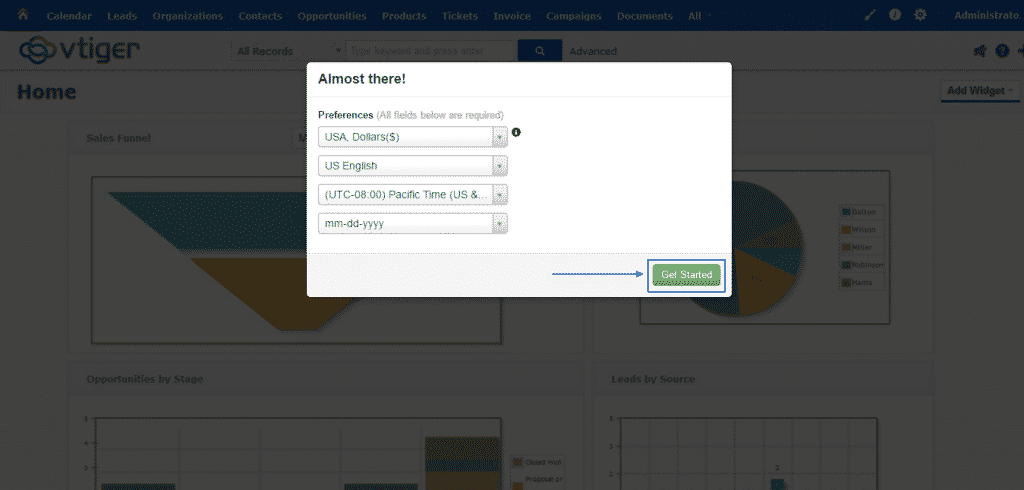
Finally, you will be presented with the opportunity to set key preferences, such as the currency, the language and the timezone of your vTiger CRM installation and then just select the green Get Started button to get into and start working on your online project: