Skip to content
As discussed in the Introduction part of this tutorial, vTiger CRM is one of the most popular scripts of its kind with over 4 million downloads worldwide. And one of the reasons for its popularity is the fact that it is available on 16 of the most used languages, thus covering the majority of users.
An additional factor for its popularity is also the ease of use of the script. While using many other ones, you must go through a rigorous and lengthy process just for changing the language. With vTiger CRM this procedure is effortless and requires very few simple steps.
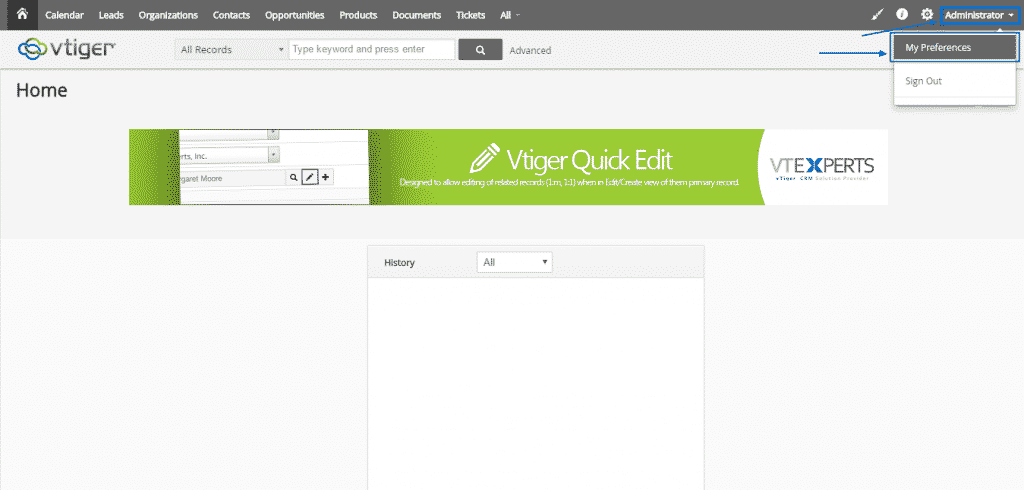
First of all, you need to enter your Administration Panel. When you have logged in, select Administrator and then press on My Preferences at the top right corner of the page:
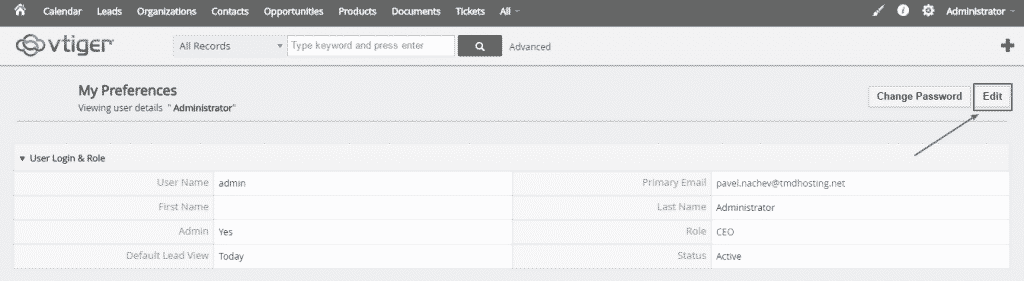
Once you land on the My Preferences page, simply click on the Edit button at the right corner:
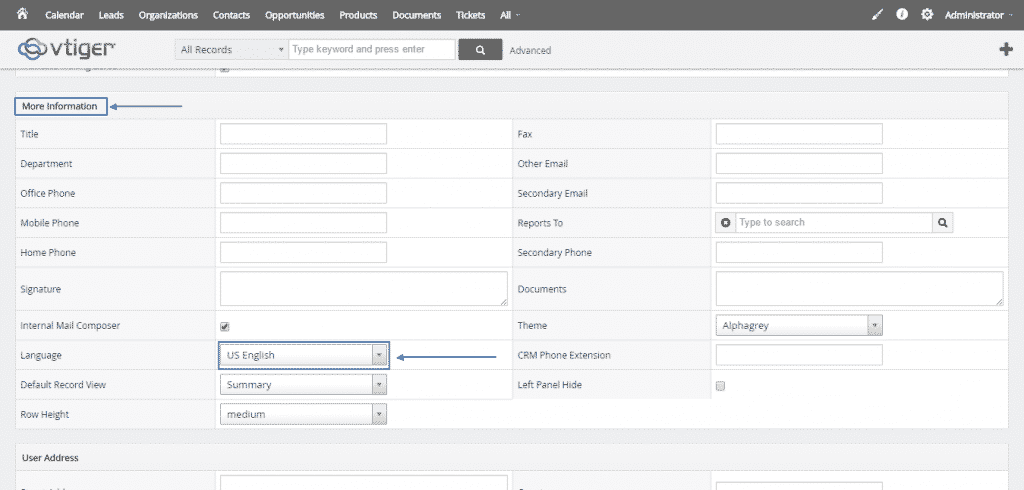
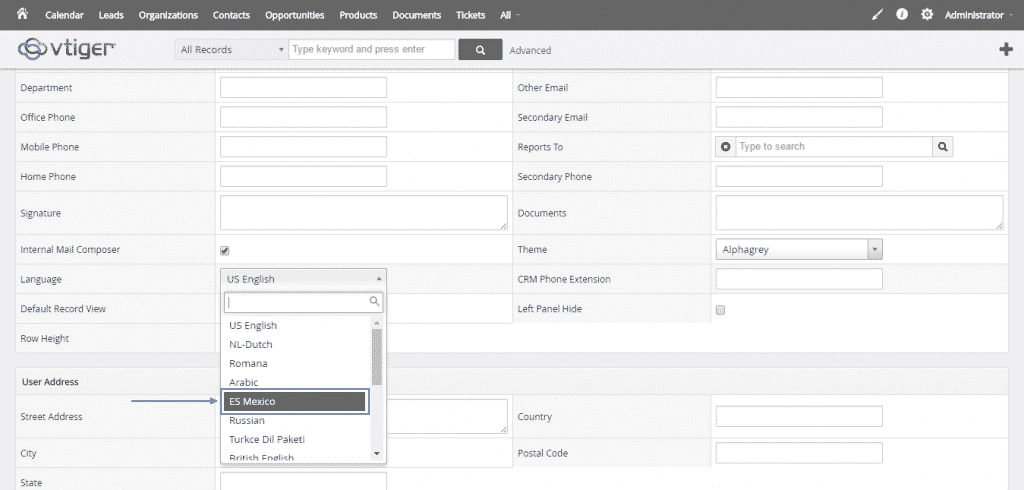
After you have enabled the Edit option, you have to scroll down to the More Information section, where you will be able to locate the Language row. The default language is set to US English. If you want to change it, simply press it:
A drop-down menu will appear, where you can browse through and choose your preferred language. For the purposes of this tutorial, we are going to select ES Mexico (Spanish):
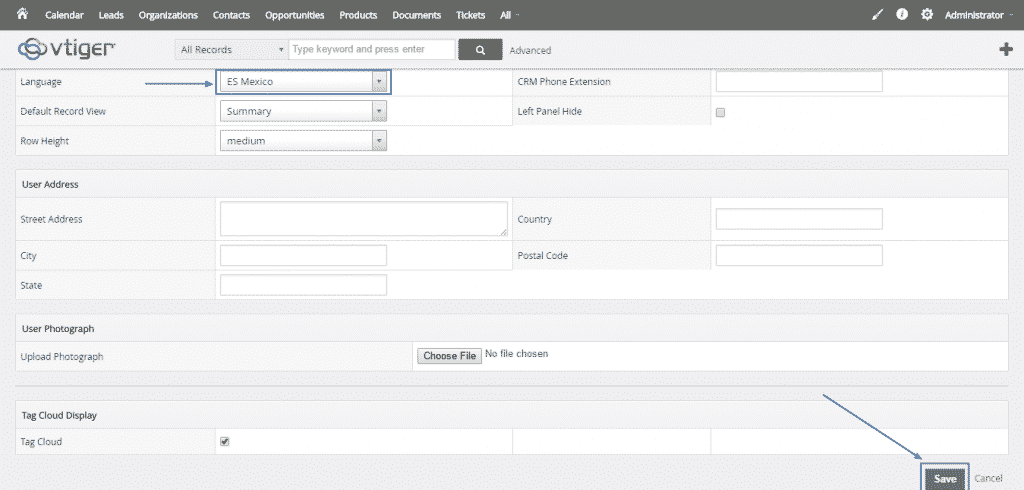
Finally, after you make sure that the proper language is selected, simply scroll down to the bottom of the page and click the green Save button on the right, thus, completing successfully the change of the language:
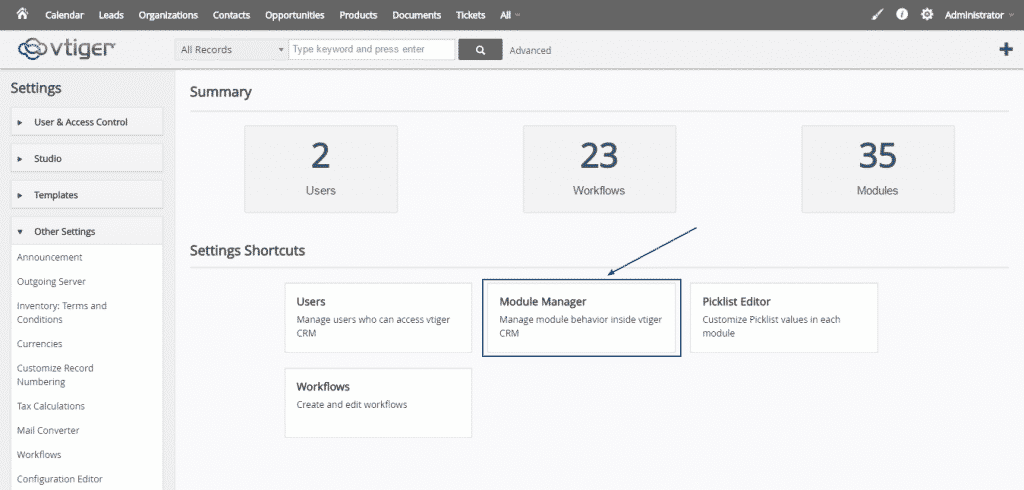
Alternatively, if the language you wish to use is not present in the default installation of your vTiger CRM, you can add another language pack as well. To do that, you need to go to the gear button and select CRM Settings:

Once the Settings page is loaded, choose the big Module Manager bar:
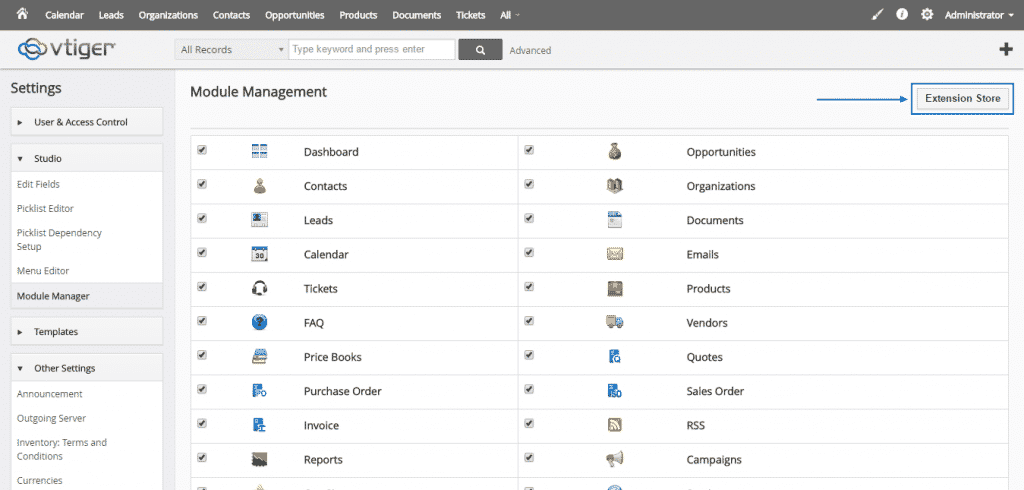
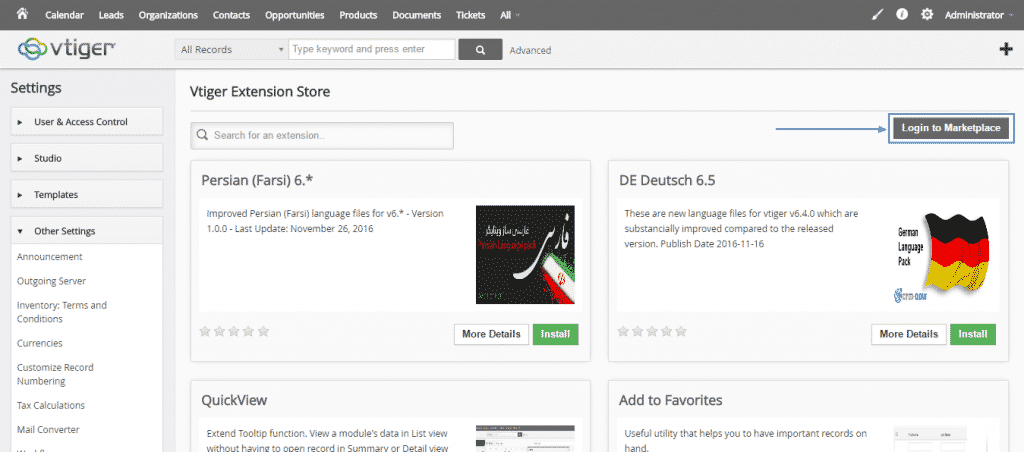
Here, you simply have to press on the Extension Store button at the right corner:
As soon as you enter the vTiger Extension Store, you must login into the Marketplace:
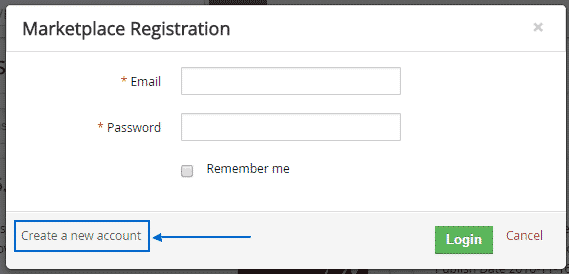
It will ask you for the email and password you have registered with. If you do not have a registration yet, you can create one easily through the Create a new account option at the bottom left corner:
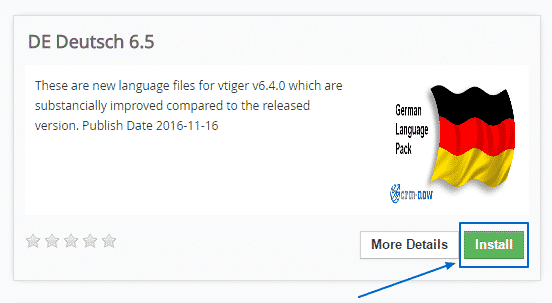
After you are logged in, you just need to find the language pack you want and click on the green Install button:
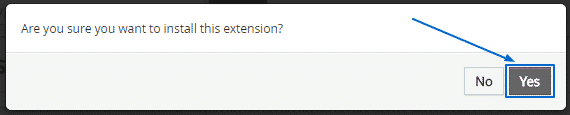
Just before the installation actually starts, a message will appear and you only need to confirm you wish to continue with the process: