Skip to content
Some of the many great functionalities that vTiger CRM offers for free is the Customer Portal one. With it, your contacts would be able to login and view a variety of information, such as Invoices, Quotes, Tickets and many more, according to what you have allowed them to see.
We are going to explain you the process of installing and configuring the Customer Portal feature, which needs some level of technical knowledge to be completed successfully. Have in mind, that if you are having difficulties with it, you can always count on our Genius Support Team. They are there for you 24/7 and aim to reply to your first ticket in less than 15 minutes.
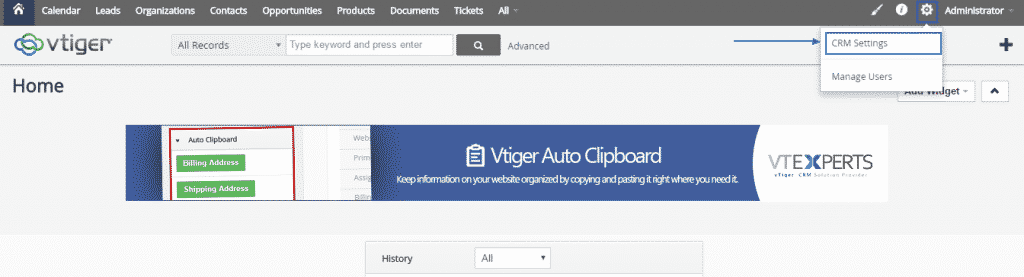
Here is the step-by-step process, you need to take in order to set up your Customer Portal module. First of all, you need to login to your vTiger CRM’s Administration Panel. There, you can set the permissions for your Customer Portal by going to the gear button at the top right corner and selecting the CRM Settings option:
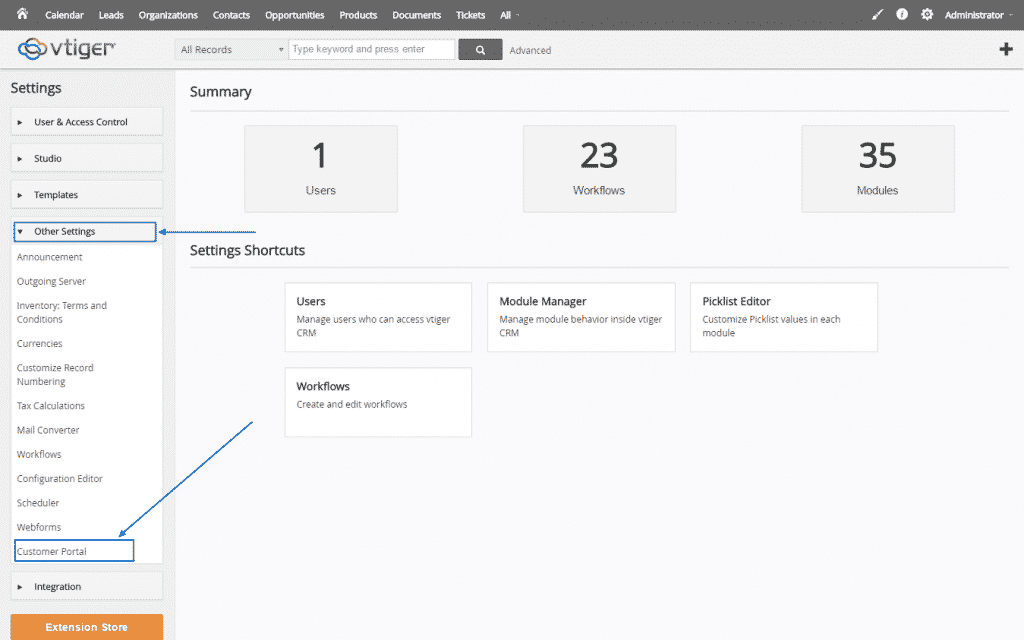
Afterward, go Other Settings at the left side and press on Customer Portal on the drop-down menu, which will appear:
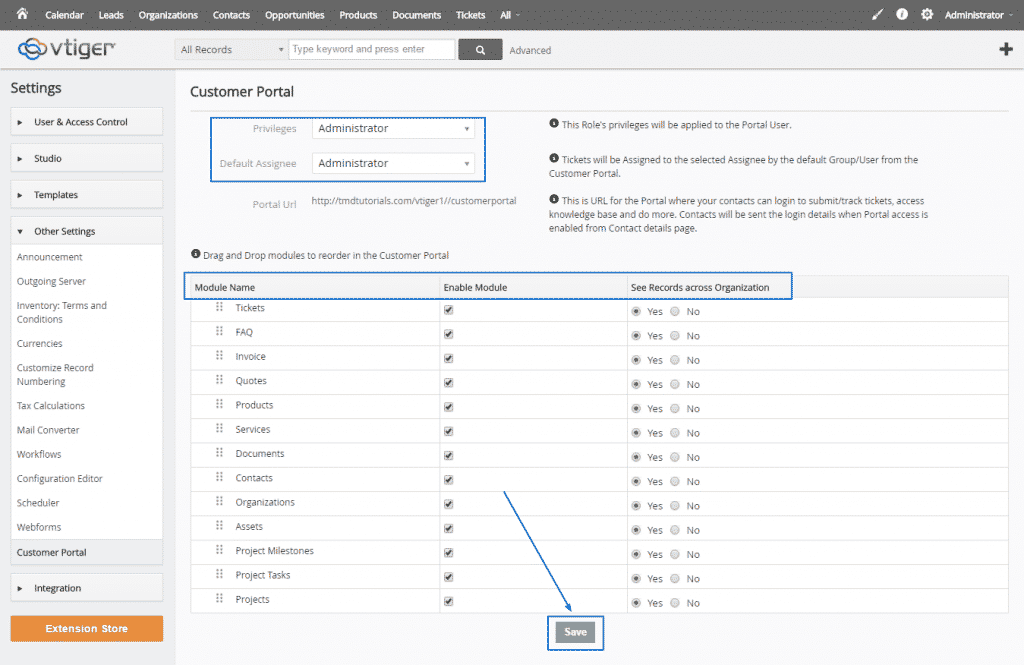
Once you are in the Customer Portal section, you can change the permissions of the different categories, according to your wishes and needs and once you have finished, simply click on the Save button below:
Next, go to the official vTiger CRM website, where you need to download the ZIP version of the customer portal on your computer:
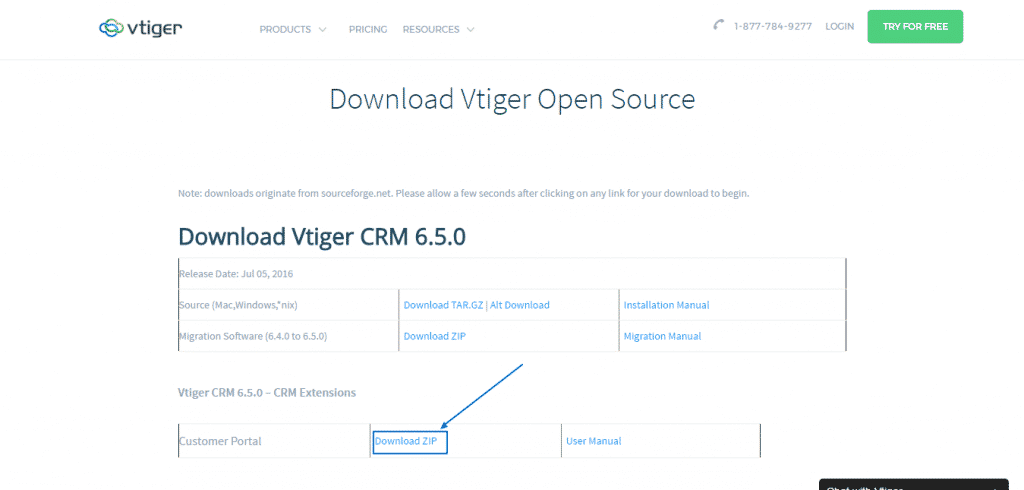
Right after that, unzip its content and upload it in a separate folder in the root directory of your vTiger CRM installation, named /portal. So, for example, if your root folder is within public_html and is called /vtiger, you should upload the unzipped content of the downloaded file into the specially created /vtiger/portal folder.
Following this, you need to access the vtiger/portal/PortalConfig.php file and add certain adjustments to it, namely:
Change:

Into:

Then change:

Into:

Once you have successfully saved this changes, just move to your root folder (/vtiger) and find this file:
/vtigercrm/config.inc.php,
Then edit the file and change:
![]()
to:
![]()
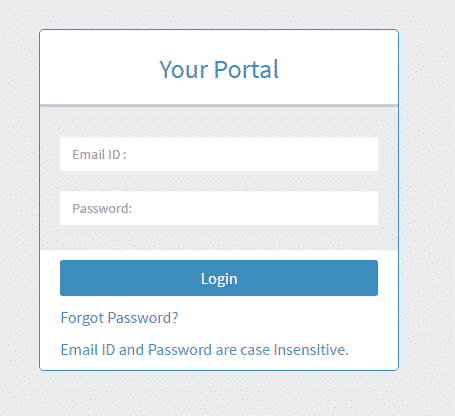
Save the changes again and then, your Customer Portal will be accessible through this link: http://yourdomain/vtiger/portal and the login box will look like this:
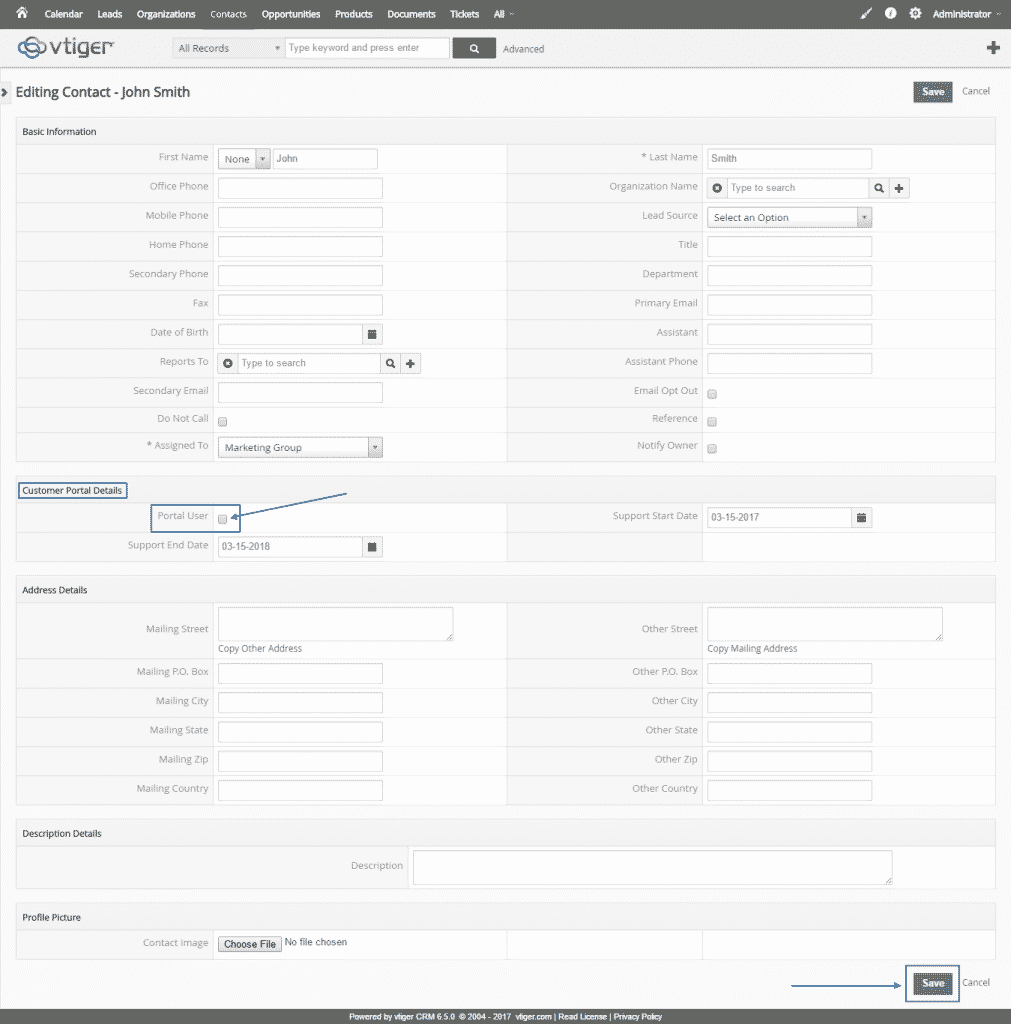
You can set which users have access to the Customer Panel by going back to your Administration Panel, selecting Contacts at the top and then, after you choose which contact your would like to add, select the Pen icon at the right corner, next to the user’s name:
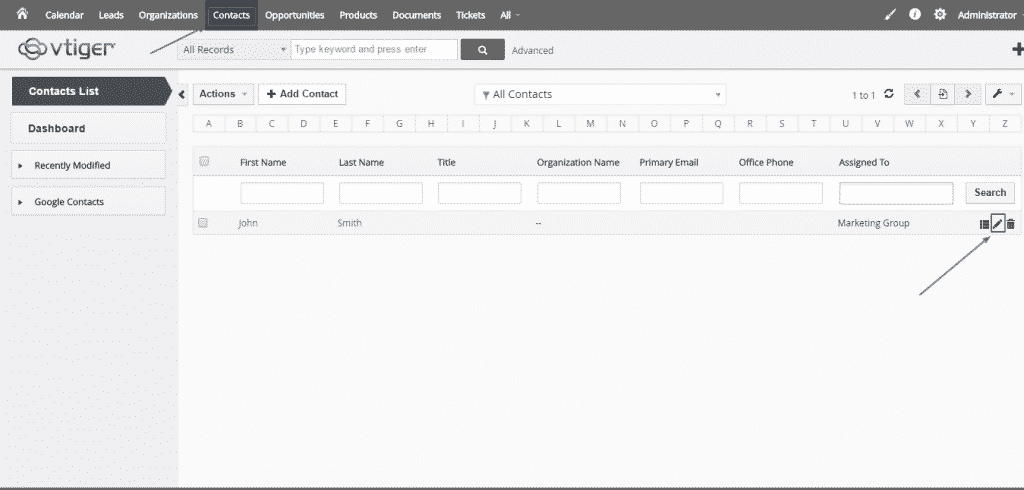
It will lead you to the Editing Contact section, where, in Customer Portal Details, you simply have to click on Portal User and then select the green Save button at the bottom to complete the process. A couple of minutes after that, the selected contact will receive his/her login details (username and password) on the provided email and would be able to access the functions, granted with the already set permissions, through the link http://yourdomain/vtiger/portal: