Skip to content
In this tutorial, we have already covered some of the most crucial aspects and features of your vTiger CRM installation and functionalities. One of the key features for such online platform is working with emails. Both the incoming and the outgoing settings need to be taken care of and in this part of the tutorial we are going to show you how to setup your email box.
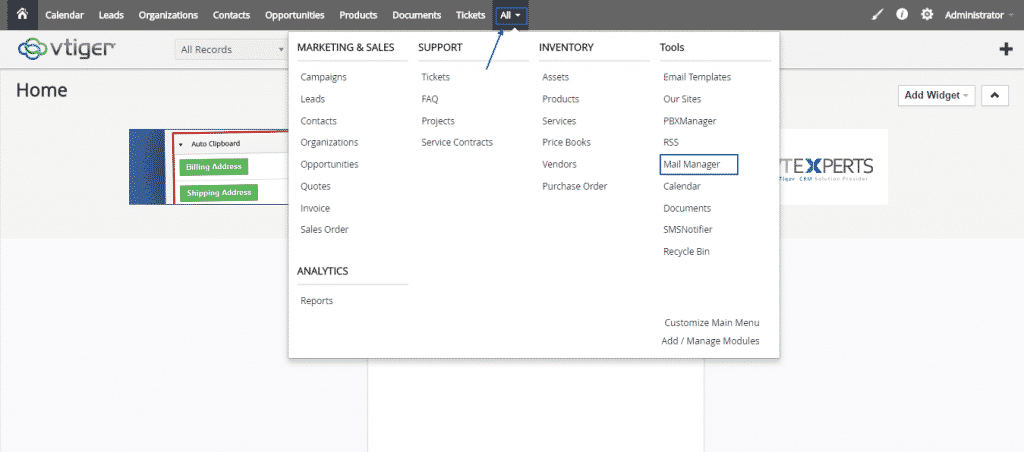
The first step you need to take is to simply login into your vTiger CRM Administration Panel and select the All option. From the drop-down menu, which will appear, you have to find and click on Mail Manager:
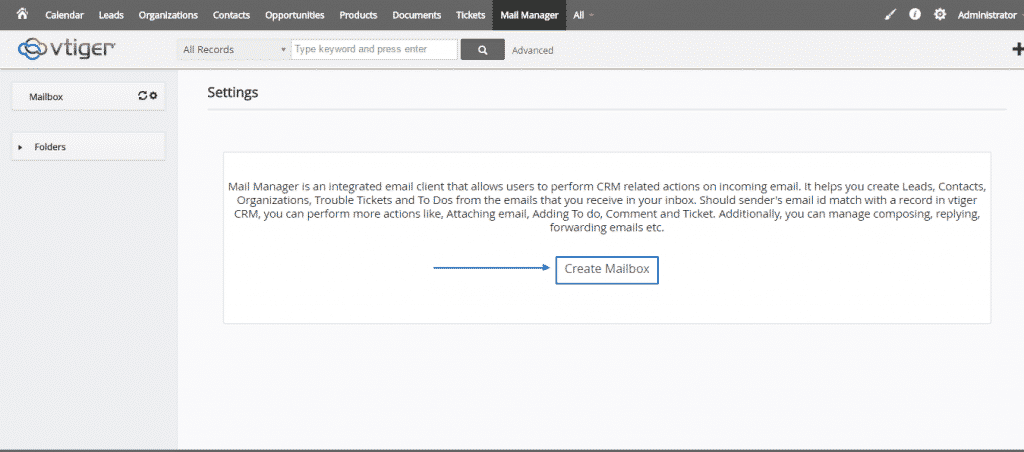
Next, you will see the main window of the mail manager with the Settings, which will be empty and with the text below, before integrating your mail service. To do that, just click on Create Mailbox:
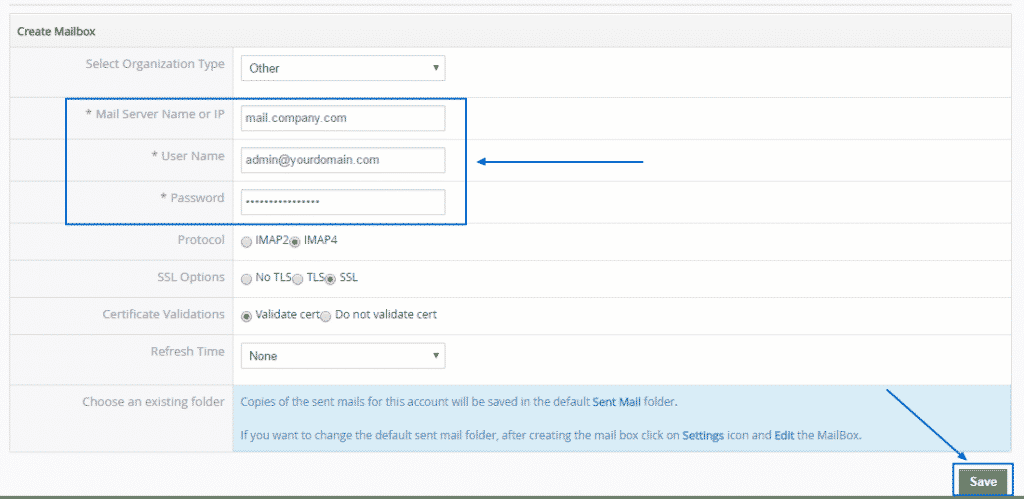
A page will pop-up with a row, asking you to choose a server type from another drop-down menu (Gmail, Yahoo!, Fastmail or Other):

For the purposes of this tutorial, we have selected the Other option. Once you have selected it, a menu is going to appear and you need to fill it in. Be aware that the Mail Server Name or IP (your mail server, which you can get from your mail provider), User Name (this is the email address that you need to use) and Password (the one, which you have set for your email account) must be filled in to proceed with the setup. When you are positive you are finished with all the needed rows, simply scroll down to the bottom of the page and press the green Save button to complete the process:
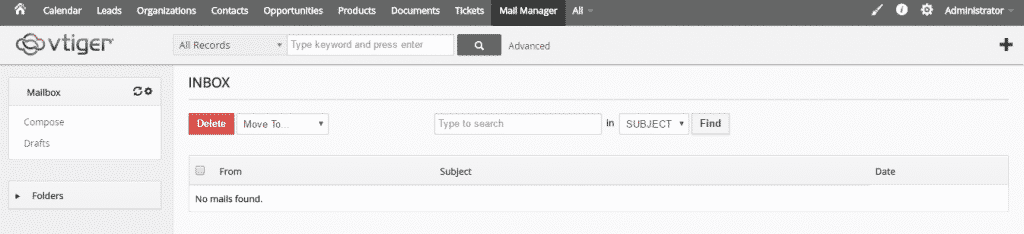
After the process has finished you are no longer going to see an empty window on you Mail Manager. Instead, you mail box will be synchronised: