 Skip to content
As discussed in detail in the Introduction part of this tutorial, CMS Made Simple
is a fine niche system for corporate and organization’s website with very specific focus and continuous development of its features.
In the previous part of the tutorial we have covered the automatic installation of the script and in this one we will give you a step-by-step guidance on how you can install it manually by yourself.
The first thing you need to do is to make sure you have created a new database through your cPanel. If you are not exactly sure how to do that, follow these instructions.
Your next step should be to go to the official CMS Made Simple website and download the latest version of the software.
Afterward, extract the content onto your computer and then upload them via FTP to a folder (for the purposes of this tutorial we are going to name it /cms1), where you would like the CMS Made Simple to be installed in. You can find our more information about how to do that in this article.
To start the installation procedure, open your browser and navigate to:
yourdomain.com/cms1–install.php
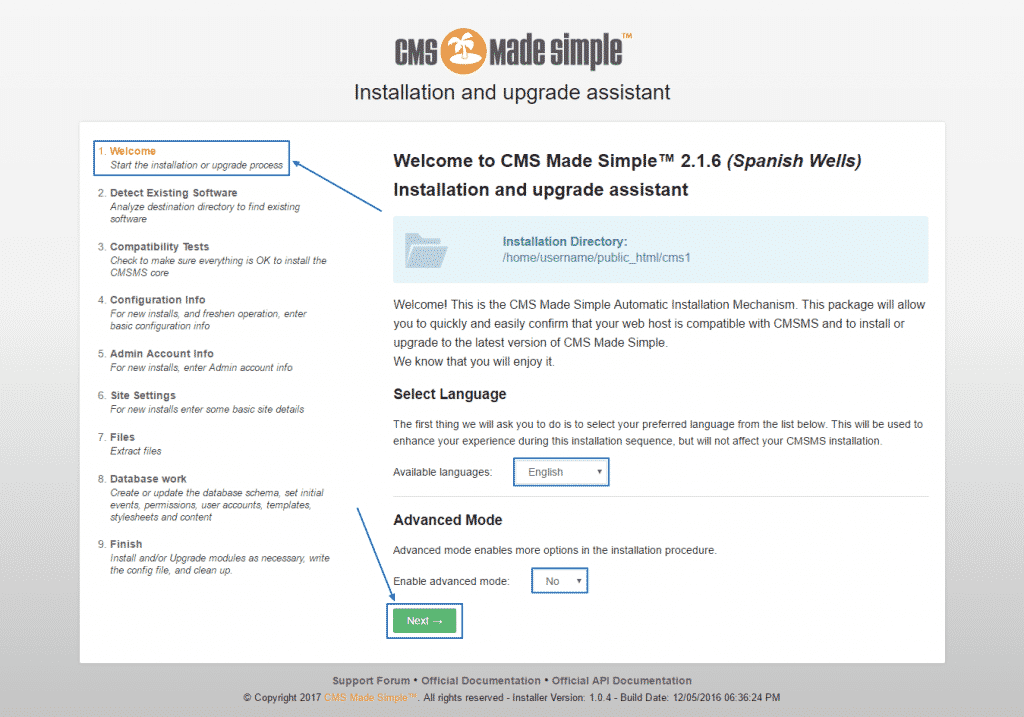
This will get you to the following installation wizard’s Welcome page, where you can select your preferred language and also decide if your want to install the script in Advanced mode or the recommended one and click Next at the bottom:
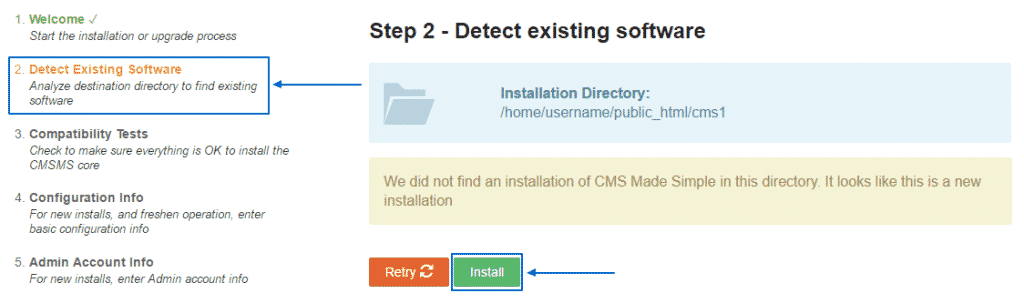
Then, you will get to step 2 – Detect Existing Software. If the chosen folder does not have a previous installation of CMS Made Simple, you will be able to freely click on Install:
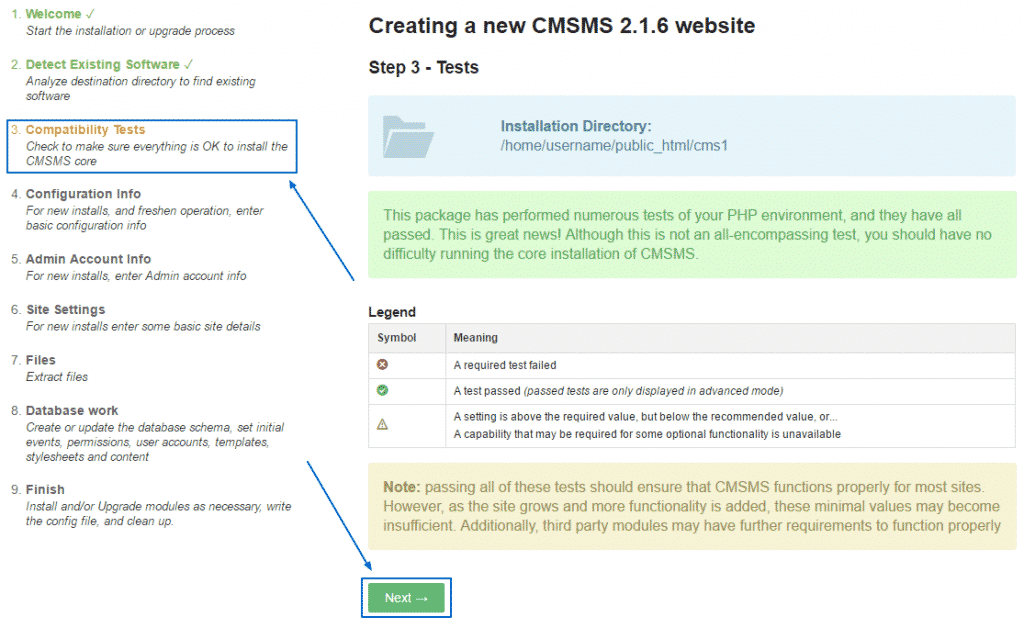
This will lead you to the third step – the Compatibility Tests. If it has successfully passed you will get a green text and you can proceed by clicking Next:
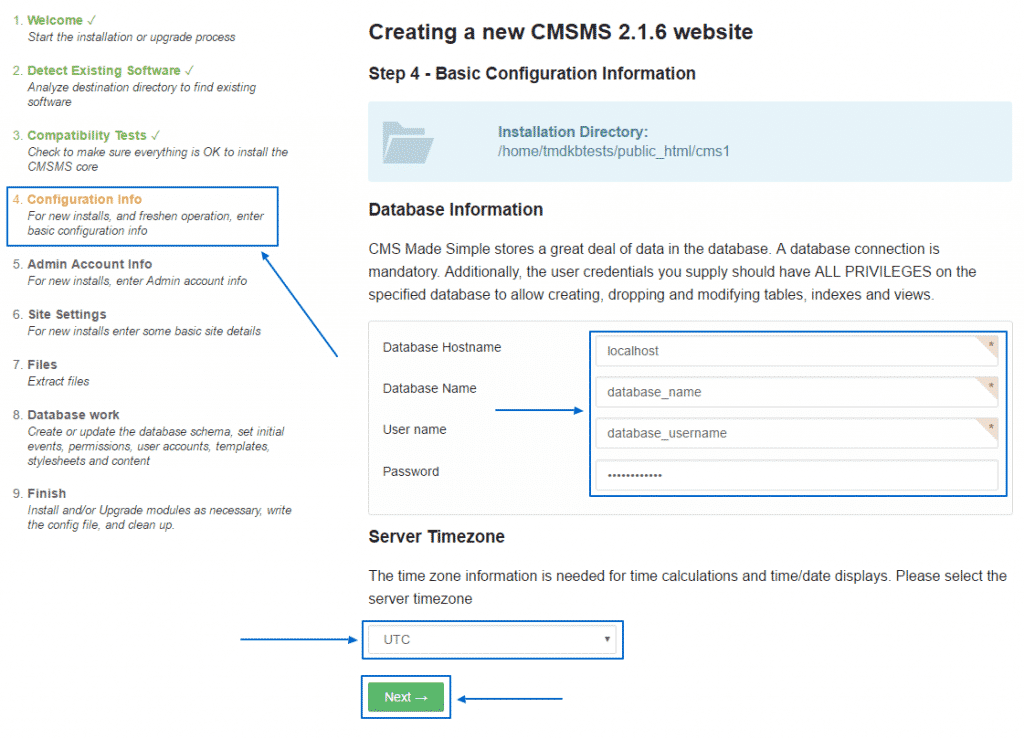
In Configuration Info, you need to put in the details of the fresh Database you have created, make sure you have set the correct Server Timezone and then click Next:
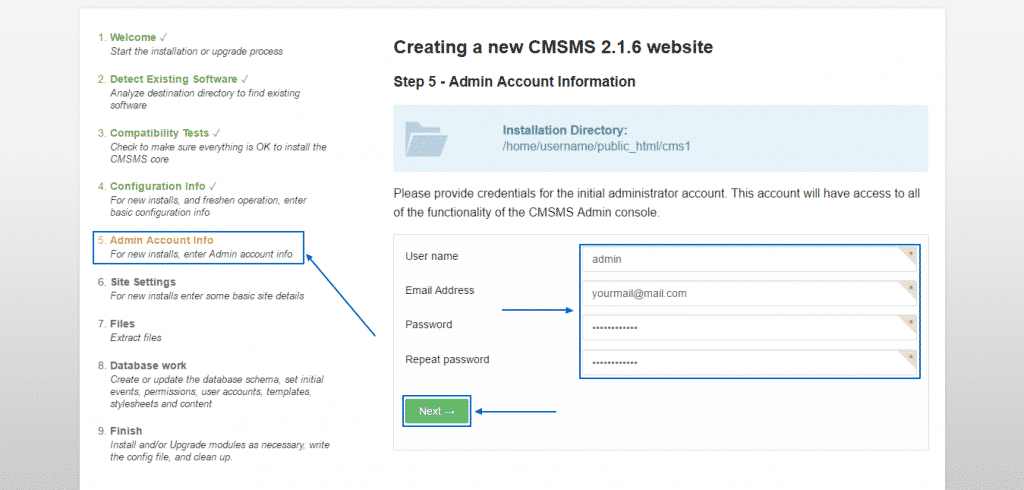
At step 5 you have to put in the Admin Account info. We recommend you to write it down and save it somewhere as it will be required when entering your administrator account. After you are done, just click on Next:
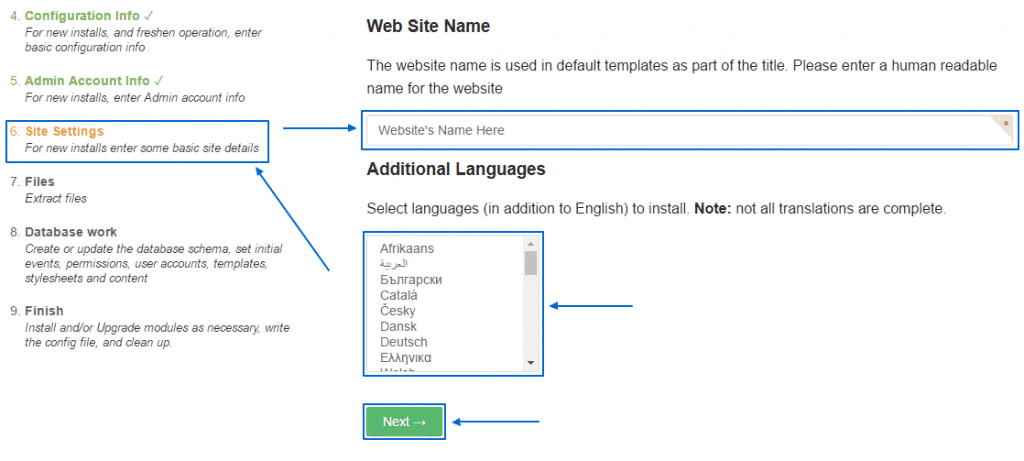
At Site Settings you can select a Web Site Name and an Additional Language (if you need one, otherwise you do not have to choose one) and then go to Next again:
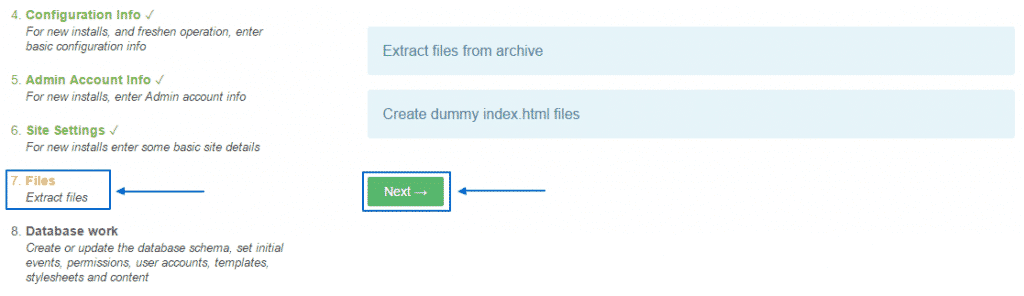
Reaching step number 7, you can simply click on Next to continue with the procedure, because you have already extracted the needed Files:
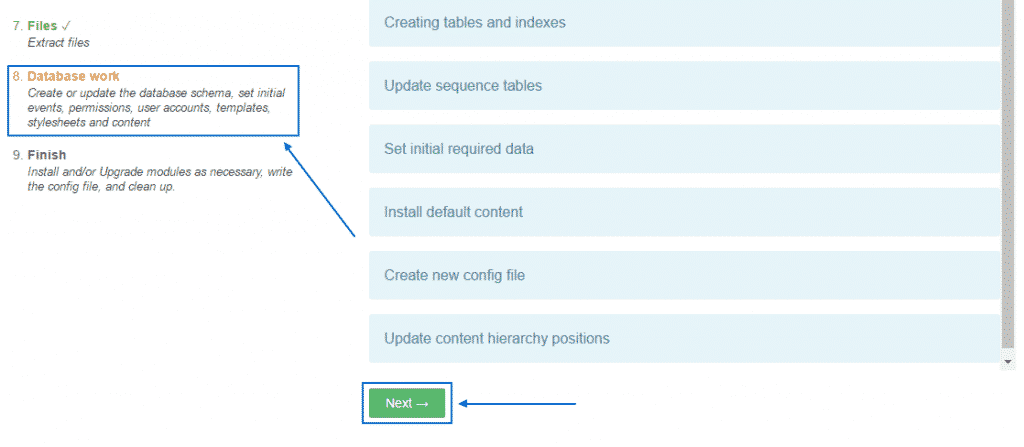
On the next step, you only need to select Next again in order to complete the installation process:
Step number 9 is the Final one and when you reach it, your CMS Made Simple has been successfully installed. You can then use the two links below to either visit your page or go to your administration panel:

If you are experiencing any trouble with this procedure, you can always contact our Technical Support Team. They are there to help you out 24/7/365.