 Skip to content
In this WordPress tutorial we will cover the steps needed to perform a manual WordPress installation. Before proceeding further, you will need the following:
- The latest WordPress version, downloaded from WordPress.org
- FTP client
- Access to the control panel of your hosting account
STEP 1. DOWNLOAD WORDPRESS
WordPress.org is the official website of the self-hosted version of WordPress, which we will use in this tutorial. Once you access the website, download the latest stable version available and extract the contents of the downloaded archive on your local computer. For this step you may use any archive extractor software, like 7zip for example.
STEP 2. UPLOAD WORDPRESS TO YOUR HOSTING ACCOUNT
In this step of the tutorial you will have to upload all extracted data on your hosting account, so you can later access it in your web browser. Open your favorite FTP client and use the FTP details provided by your host to initiate an FTP connection and start the data upload.
You can upload the WordPress files directly into the ‘public_html’ folder of your account or in a sub folder. The first option will allow you to access your new WordPress website directly via your primary domain, while the second one will make it accessible from the sub folder, like www.yourdomain.com/wordpress. In case you need assistance with the FTP upload, you can check our FTP instructions here.
STEP 3. DATABASE CREATION
As any other dynamic CMS, WordPress needs a database to store your settings and content. Once all data is successfully uploaded, access your hosting control panel and create a database and user, associated with it. For the purpose of this tutorial we will use cPanel as hosting control panel. To proceed further, login to your cPanel and following the steps:
Navigate to Databases > Database Wizard
Create a new database, enter its name and click on Next Step
Create database user, set its password and click on Next Step
Add user to database. In this step you can assign all privileges and proceed further
When you have successfully created your new WordPress database and a user associated with it, write down the details and you are ready to proceed to the final installation step.
STEP 4. RUN THE WORDPRESS INSTALLER
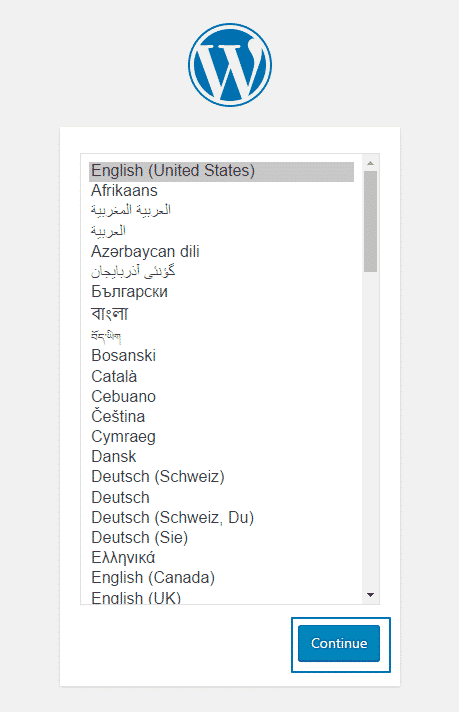
To do so type the exact URL to the root folder of the application in your browser. If you are installing in in the “public_html” folder you will need to access www.yourdomain.com and if you are installing it in a sub folder you need to go to www.yourdomain.com/wordpress. You will be redirected to the installation wizard, where the first step is to select the language you want to use:
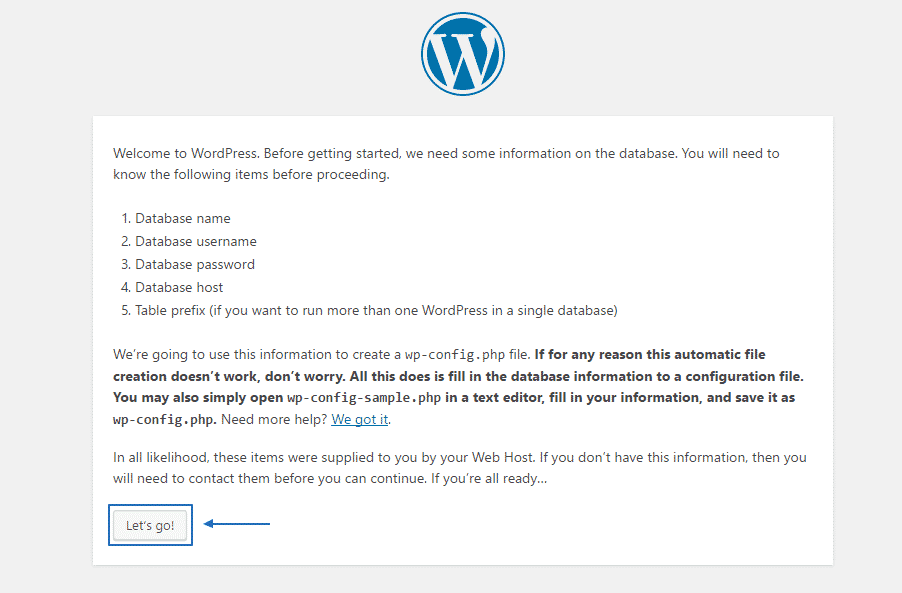
WordPress will now provide you with some brief information about the setup process. Simply click on the Let’s go! button to continue:
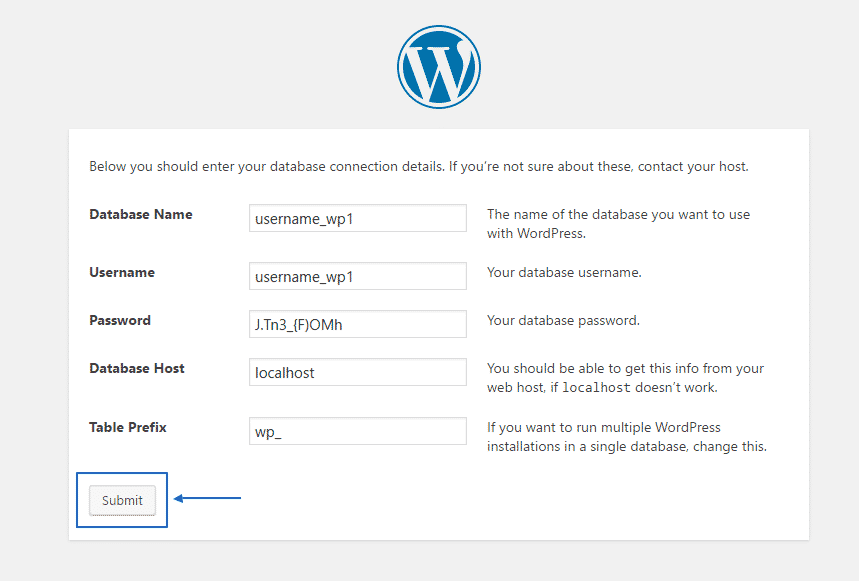
On the next page you will have to enter the database details, which you have created earlier in this tutorial. Enter the WordPress database name, user and password and leave the rest fields with their default values. You can use “localhost” as default database server, as this is the correct server for most providers:
WordPress will now check the provided database details and if they are correct, you will be provided with the following screen:
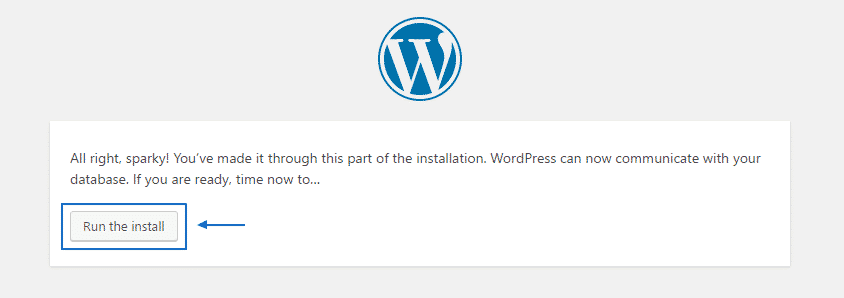
Simply click on the Run the install button to start the actual installation. Once the next page is completed all you have to do is enter the website information and description and create the default admin username. You will use it to access the WordPress admin page later:

Site title: enter the name of your website
Username: the default admin user. For security purposes it is recommended to change the default admin user to another one
Password: enter the desired password for the admin account
Email: the default WordPress email account, on which you will receive site notifications
Important part in this page is to decide whether or not to allow the default WordPress data to be indexed by the search engines. If you plan to start developing your new website right after the installation process, you can disable the search engine visibility by clicking on the radio button as shown on the screen shot. Later you will be able to allow all search engine bots to access the website via the WordPress admin back-end.
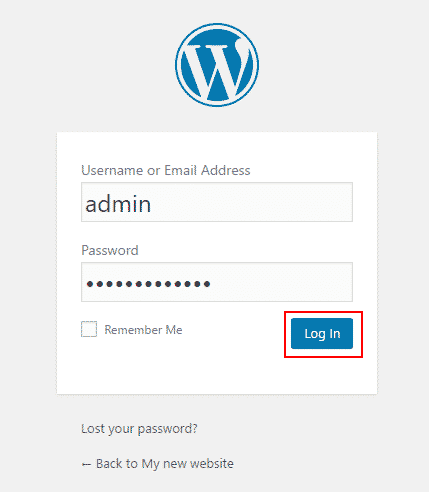
If everything is correctly set all you have to do is click on the “Install WordPress” button to start the installation. During it WordPress will populate your database with the default content. As soon as the manual WordPress installation is completed you will be provided with the following screen, on which you can enter your default admin username and password and access the admin area:
Congratulations! Your new WordPress application is successfully completed and you can start publishing your fist piece of content.