 Skip to content
In this tutorial, we will provide you with step by step instructions on how to install a new WordPress website using our Managed WordPress platform. You can install multiple websites and manage them from your account.
How to install WordPress
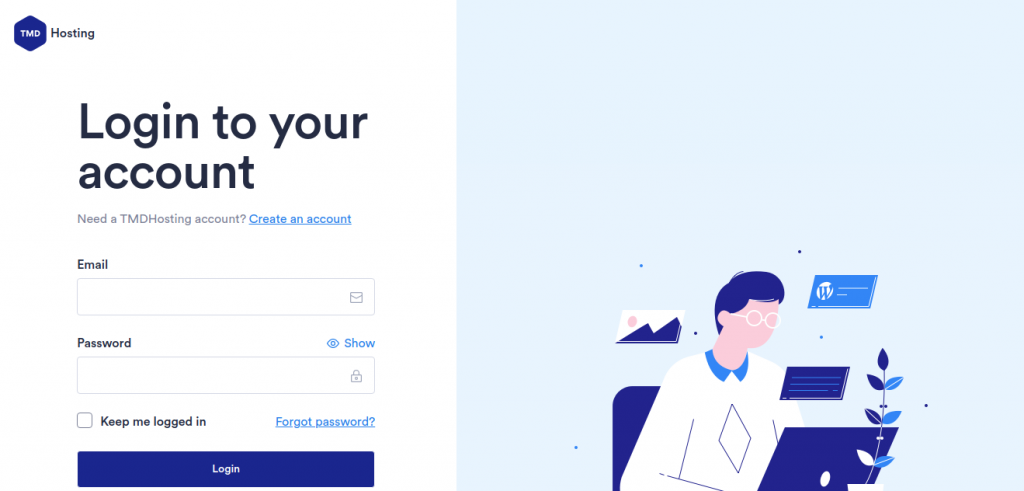
In order to install WordPress first thing you need to do is access your managed WordPress account with us:
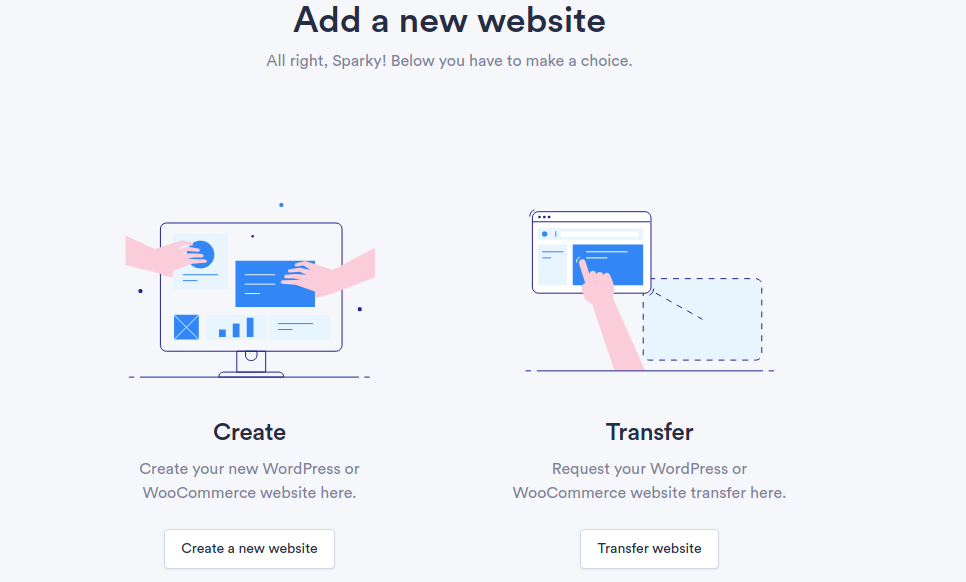
Once you are logged you need to hover over the column on the left and you will see the “Create new” button. After you click the button the system will provide you with two options: to create a new website or to transfer an existing one. In this tutorial we will review how to create a new website:
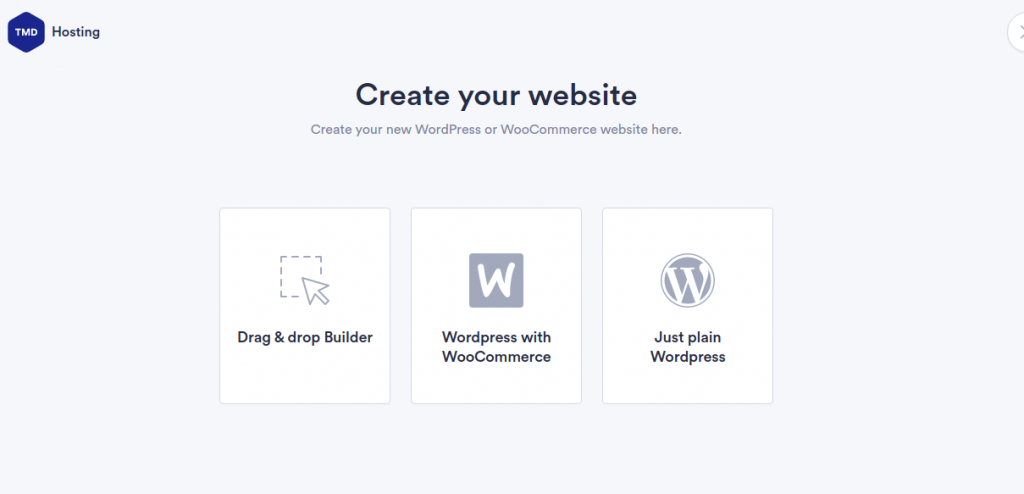
Our Managed WordPress platform provides our customers with three types of WordPress websites which can be installed and in this article we will provide you with detailed information on how to install every single one of them:
Drag & drop Builder installation
With this kind of website you have the option to choose a ready design for your website and later customize if further. The drag & drop builder contains a long list of templates and you can use the search bar and find the best one for your project. The builder contains templates for restaurants, fitness clubs, hotels, personal blogs, mobile apps and more.

When you hover over a template you have the option to choose the template or preview it.
Click on the “Choose this design” button so you could proceed with the installation.
The first window is the “Basic details” tab where you will have to enter The Title of your website, the domain name, username and password for the admin area of the website. (Choose the option “Temporary domain if your domain is not pointed to our servers). At the bottom of the first tab you can also enable an SSL Certificate for your website:

After you entered the requested information in the first tab you can proceed with the Plugin section by clicking the button.
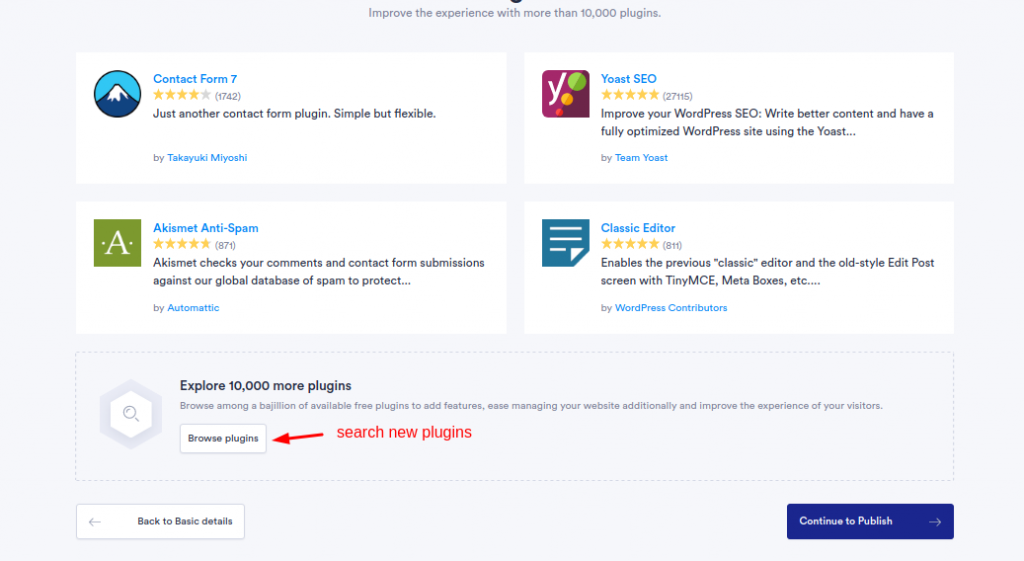
The second tab is if you wish to install any plugins to your website. You can browse from all plugins provided by WordPress. You can install a plugin when you tab on it and then choose “Use this plugin”. Once you are ready with the installation you can proceed to the last step of the installation:
The last step is an overview of the websites which you have builded so far before you publish it:
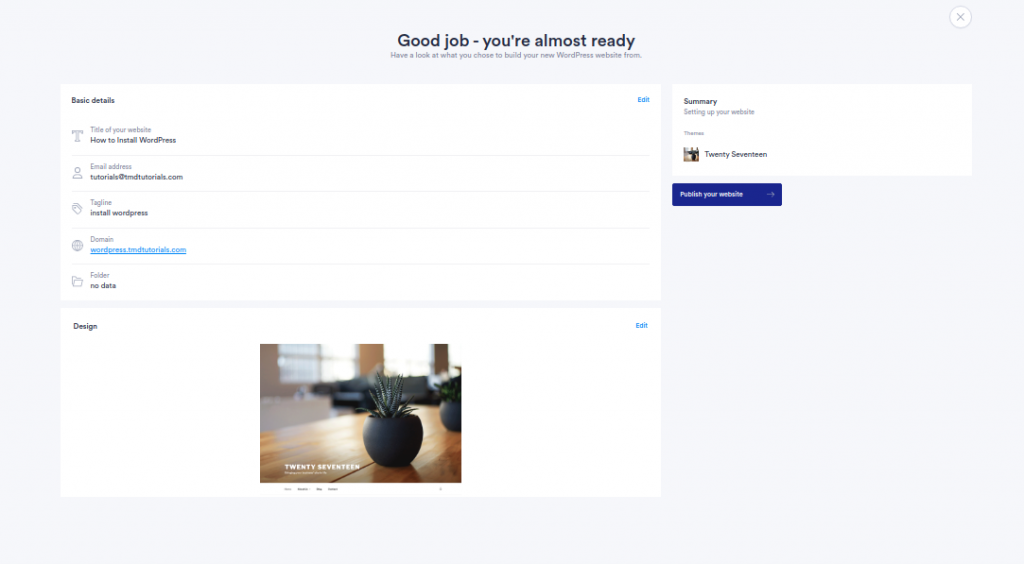
If any of the information is not correct you can always go back to a previous step from the menu on the left and correct it.
If everything is set properly you can proceed and choose the button “Publish your website” which will make your website live.
WordPress with Woocommerce installation

In order to install a new WordPress website with Woocommerce the first step is to choose the second option on the screen. After that the system will redirect you to the next page:
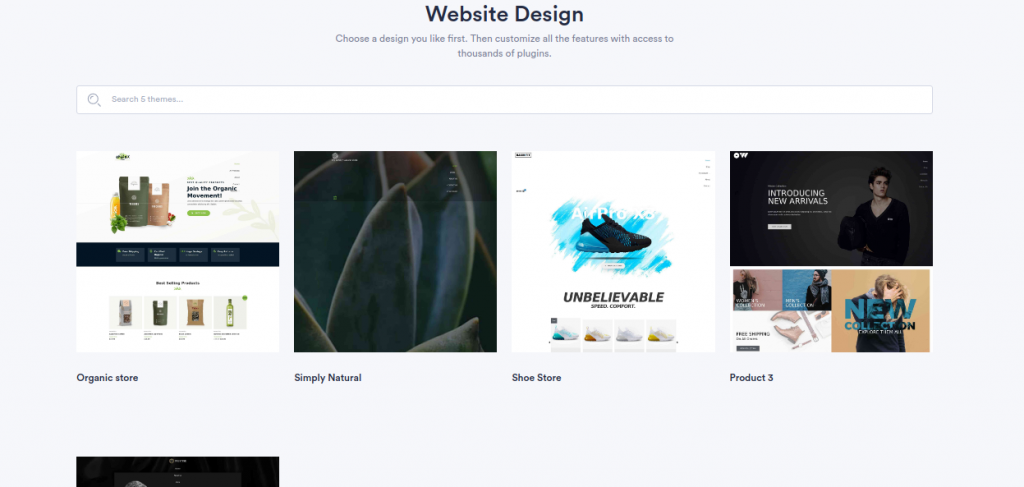
The WordPress with Woocommerce websites also come with a template design with installed Woocommerce plugin. You can choose the design you like the most, click on it and proceed with the configuration of the website:

On the first step you need to fill the name of your website, the domain name(Choose the option “Temporary domain if your domain is not pointed to our servers), the username and password for the admin area of your website. You can also enable the SSL Certificate for your website at the first step. After the necessary fields from the first step are filled click on the button “Next: Plugins”

On this screen you can choose the plugins which you want to be installed on the website. You can use the “Browse plugins” button to search for more plugins provided by WordPress. After this step is done you can click on the blue button again to proceed further:

The last step is a preview of the basic information regarding your website before you publish it. You can always go back and edit a certain page from the menu on the left or with the buttons at the right corner on the bottom.
If everything is properly set you can choose the button “Publish Your Website” so the website can be installed and become live.
Just plain WordPress installation
The option “Just plain WordPress” will help you to build your website with just 4 steps and you are able to choose a theme of your choice and plugins. To start just choose the last option and the system will redirect you to the first step:

In order to proceed to the second step you will have to fill the name of the website, the tagline, username and password for the admin area as well. You will also have to fill the domain name(Choose the option “Temporary domain if your domain is not pointed to our servers.). The platform provides you with the option to enable an SSL Certificate for your website at the first step from the installation. Once the fields are filled click on the blue button at the bottom to proceed to the second step:

The second step is to choose the theme for your website. You can choose from the recommended ones or click on the “Browse themes” button and search for a certain theme. The platform is synchronized with the repository of WordPress and will show you all the themes supported by WordPress- paid and free. You can preview a demo of the theme or install it directly. If you are ready with this step click on the blue button at the bottom so you can proceed with the Plugins section:

The same way as it was with the themes you have the option to browse more plugins and install on your website. You can install a plugin when you tab on it and then choose “Use this plugin”. After you install the plugins you can proceed to the last step of the installation- the preview page:

On this page you can preview the information up until now which you have set- the name of the website, the theme and the domain name. If everything is set as followed you can choose the button “Publish your website”. Once the installation is finished the platform will notify you.