 Skip to content
WordPress is one of the most popular content management systems and one of the reasons are the plugins which it provides. One of its best plugins is the Akismet plugin which can protect your website from spam comments by filtering them. The default installation of WordPress comes with this plugin, however if you wish to use it you will have to activate it from the admin area of the website.
In this tutorial we will provide you with step by step instructions how to enable the plugin.
You can activate the plugin by going to the admin area of your website. However, with our Managed WordPress account you can access the admin area in two ways:
Log in to your Managed WordPress account with us → Hover over the TMD logo → Websites → Manage website → WordPress Admin

Access the URL with your domain: domain.com/wp-admin
Once you access the admin area of your website go to Plugins → Installed plugins
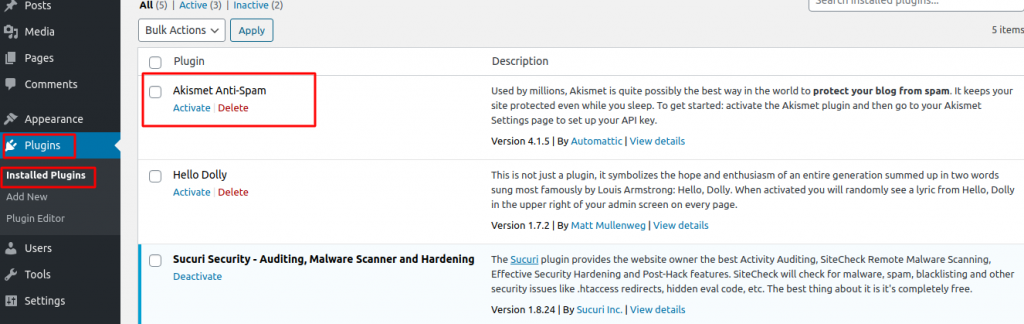
Once you click on the “Activate” button the website will redirect you to the next page where you need to configure your Akismet account:
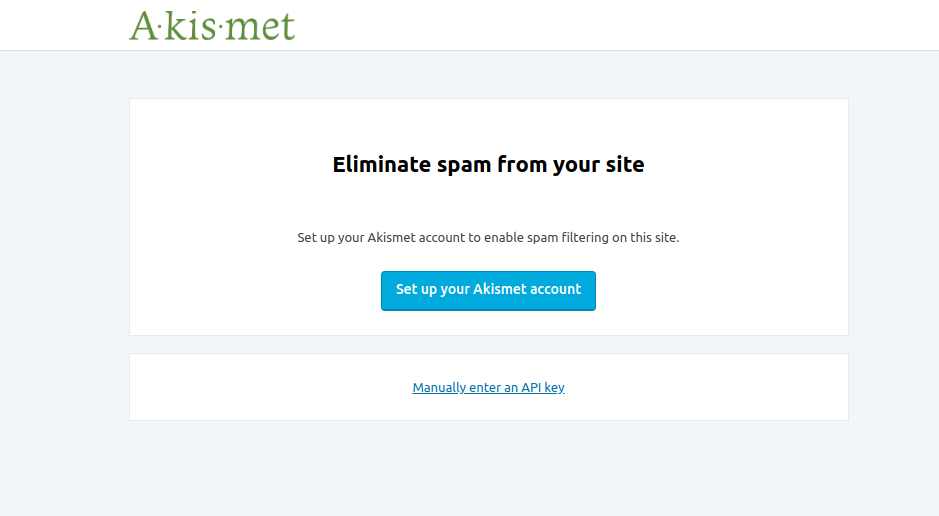
When you click on “Set up your Akisnem account” a new window will open to the official website of the plugin where you can proceed
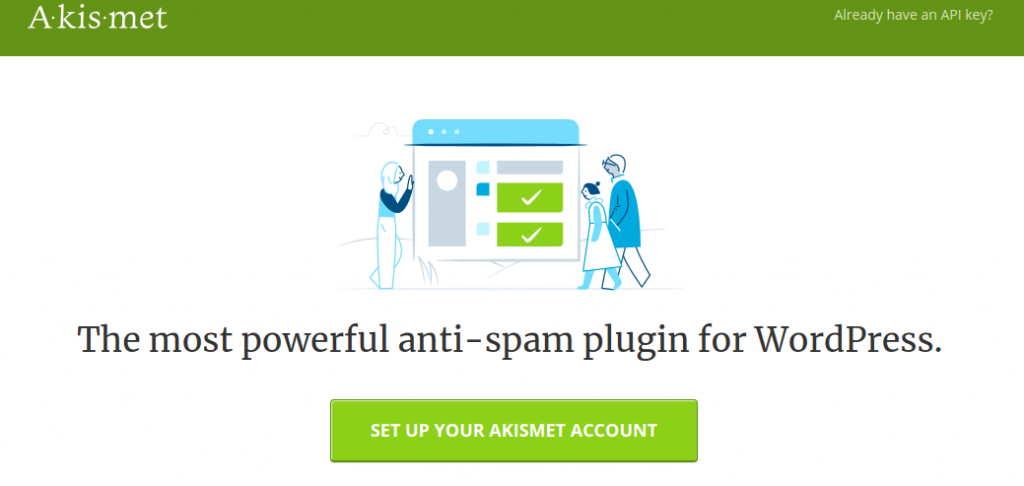
Once you click on the green button you will be redirected to the page with the pricing list of the plugin:
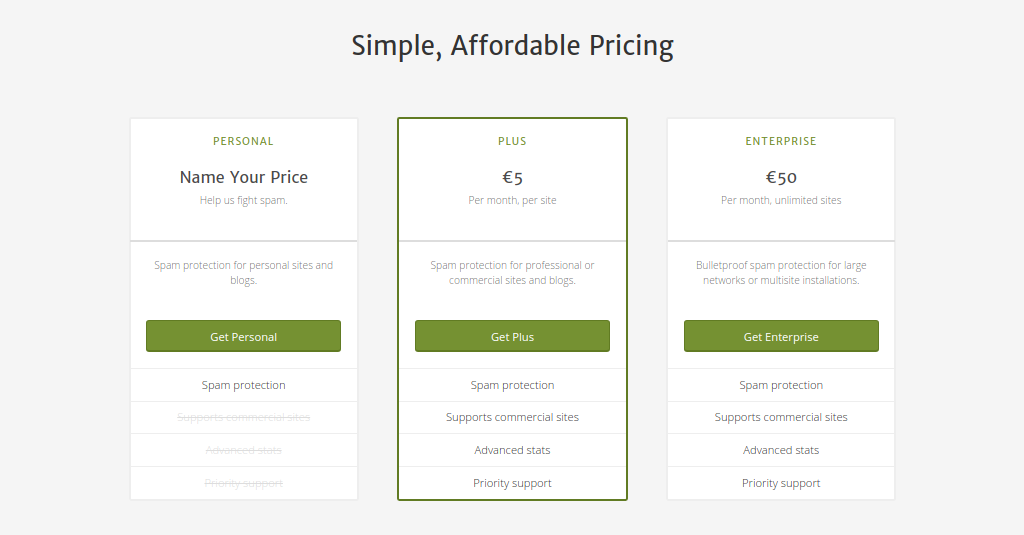
There are three kinds of package, however if you are using only one website you can choose the first package and name a lower price. After you proceed you will be redirected to the WordPress.com website where you need to create an account in order to finish the activation of the plugin. Once the account is created get back to the akismet website and finish the activation of your account. The system will then provide you with an API key which will be stored in your account with Akismet. Once you have the API key go back to the admin area of your website and place the API key in the field “Manually enter an API key” and the plugin will be activated.
