 Skip to content
How to create a contact form in WordPress
Contact forms are a great way for your customers to contact you and are a way to give you a better customer engagement experience. The contact forms are a must on every website, however by default a newly installed WordPress website does not come with a build contact form. That is why we have created this step by step guide on how to create a contact form for your website and communicate with your customers.
Creating a contact form is possible by installing a plugin. We would recommend you using WP Forms and in this article we will guide you on how to create one by using the plugin.
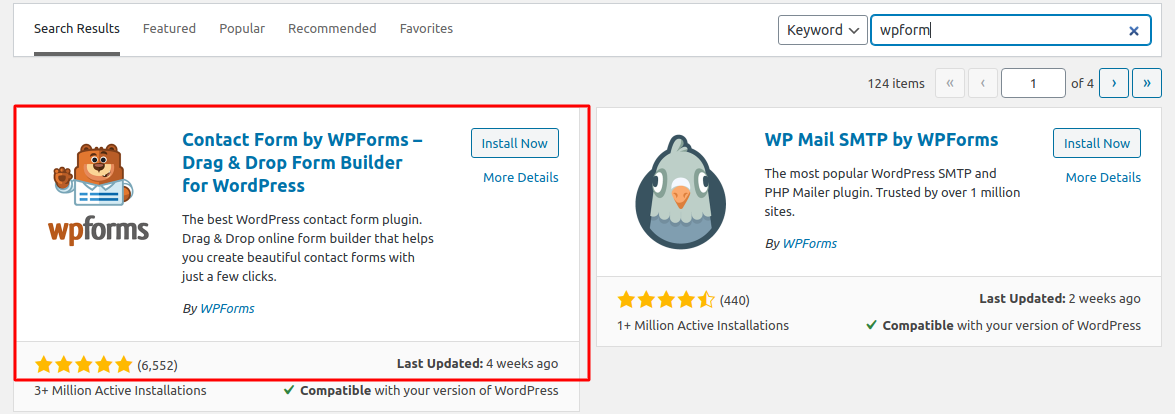
The first step is to access the admin area of your website and go to Plugins → Add New. Type WPForms in the search bar:
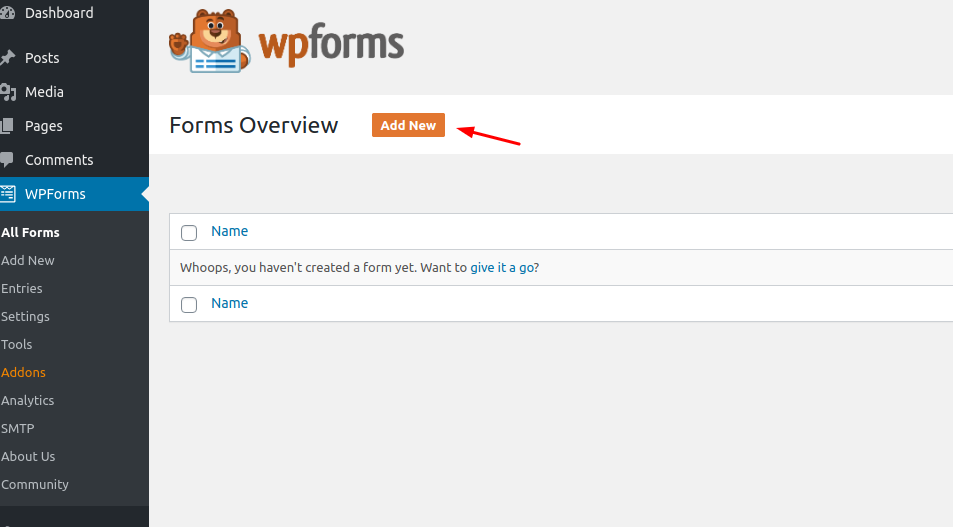
Click on “Install Now” and then Activate the plugin. After that a new menu will show up on the left “WPForms”. Click on the newly created menu and then “Add New”:
After clicking on “Add New” a new tab will appear on which the first thing you should do is give your contact form a name:
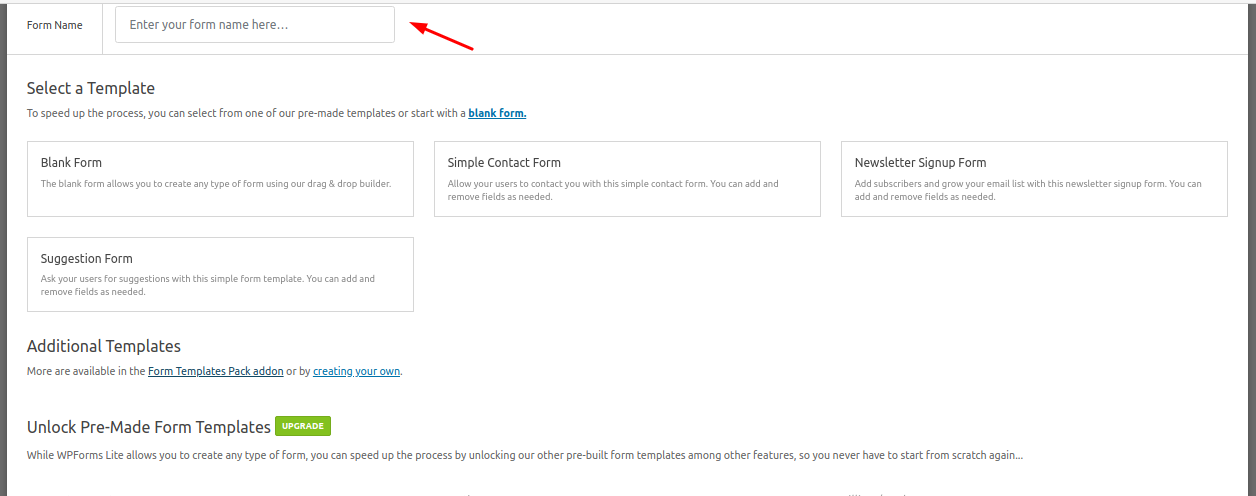
After that choose a type of form you want to build. The options are Blank Form, Simple Contact Form and Newsletter Contact Form.
- WPForms offers and ready templates which are paid and you can review them if you access “Form templates Pac addon” under Additional Templates
In this tutorial we will choose the “Simple Contact Form” template.
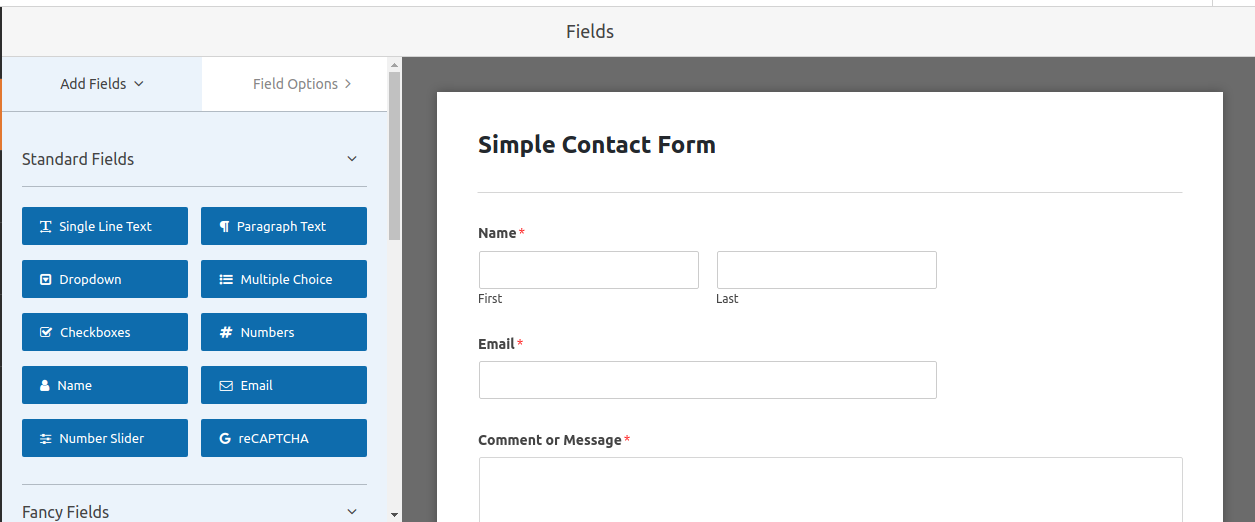
This is how the Simple Contact form looks like. On the right is the template which you can edit as you want. On the left are the fields you can add. You can add any file by simple drag and drop it to the exact place on the contact form you wish to set it. If you wish to remove anything from the template you can do that by simply hovering over the field and you will see the trash button at the right corner.
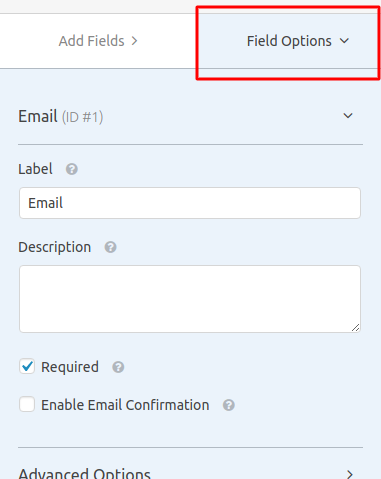
You can also change the names of the fields by clicking on the field on the template and then access Field Options:
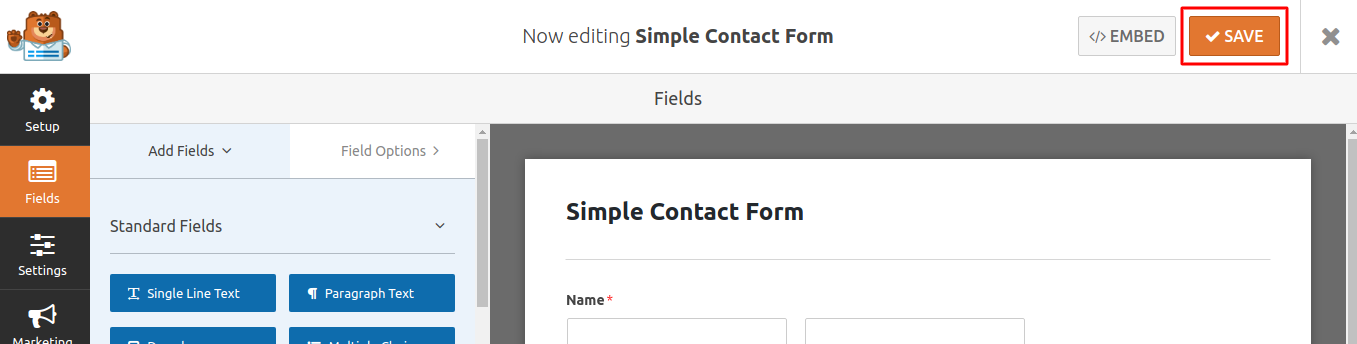
Once you are ready with the form you can click on the “Save” button
After that, all it is left is to insert the form into the page or post you wish on your website. To do so, go to the page/post and click on “Edit”:
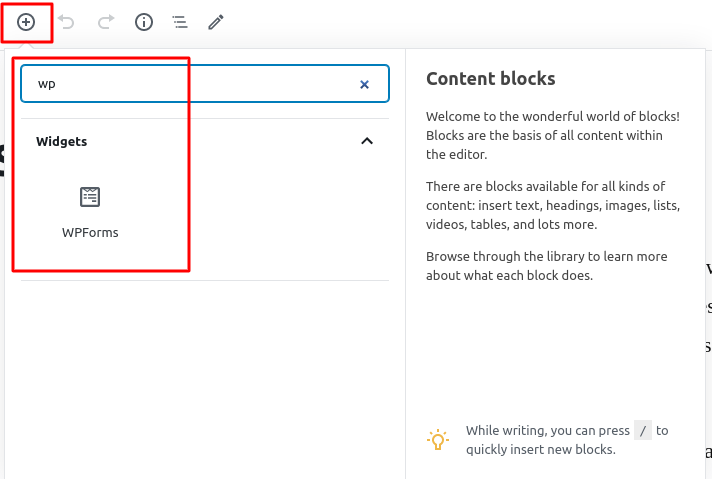
Once in the edit mode click on the line where the form will reside. At the top left corner you will see the plus button as shown in the image above. This will open a window in which you have to find the WPForms widget and click on it. After that just choose the form which you recently created and it will display on the page. Click on “Publish” so the changes can reflect on your website and you are ready.