 Skip to content
How to setup navigation menus in WordPress
WordPress is an application which is user-friendly and helps users with no coding skills to build their own website. The same thing can be sait and for creating a menu in WordPress- it is easy and can be done for a few minutes with the help of our tutorial.
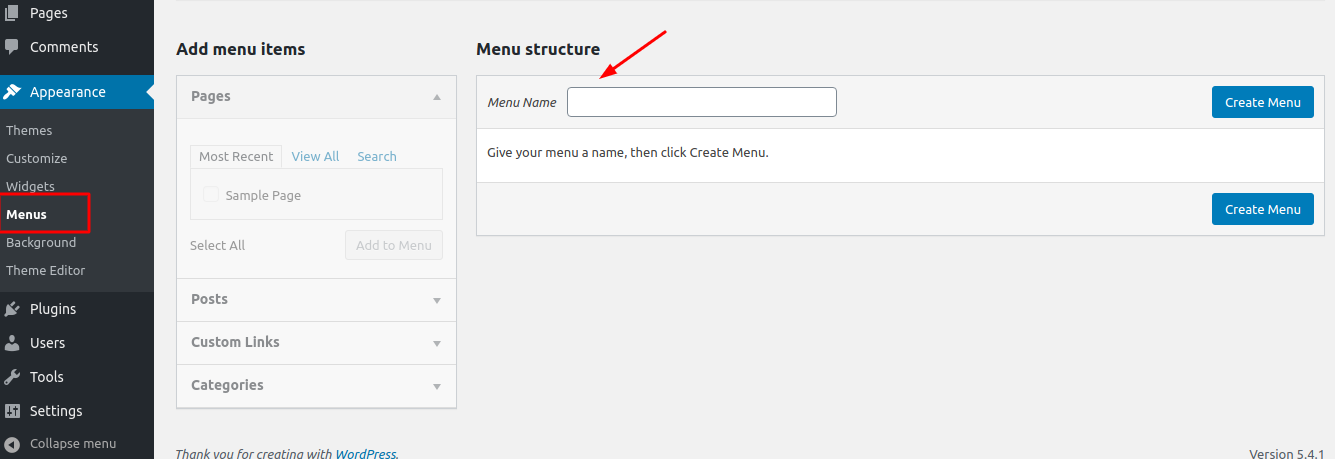
To start with the creation of a menu go to the admin area of your website(yourdomain.com/wp-admin) and access Appearance → Menus
Once you access the section you will have to enter the name of the menu like “Main menu” for example. AFter that the window will provide you with more options.
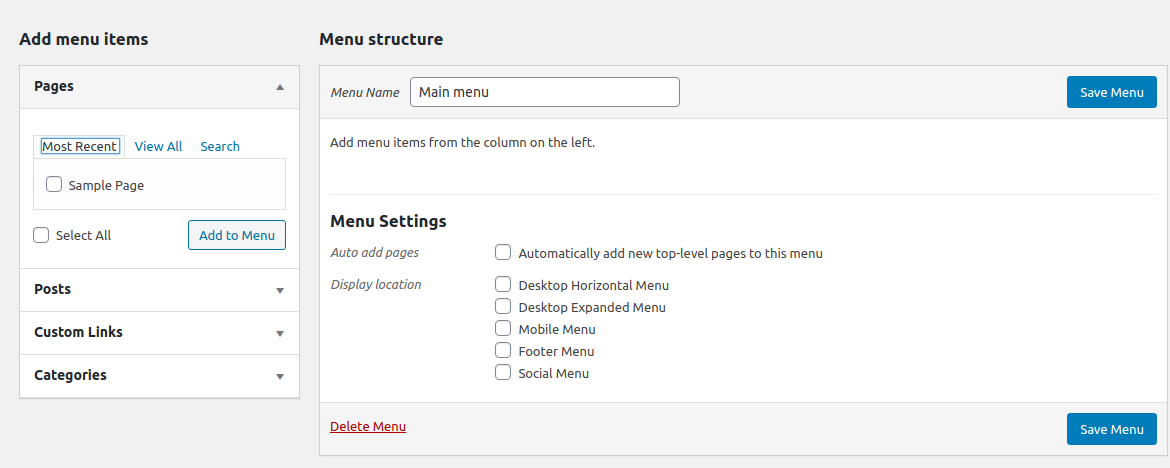
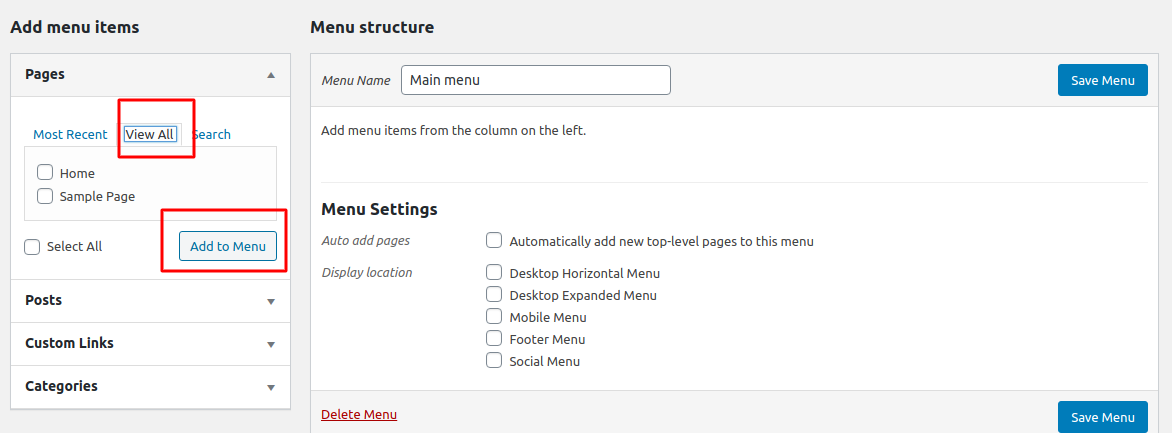
At the menu on the left you will see the top pages on your website from which you could select. Or you can click on “View All” and expand the list with all the pages on the website. A page can be choose when you select it and then hit “Add to Menu”
When you choose which pages you want to be visible on the navigation menu, you can also manage them and select the order in which they will be visible by simply drag and drop them.
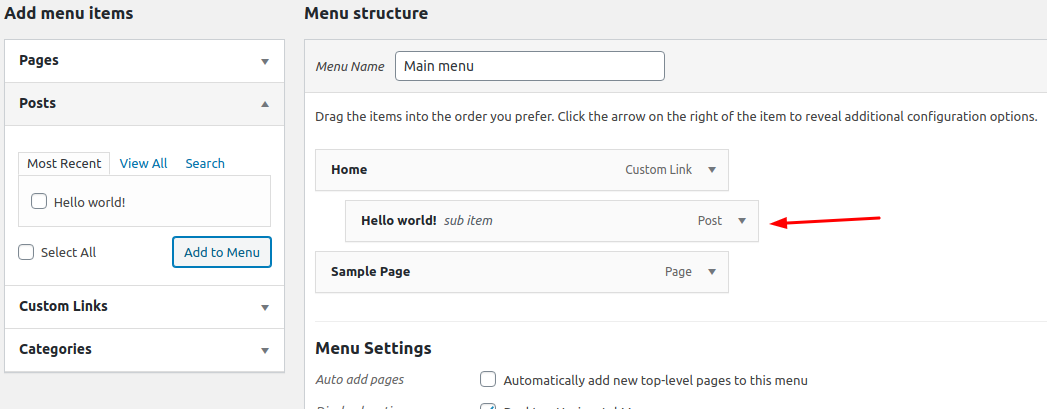
If you wish one menu to have a list down when you hover over it as shown below:
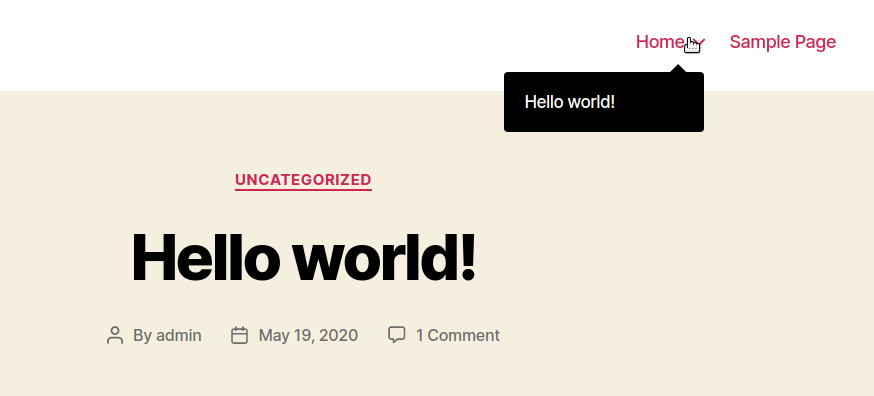
all you need to do is select the pages or posts you want in the menu and click “add to menu” After that you can drag and drop them right under the page on which they will be visible:
After everything is properly configured you can click on the “Save Menu” button and access the website to view your new menu.
- It is important to point out that the menu bar is depending on the theme which you have installed. According to the theme you will be able to create a certain number or menus and this would also affect the position of the menu. This is why, we recommend reading the official documentation of the theme which you would like to install on your website, before installing it.