Skip to content
In the following article, we will discuss how to arrange your content in separate menus.
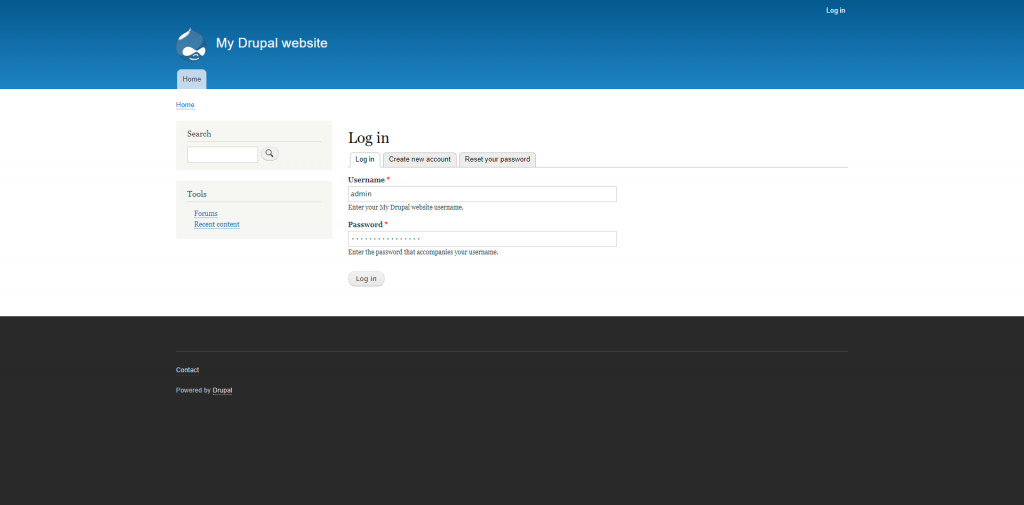
You would first need to log inside your Drupal’s administrative account.
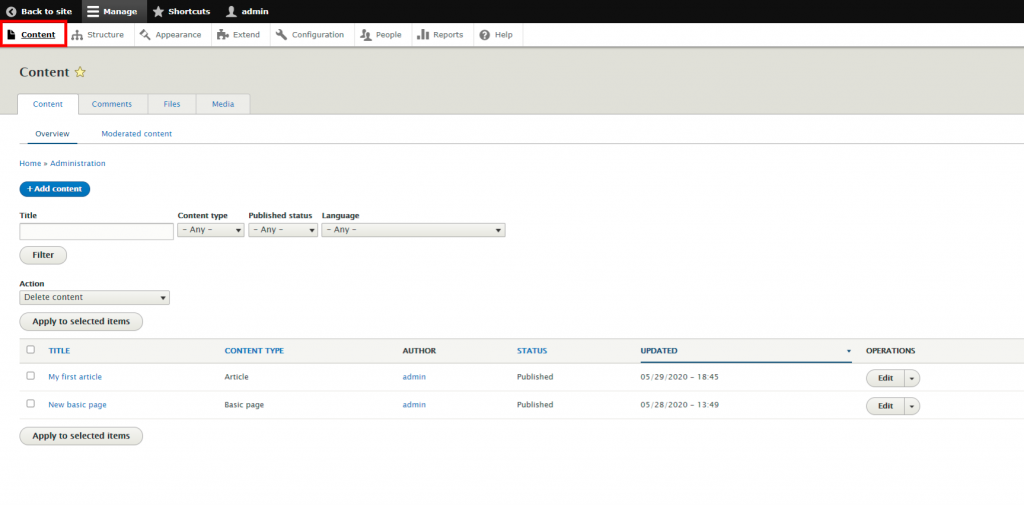
Once inside, navigate to the “Content’ section, where you will be displayed with a list of all of the content that you have created for your website.
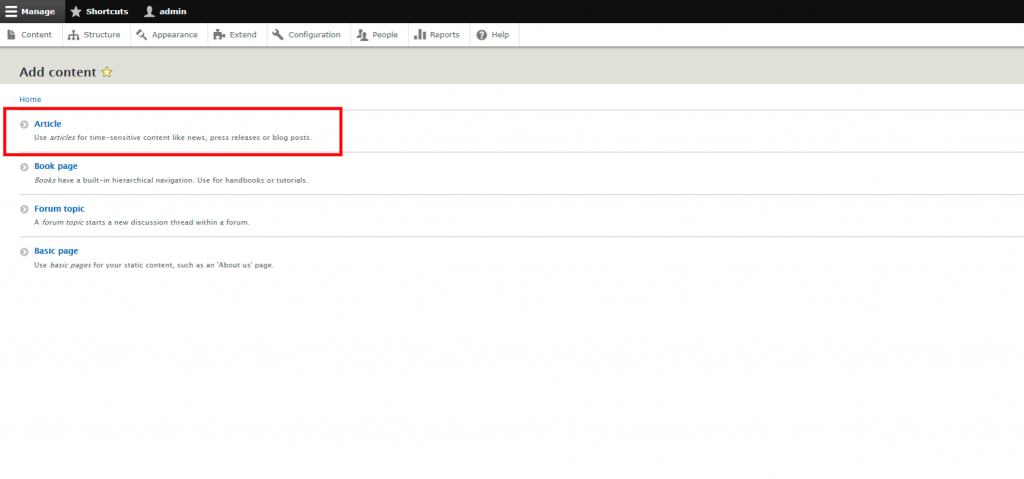
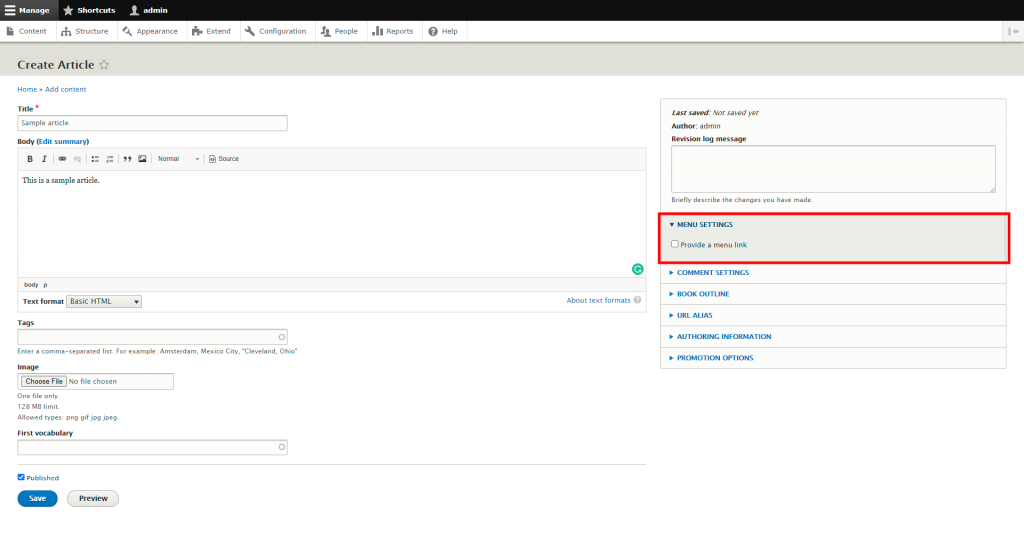
For the purpose of the tutorial we will create a new “Article”
To do this, select the “+Add content” option and click on “Article”
You would then need to enter a title and body for your Article.
Once you are done, you would need to head over to the right side of the page and enable the “provide a menu link” option.
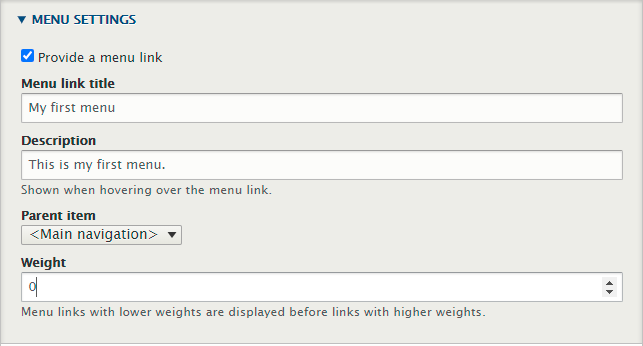
You would then be able to insert additional options, which we will now explain.
Menu link title – This would be the title for your new menu and would be displayed on your front page, at the main navigation bar.
Description – When a client hovers over the menu, the text entered in this field will be displayed.
Parent item – With this option, you may specify if the newly created menu will be presented in the main navigation menu or in a sub-section.
Weight – This option would determine the order that the menus that you create would be displayed in. For example, if your menu has a lower weight, it would have a higher priority.
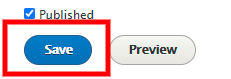
Once you have entered the desired information, simply click on the save button on the bottom of the page.
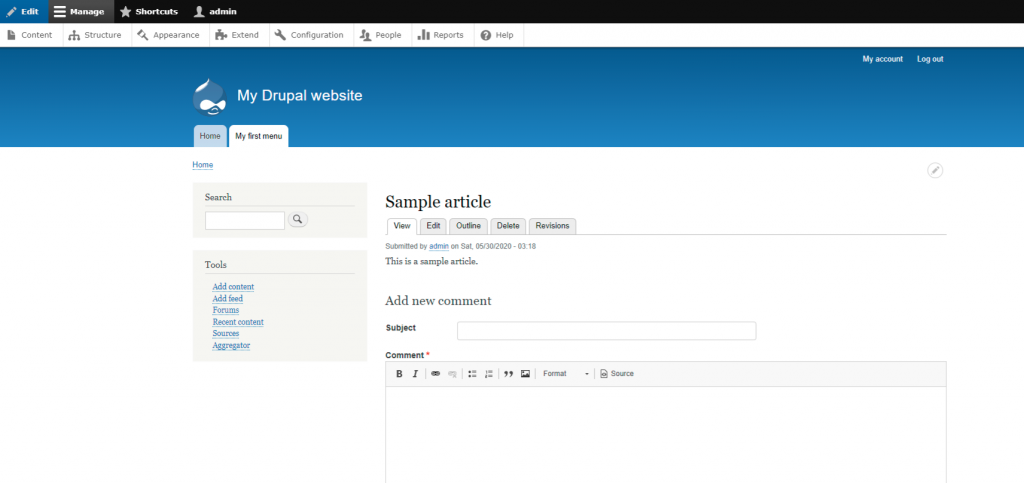
You will then be redirected to your front page and presented with the newly created menu.