Skip to content
Installing any application or a script manually can be hard sometimes and mostly take a lot of time, because every app has its ways and specials steps.
That is why we have made this tutorial so we could guide you with the necessary steps in installing OpenCart Manually on your domain name and save you time. We have set a step by step instructions and screenshots so we could ease this process.
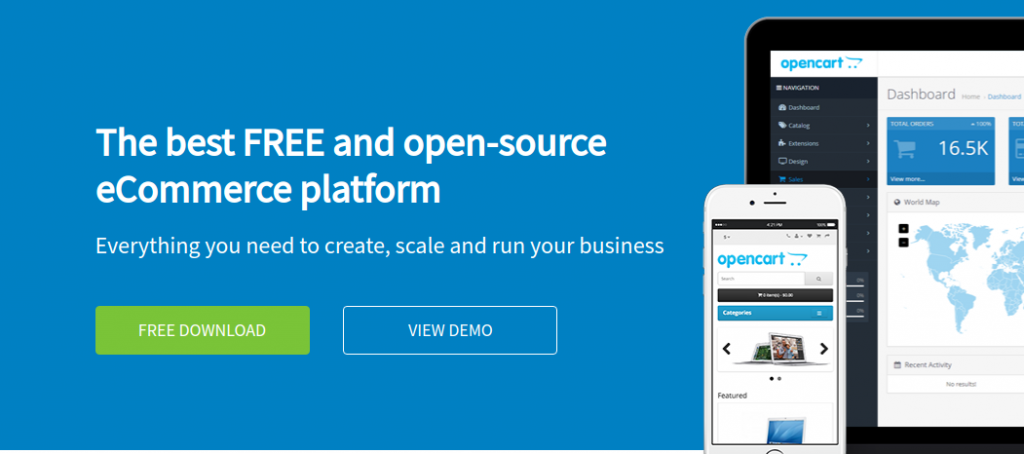
The first thing to do is access the original website of OpenCart https://www.opencart.com/ and download the latest available version
When you have downloaded the file you have to extract it on your local PC. The extracted records ought to be transferred over to your hosting account where you wish to have OpenCart installed. Presently you should set the root folder of the application and transfer the extracted files in it. You can do that by using an FTP client.
Please note that you have to create a database before you can proceed with the installation. You can easily create a database by going to your cPanel -> Database Wizard.
When the database is created you can continue with the installation process. To do so you should get to the root directory of the content via your current Internet browser. In our model we are introducing OpenCart in public_html, so the URL we will type in the program is domainname.com
This will lead you to the setup wizard for the application.
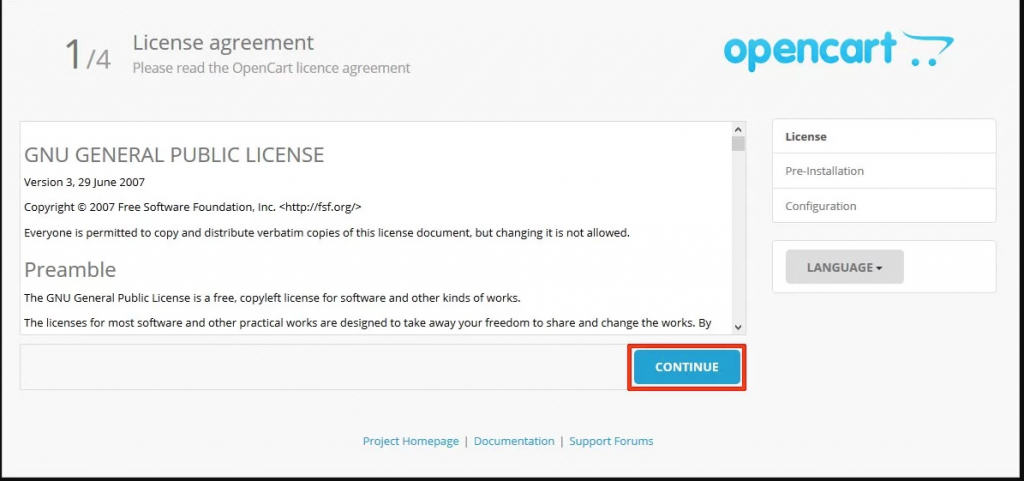
On the main screen, you will see the license agreement notice. You can review it and next you should tap the Continue button:
The Next step is a System Requirements check. From the image you can see that the config.php and the admin/config.php are missing.
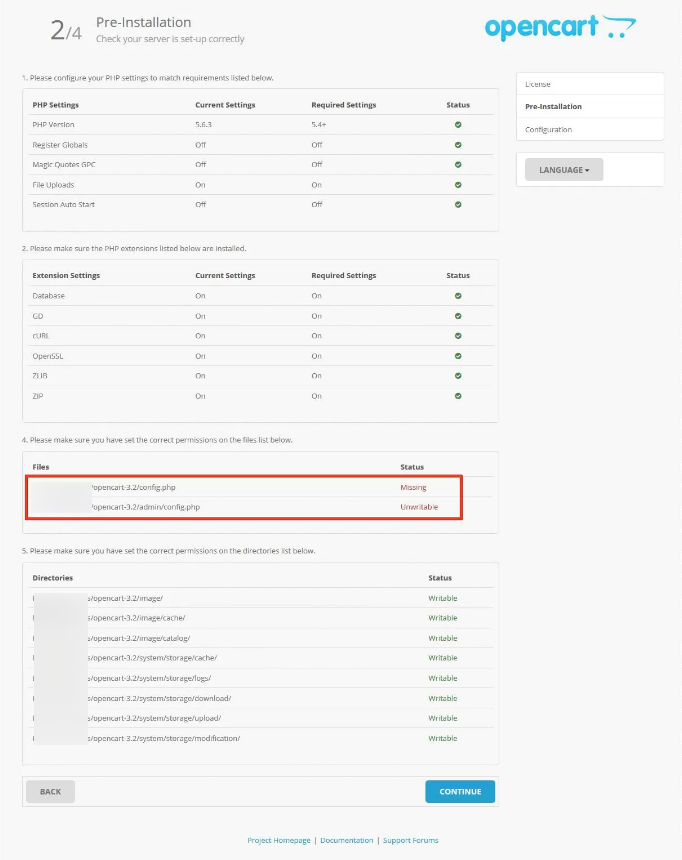
In order to resolve this you simply have to navigate to your OpenCart installation and rename the files config-dist.php to config.php
The second file that is missing needs to be renamed as well. From congif-dist.php to config.php this files is located in the admin folder of the application.
Now that you have renamed the files you can click on Continue and you will need to fill in the Database settings for your website:
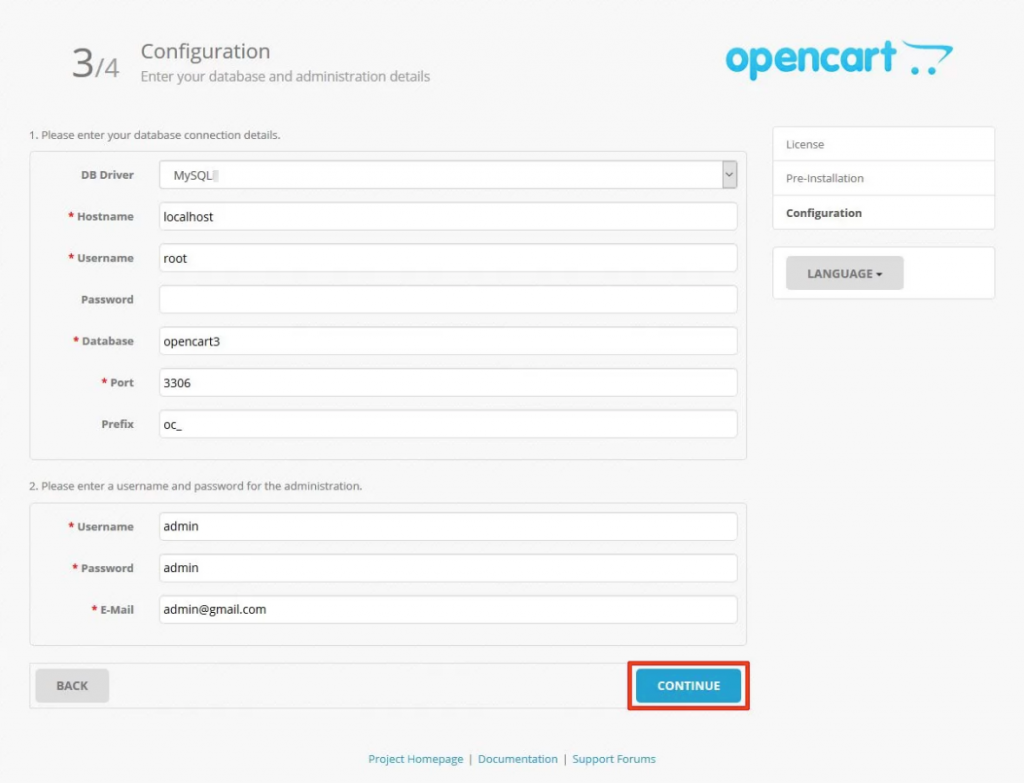
You need to fill out the settings with the database that you have created from the previous step.
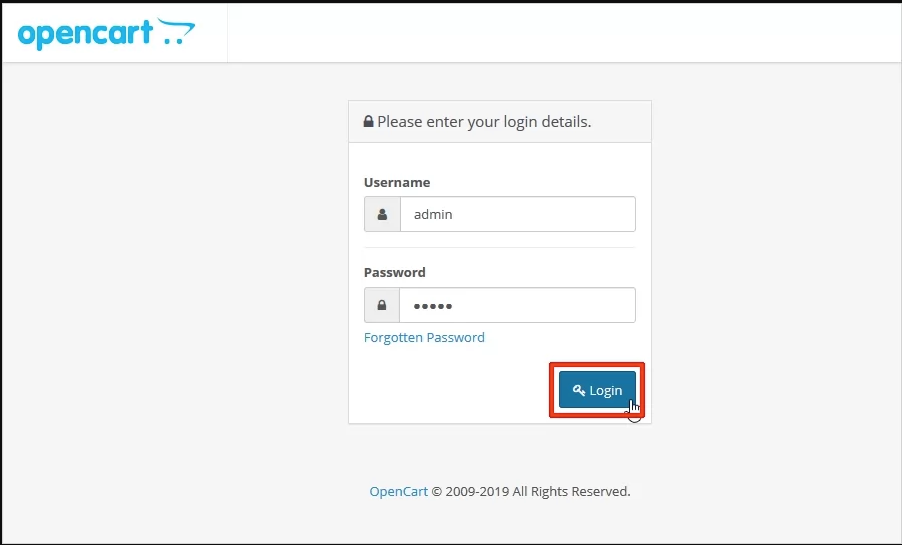
Once you click on the Continue button you will have completed the installation and you will be able to login to your website: