Skip to content
As you should already know the SMF application ca be installed with a few clicks using the Softaculous Apps installer, available on all of our shared hosting packages.
However in some cases you might not have access to this auto installer and you would be required to install the script manually. That is why in this section of our tutorial we will show you how to do that by yourself.
The first thing you should do to begin with the process is to download the latest version of the application from their official website.
Once the archive is downloaded on your local computer you need to extract it and upload the files to your hosting account using an FTP client. In case that you are not sure how to do that yourself you can find more information about that here.
Please have in mind that you need to upload the files to the root folder of the script that you want to use – for example if you want to access the board directly from your domain name you need to upload them in the public_html folder and if you wish to use yourdomain.com/subfolder you should deploy them to a directory called subfolder.
After the files are uploaded you need to create an empty database that you will later associate with the application. You can learn how to that from this article.
You are now ready to proceed with the actual installation. To do so you will need to access the root folder of the script via your favorite browser.
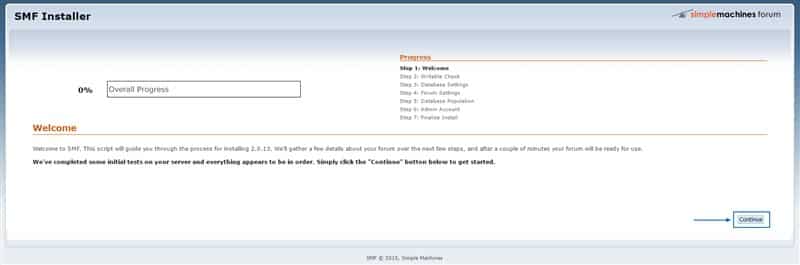
This will introduce you with the SMF Installer which will guide you through the process. On this step just click on the Continue button:
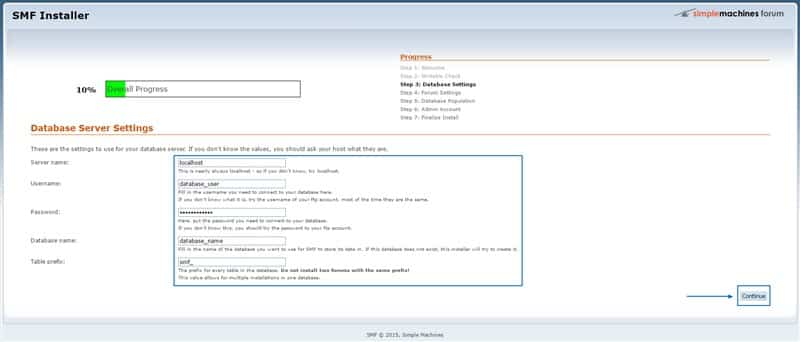
On the next step you have to enter the credentials for accessing the database you have created earlier and click Continue again:
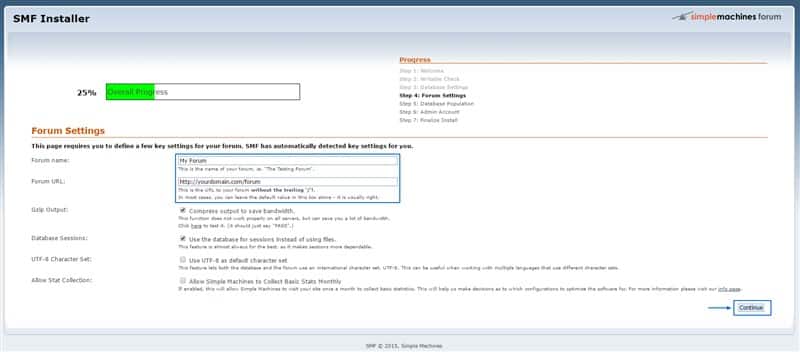
Now you need to enter the name and URL for your discussion board and a few other settings which are optional:
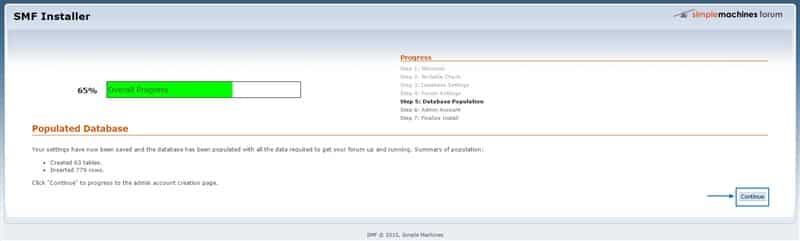
On the next step the settings configured so far will be populated in the database. Simply click on Continue to proceed:
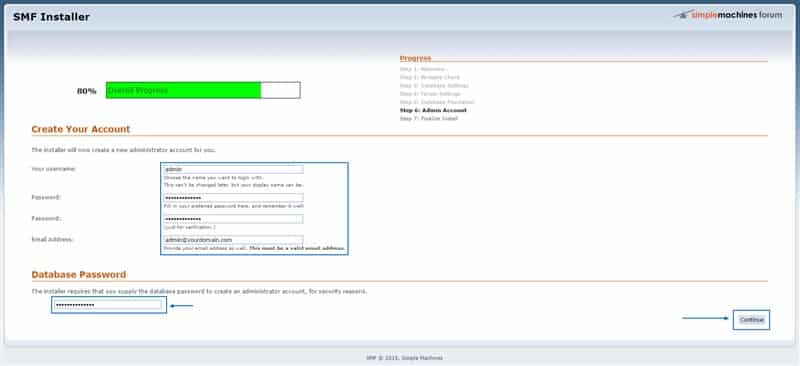
At this stage you need to create your administrative account. To do that enter the username, password and email address which you want to use as administrative ones. Have in mind that it is advisable to save these credentials somewhere because they would be required when you access the forum as an administrator. Additionally the email has to be a valid one due to the fact that it would be used in case that you forget your administrative password.
You should also enter the password for accessing the database once again, since this is a requirement of the application:
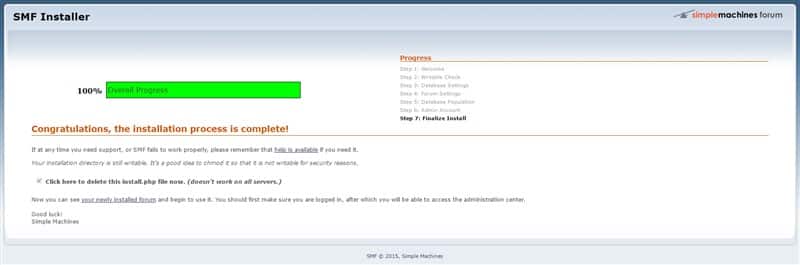
This is the last step of the installation. You need to confirm that you want the wizard to delete the install.php file by ticking the checkbox and you are ready to start building your new forum:
You can access the administration area by navigating to the administrative URL of the application, using your favorite browser. It would look like the following example: yourdomain.com/forum/index.php?action=admin or yourdomain.com/ index.php?action=admin.
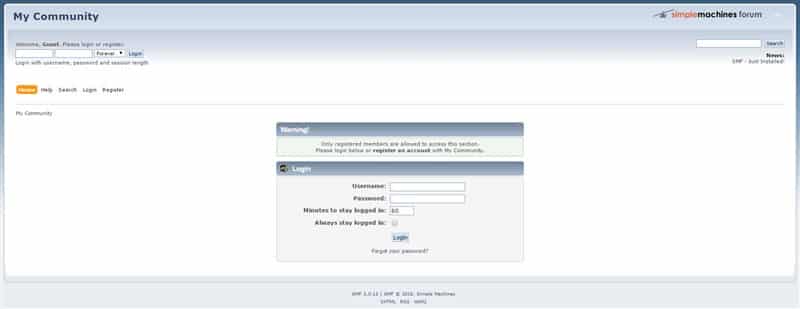
This is the login form to the administration area: