Skip to content
In order to start to manage your fresh CS-Cart application, you should first enter your Administrator Panel. Doing so is very easy – just type down the full URL of the website, where your script is installed and include /admin.php at the end. For example:
yourdomain.com/admin.php
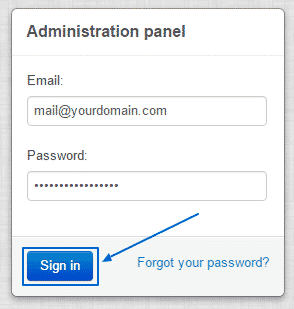
Once you do that, a window will pop up, where you have to fill in your email address and the password you have set up for your administration area, during the installation, then simply click on Sign in:
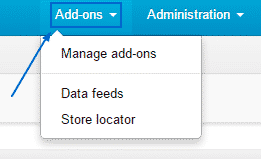
After you are successfully signed in the Administration Panel, you can explore the Administration area. The first menu you are about to see at the top side of the page is the Add-ons one. There, you can manage all of them, as well as your Data feeds:
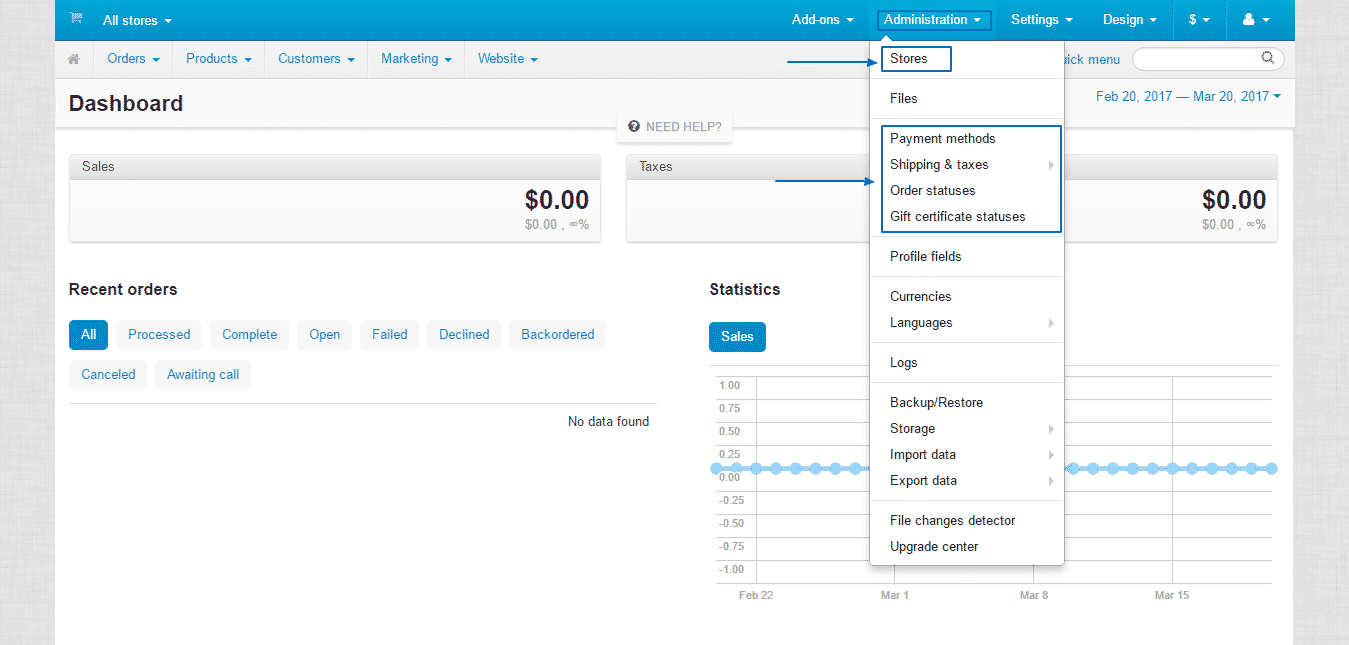
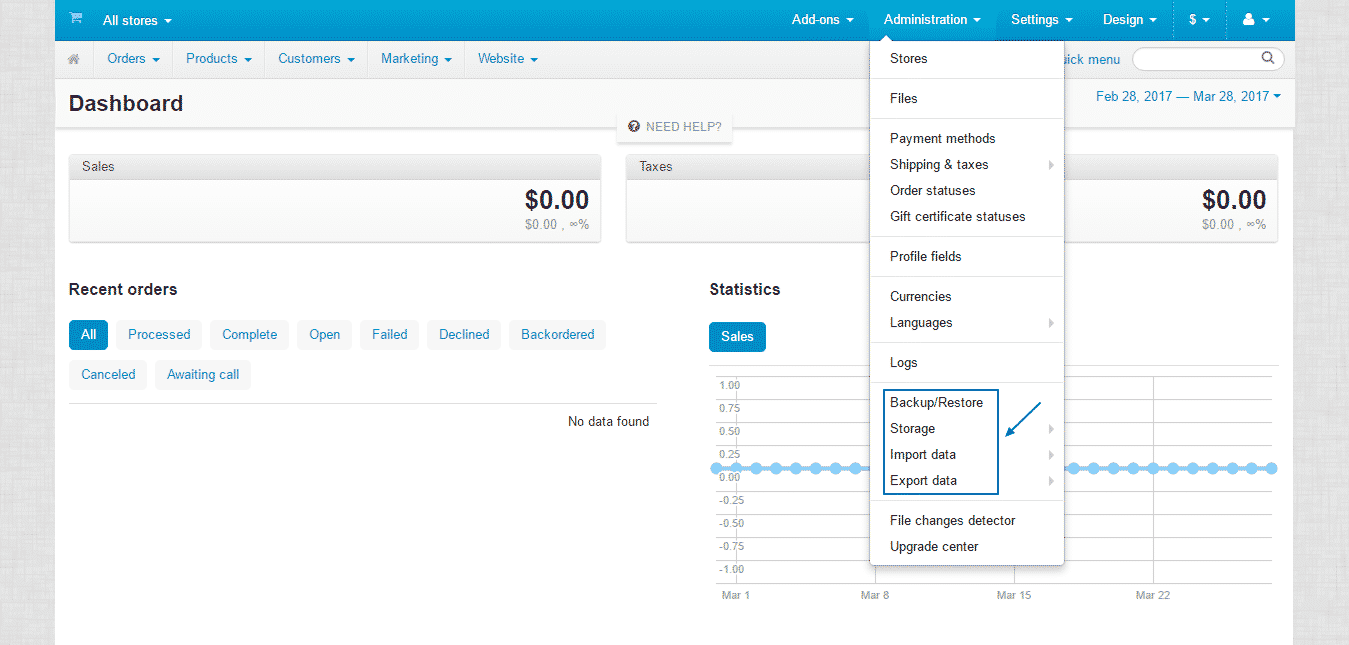
Right next to it is a crucially important section, which you can access by clicking on the Administration button at the top.
The Stores section is covered in depth in our CS-Cart Basic configuration section.
Some of the crucial elements of an online trader are also located here:
Payment Methods – you can add new ones and edit the current ones.
Shipping & Taxes – you can manage and change the various shipping methods and the current statuses of your orders as well as setting up the rates for taxes, with possibilities to put different ones for every country/state.
Order status – manage the different order statuses, such as Processed, Complete, Open and Cancelled, with the possibility to add new ones as well.
Gift certificates statuses – manage these statuses, which are by default set to Pending, Active, Disabled and Used with the option of adding new ones.
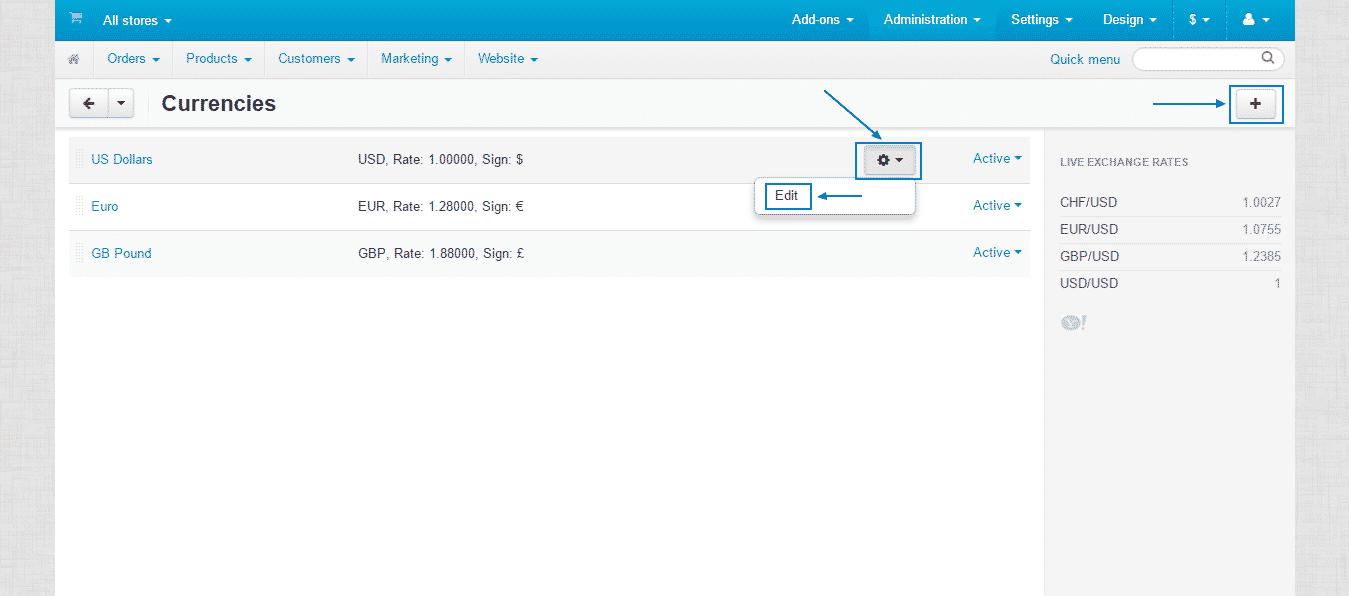
Further down, you will see the very important Currencies section:
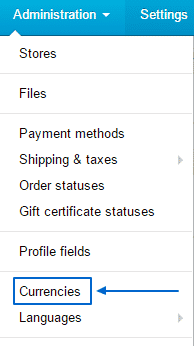
There, you can Edit the value of a certain currency, as well as add any new one from the Add Currency button at the top right:
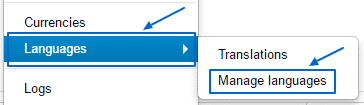
Just below Currencies, you will find another key feature for the administration of your CS-Cart – the Languages section. You can then choose the Manage languages option:
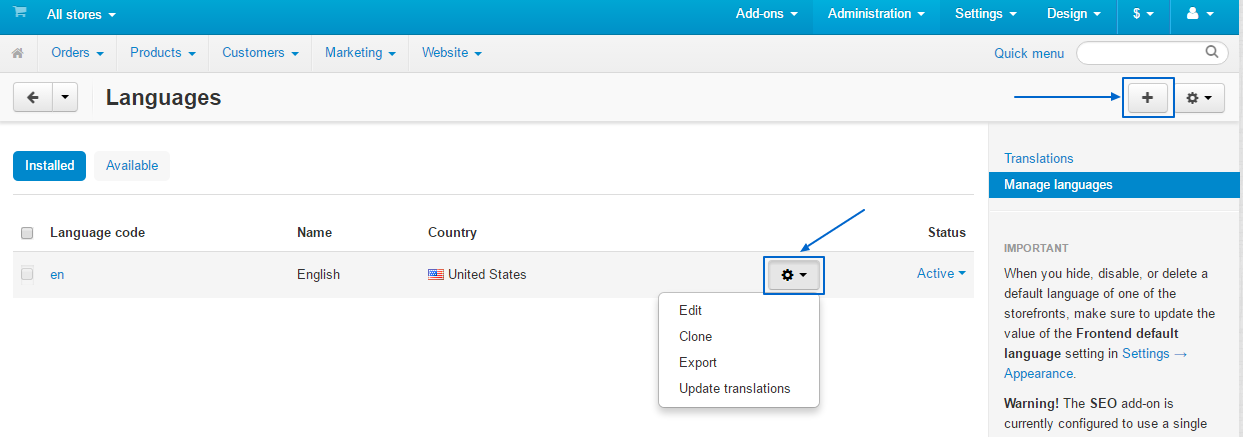
When the tab loads, you will be able to manage the currently installed languages from the options, appearing from the gear button on their right. You, of course, are going to be able to add new ones as well. That can easily be done by selecting the Add Language button at the top right corner of the page and choosing and installing the language you need:
You will also find the Backup/Restore option, which we covered in detail in another part of this tutorial. You can also find the place where your Storage is located as well as to import and export data from it:
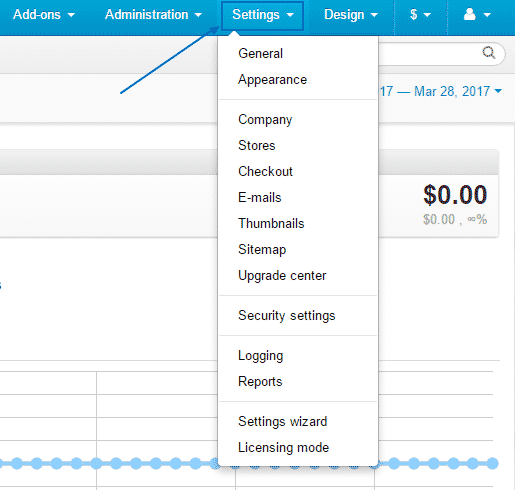
Next, you can navigate to the Settings option. Here is some information, concerning the most important features you can find there:
General – default location, catalog, promotions, user/cart, proxy server for outgoing connections.
Appearance – administrator settings, customer settings,product list layouts settings, common settings (such as time zone, calendar date format)
Company – fill in the details of the company itself, such as the company’s name, address, phone, emails, etc.
Checkout – checkout processes, such as agreement for terms & conditions, display of shipping/payment method, etc.
E-mails – SMTP/email server settings.
Thumbnails – background color, format, JPEG format quality, etc.
Sitemap – whether or not the Site info, and Categories sections to be shown.
Upgrade center – FTP server options.
Security settings – HTTPS connections, enable/disable secure connection for the storefront, password validity period, etc.
Reports – format of time intervals.
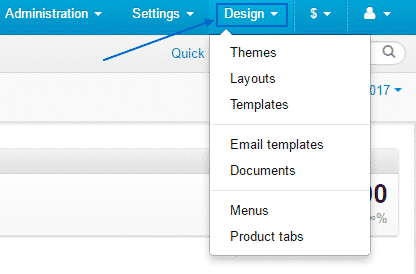
In the Design section, you will find the places, where you can add/delete/manage your Themes, Layouts, Templates, Email Templates and Documents:
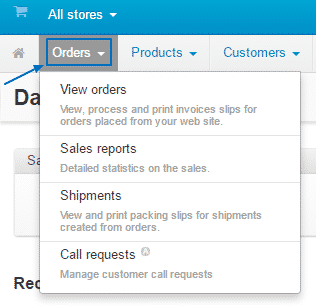
On the grey bar below, you can see the Orders option, where you will be able to check out:
View orders – deal with the invoices slips for the orders placed from your platform.
Sales reports – view the detailed statistics of the sales.
Shipments – see the packaging slips for shipments, created from orders on your website.
Call requests – manage all requests, made by your customers.
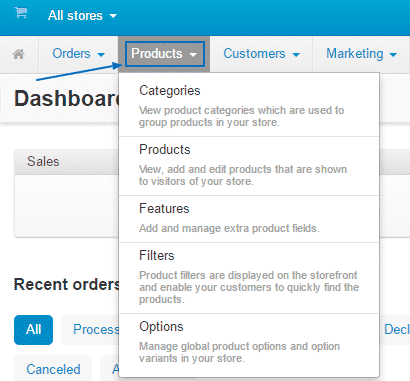
On its right, there is the Products option, which we have covered in detail in another part of this CS-Cart tutorial. The subcategories included are:
Categories – manage the various product categories, used for grouping of the products.
Products – add, edit and delete all the available products in your store.
Features – add and manage extra product fields.
Filters – manage the product filters, which are being displayed on the storefront.
Options – global product options for your store.
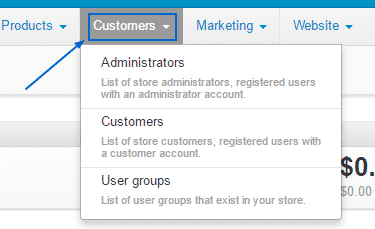
Next to it, there is the Customers section, where you can see a list of the registered users, with either Administrators or Customers accounts. Also available is a list of User groups that exist in your store, which you can manage from here:
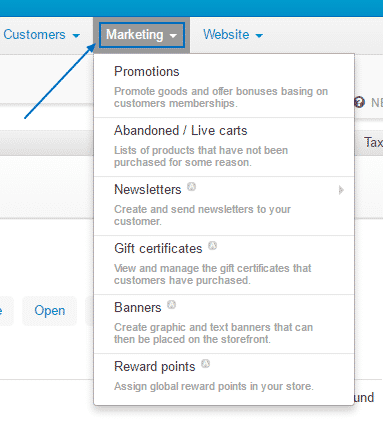
The Marketing options, will allow you to do:
Promotions of products and offer bonuses.
Abandoned – a tool to check out which products have not been sold at all.
Newsletters – here, you can create and send them.
Gift certificates – view and manage them.
Banners – a tool to to create and place them in your store.
Assign Reward points.
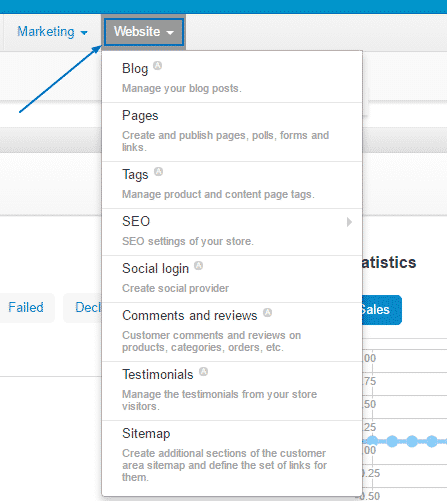
Finally, there is the Website tab. There, you can manage your Blog posts, create Pages and arrange the Tags. You can manage and expand the popularity of your platform with the SEO tools offered, the linking with social networks through Social login, administering the comments and reviews, as well as adding and editing the Testimonials for your products. Here, you will also find the option to create additional sections through the Sitemap: