 Skip to content
In this tutorial we will show you how to install Xoops manually. Before you start, there are a few things that you will need to prepare. First create a new MariaD database logins. Those will be used by Xoops to access the MariaDB server. You can easily create a new MariaDB database using cPanel.
The second thing you will need to do is download the Xoops installation files. You can download the files from their official website at:
http://xoops.org/
When you download the Xoops archive, extract in your local computer. You will have a new folder called xoops 2.x.x depending on which version you have downloaded. In that folder you will find a folder named “htdocs”:
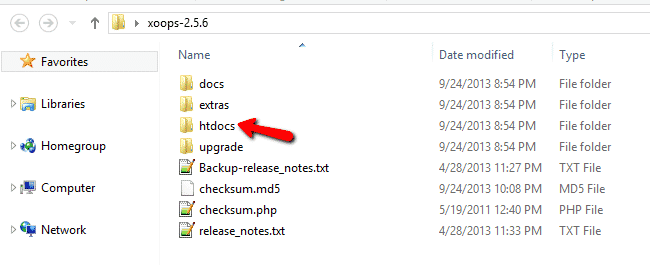
You will need to upload the content of that folder to the directory in your hosting, where you wish to install Xoops. If you want to access the site using https://yourdomain.com , you should upload the files in /public_html/, if you want to access the site using https://yourdomain.com/cms/ , upload the files in: /public_html/cms/. To upload the files you can use an FTP client. You can review our FTP video tutorials at:
https://tmdhosting.com/tutorials/video/ftp.html
For the purpose of this tutorial, we assume that you have uploaded the Xoops files in the /public_html/ directory. To start the installation process simply go to:
https://yourdomain.com/install/
This will bring the installation screen for Xoops:
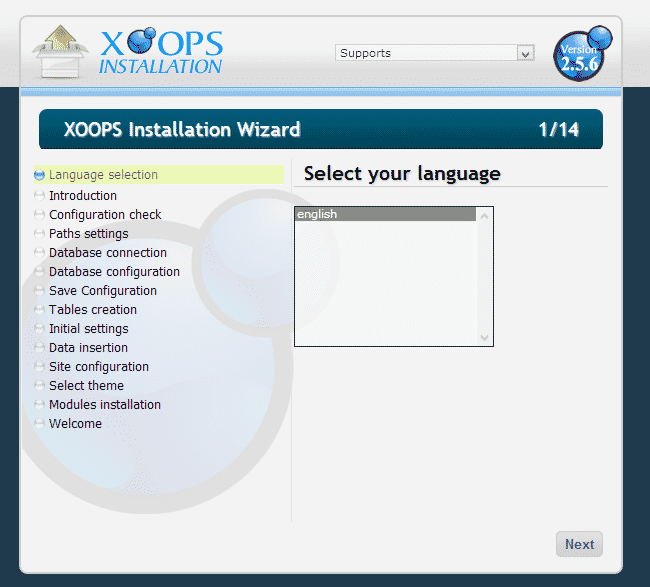
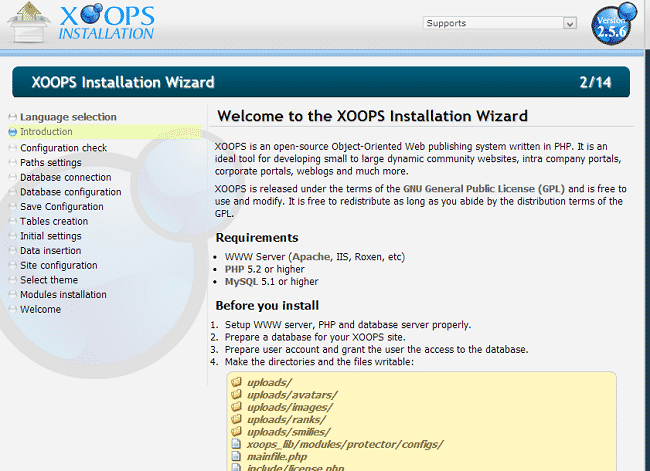
Click on the “Next” button on that page. Now on the next page Xoops will ask you to create a MariaDB database and setup the folders for your Xoops installation. You have already done so in the beginning of this tutorial. The only thing you may consider is moving the xoops_lib and xoops_data directories outside of your web root directory. This measure is required for security reasons:
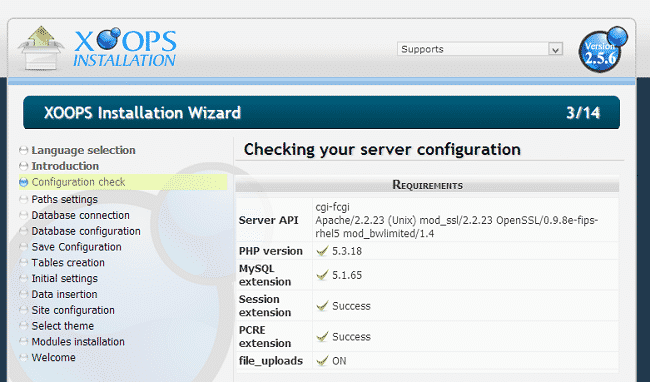
Proceed to the next page. Xoops will check the server configuration. Everything should be OK in here:
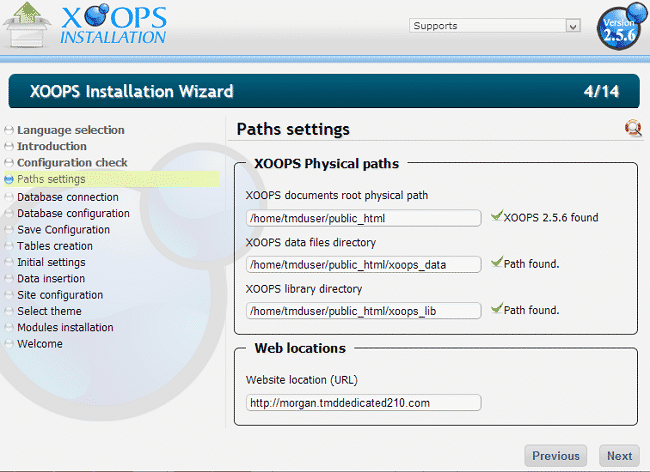
You can proceed to the next page. The script will find the path to your website as well as your site URL. Check if they are detected correctly and fix them only if needed:
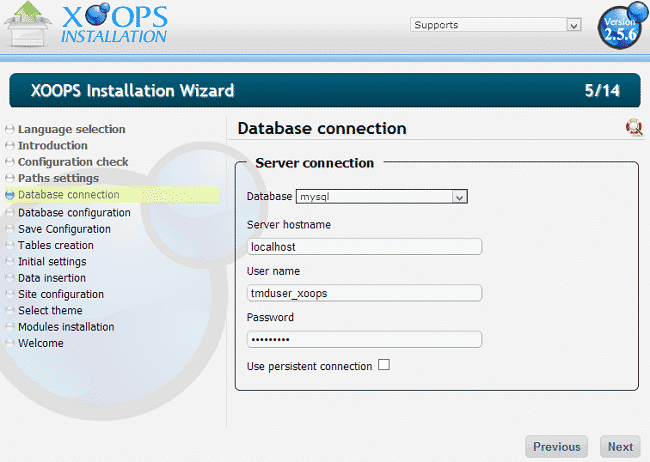
The next thing you will need to do is enter your database details. Use the ones that you created in the beginning of this tutorial:
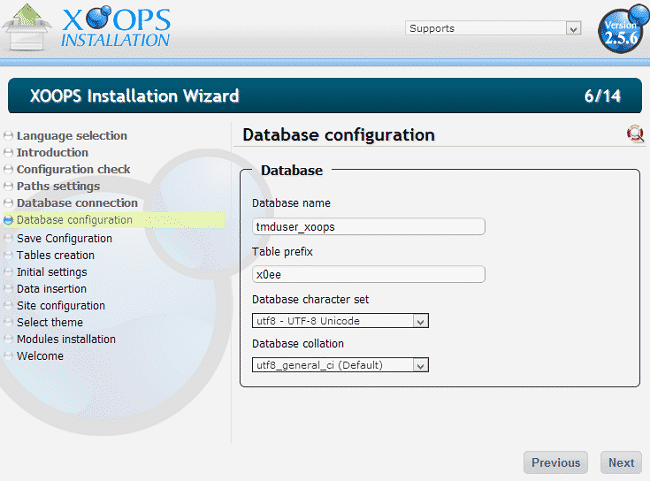
Proceed further and enter the name of the database that you created:
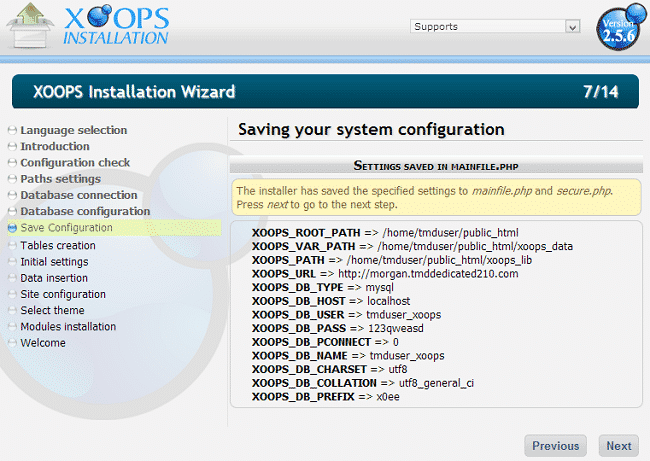
Xoops will inform you that the changes have been saved in the mainfile.php and secure.php file:
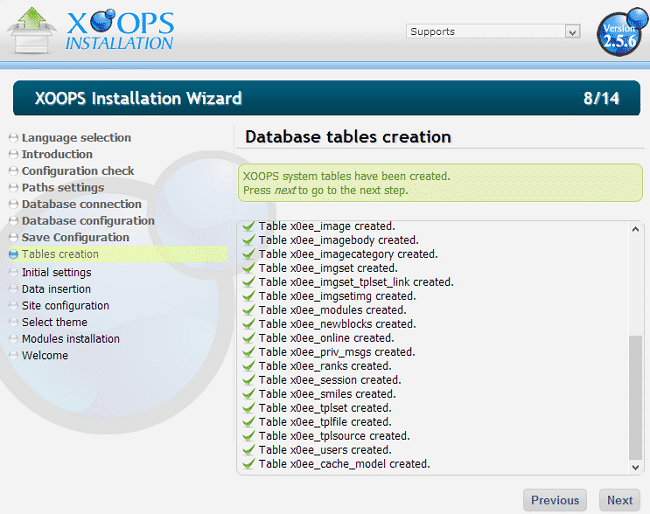
Go to the next step. Xoops will create the MariaDB database tables:
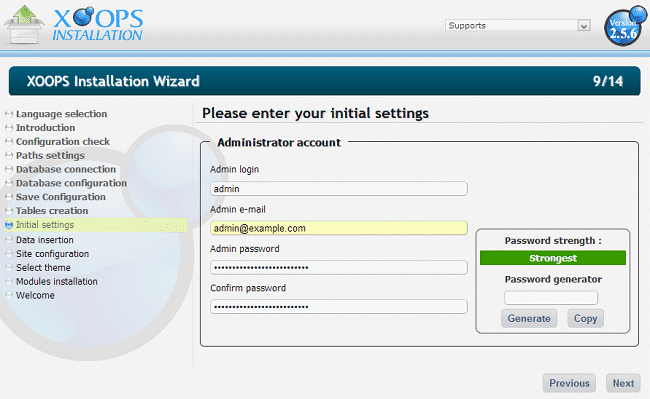
After that you can create your administrative user details:
Admin Login – choose your administrative username
Admin e-mail – make sure to use a valid email address as you may need it in the future
Admin password
Proceed to the next step where you can configure your site details:
Site Name
Slogan For your site
Meta Keywords – these words are used for SEO purposes
Meta description
Meta Author
Allow new user registrations

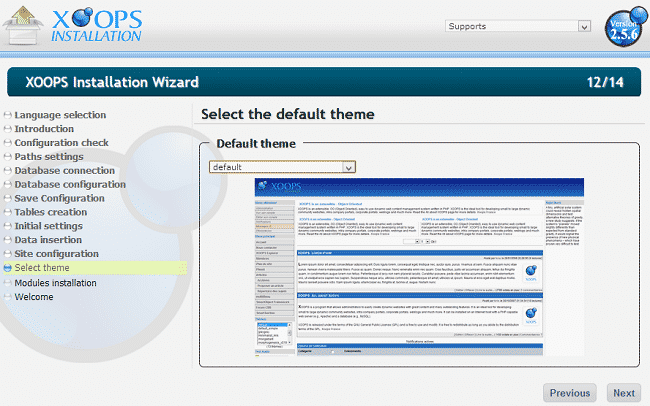
Now select your site theme:
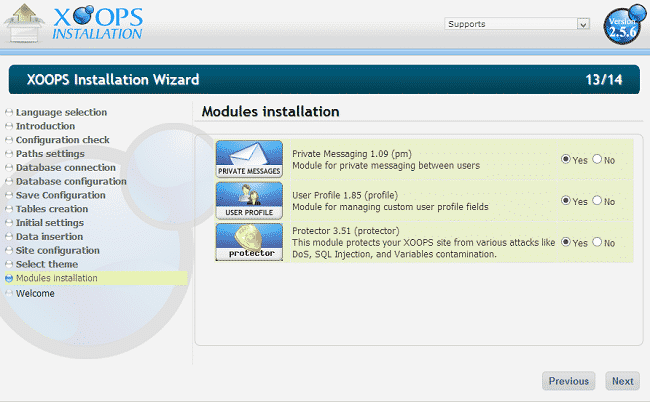
After that you can select the modules that you wish to have pre-installed:
That’s it! You have successfully installed Xoops:
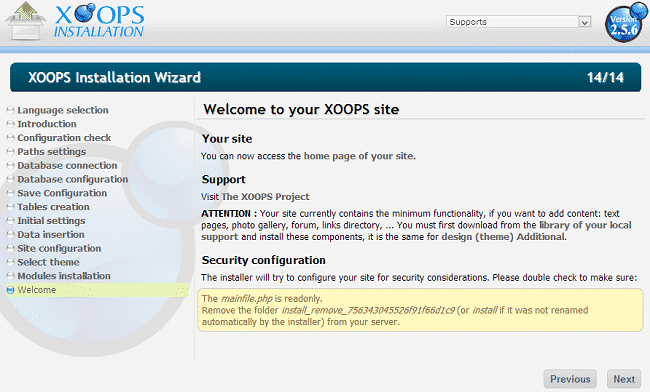
Note: For security reasons, make sure to remove the “install” folder which has been renamed after the installation.