 Skip to content
In this tutorial we are going to show you how to install new modules in Xoops. Note that there are two types of modules in Xoops. The first type is the core modules that come with the script itself. The second type is the extra also known as non-core modules, developed by third parties.
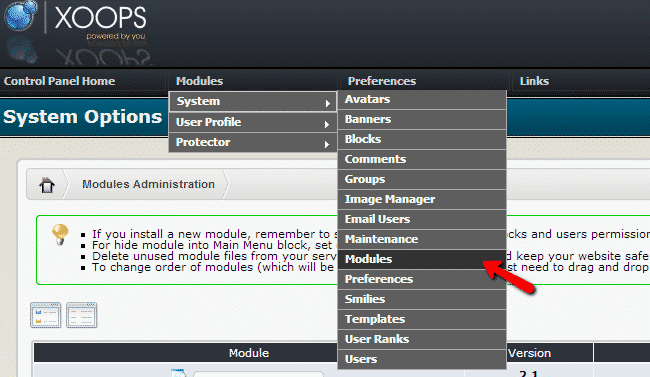
We will start with the installation of the core modules. From your administration menu navigate to Modules > System > Modules.
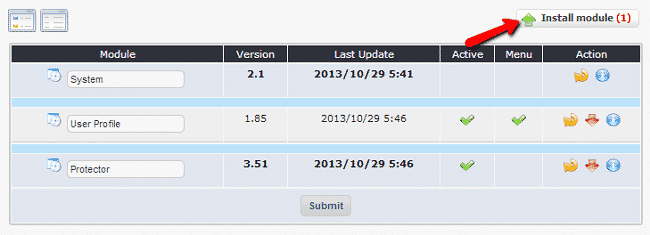
The page contains a list of the modules currently installed. To install new modules click the “Install” button on the right:
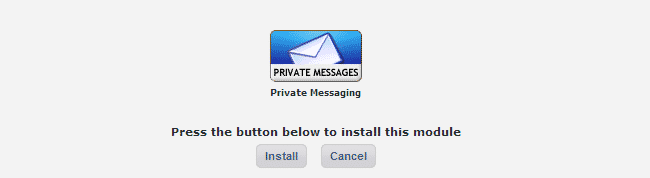
You will now see a list of available modules for your Xoops:

To install the module, click the green arrow next to the module you wish to activate. In the next page click the “Install” button:
You will receive a message that the module has been successfully installed. You can now go to the module preferences to configure it:
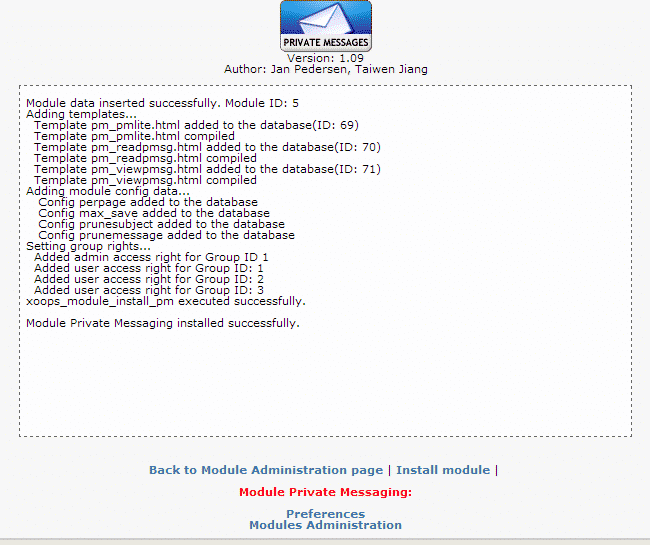
You have successfully installed the core module for your Xoops site.
To install a non-core module go to the modules page for Xoops at:
http://xoops.org/modules/repository/
Download the module archive on your local computer and extract it. You should have a folder with the name of the module that you have downloaded. Upload that folder in the “modules” folder of your Xoops installation. The “Modules” folder is located in the root installation directory of Xoops. You can perform the upload via FTP. You may check our FTP video tutorials here:
https://tmdhosting.com/tutorials/video/ftp.html
Once you have uploaded the module you can complete the installation of the module by following the instructions for installing a core module.
Note: Some modules may have additional files that have to be uploaded. Always check the instructions or readme.txt file for the third party module that you are installing.