 Skip to content
To create a successful online community it is important to combine both various functionalities and a nice slick design.
Fortunately there are a lot of themes available for SocialEngine that you can install on your application.
Before you initiate the installation you need to search for the appropriate theme and download it on your local computer. It is advisable to get it by a well-known vendor or from the official SocialEngine marketplace.
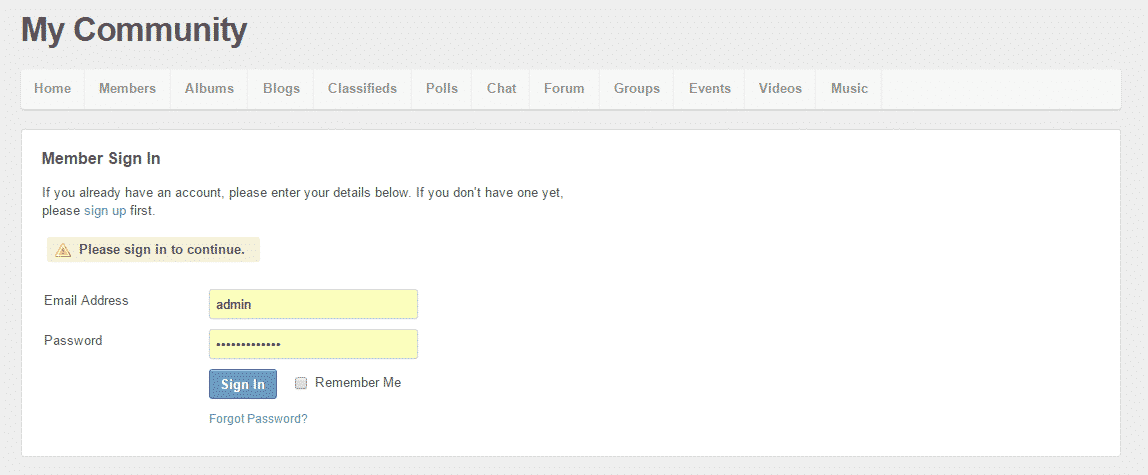
Then go to your website’s administration area:
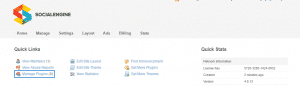
Next navigate to the Manage Plugins section:
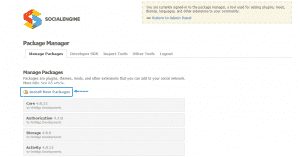
There you will see the Install New Package button. Click on it to proceed:
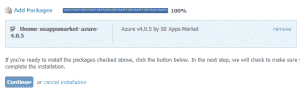
On the following page you will be required to select the theme package from your computer by clicking on the Add Packages button:

Once the package is uploaded you just need to click on the Continue button:
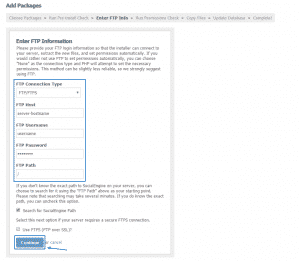
Now you need to enter the FTP credentials for your hosting account and click Continue:
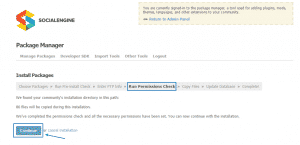
On the next stage a permission check is made and you should proceed by clicking the Continue button again:
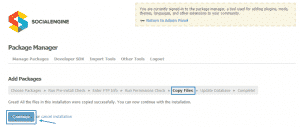
Then the theme files are being uploaded:
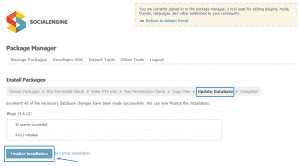
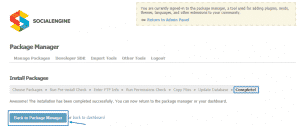
As you already know from the module installation section of the tutorial, when a package is installed the SocialEngine database also needs to be updated. This is the last step of the installation:
When all the steps are completed you will be displayed with the following message:
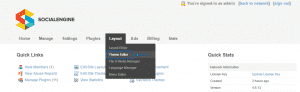
By now the theme in question is installed on your website. However in order to enable it you need to go back to the dashboard of the script and navigate to Layout > Theme Editor:
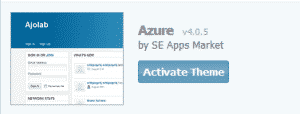
In the Available Themes section you should be able to see the newly installed theme. To activate it you just need to click on the Activate Theme button:
That concludes the theme installation process and can proceed with building your community website.