Skip to content
When building an online community you would be required to assign different roles to the users of your website. Except the normal users you will most probably have administrators and moderators.
To manage these member levels you need to understand the basic member levels that the SocialEngine application offers.
In this section of our tutorial we will explain that and we will also show you how to manage them with ease.
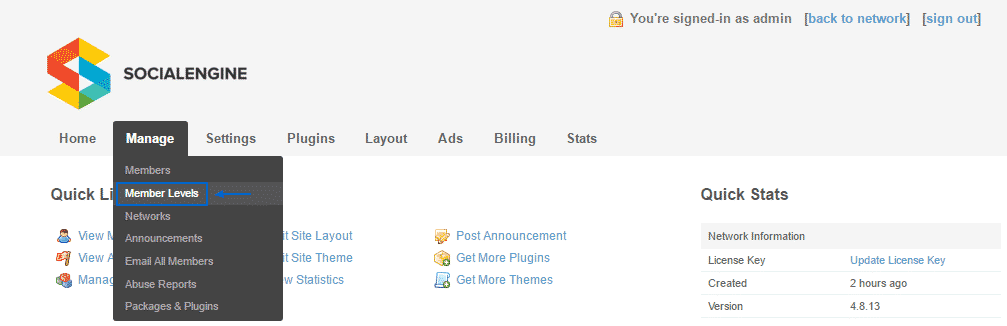
The first step you need to perform is to access the dashboard of your social network and navigate to Manage > Member Levels:
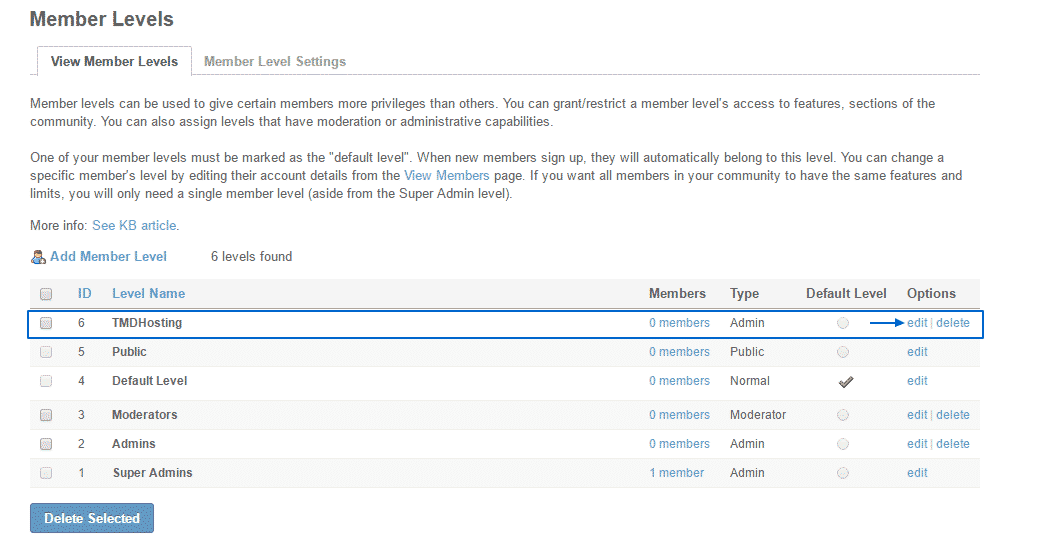
On the new page you can see the 5 predefined member levels:
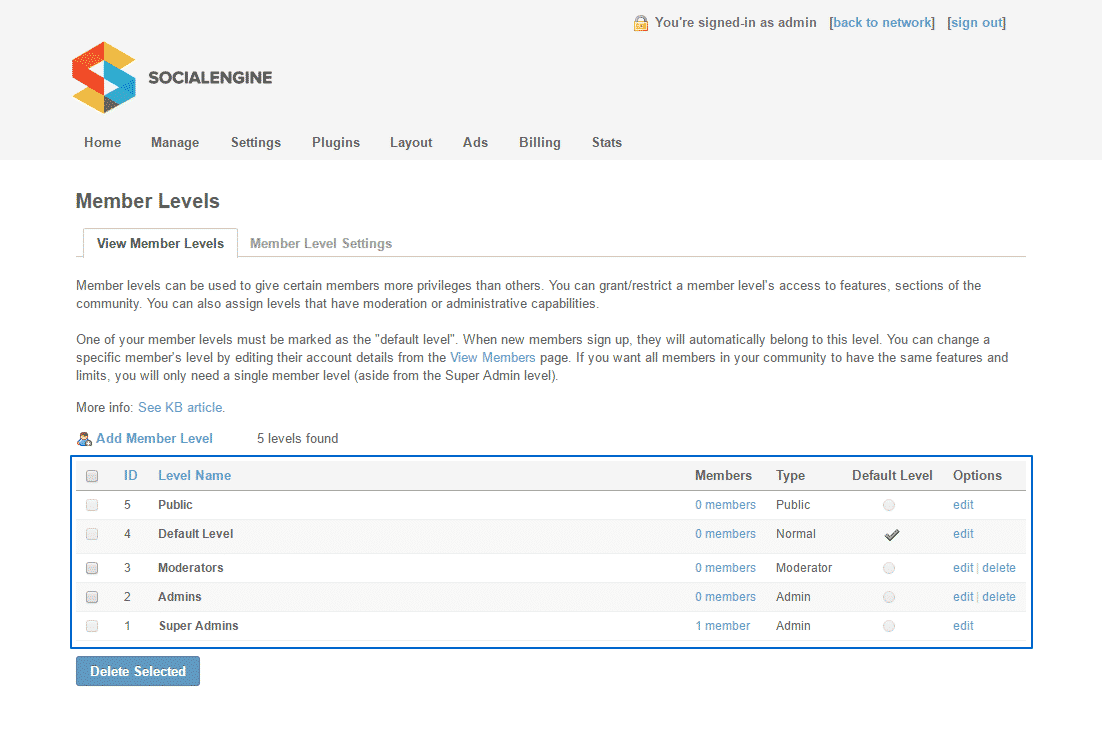
Public – this member level includes all the unregistered visitors of your website. They can browse your network without logging in. This level cannot be deleted.
Default Level – this is the level that the newly registered members will be assigned to.
Moderators – these are members to which you can assign different privileges.
Admin – using this level you can allow the users assigned to it to access the administration panel of the application.
Super Admin – this is the type of your administrative account. It gives the highest level of access and it cannot be deleted.
Using the edit button next to each member level you can change their permissions and give them different privileges.
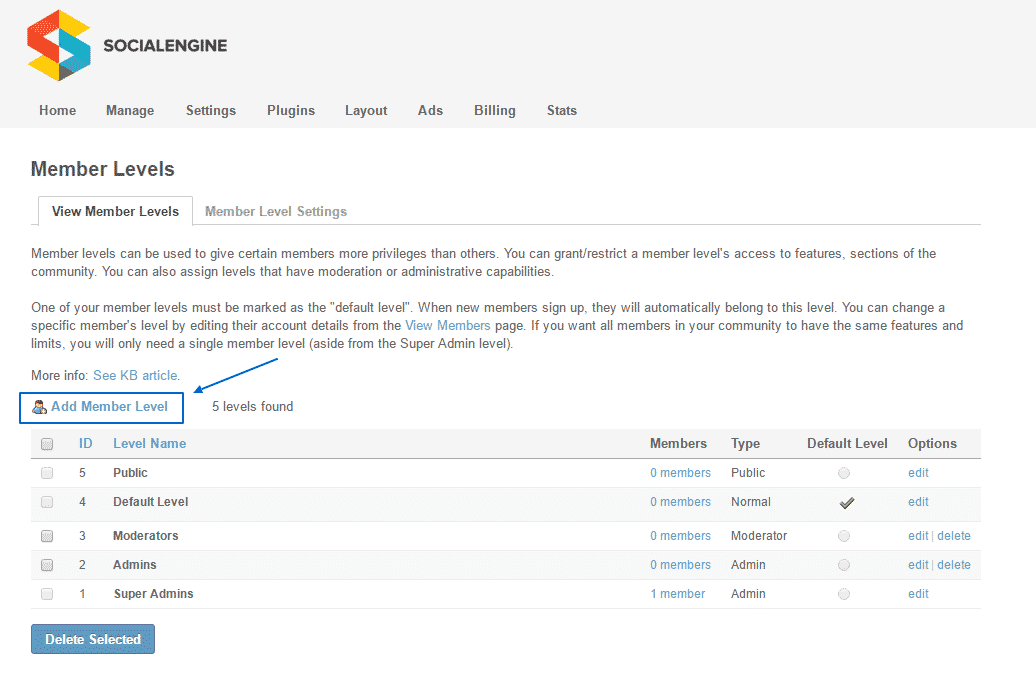
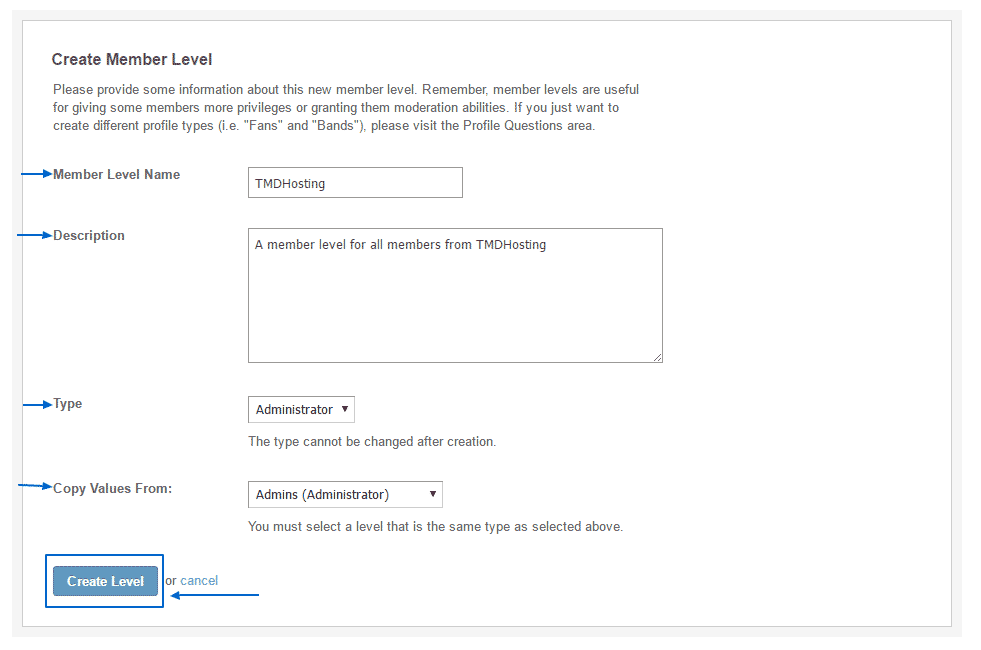
You can also add new ones using the Add Member Level button:
On the new page where you will be redirected to you have to enter the level name, description, type and copy the privileges from specific member level that already exists:
Once you create it you can edit the permissions assigned to it using the edit button next to it: