Skip to content
As you probably already know SocialEngine provides a lot of different functionalities built-in the application core. However depending on the needs of your community website you may need to add more capabilities to the script. This can be achieved easily by installing an additional plugin.
We will now show you how to achieve this on your own.
First you need to download the plugin that best suits your needs. We strongly recommend downloading such only from trusted vendors or from the official SocialEngine plugin repository.
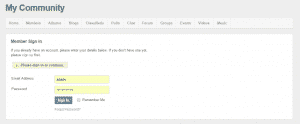
Then you should go to your application’s dashboard:
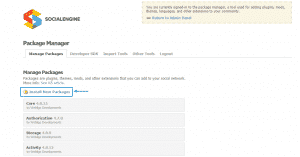
Next navigate to Manage > Manage Plugins or click on the Manage Plugins quick link:

There you will see the Install New Packages button. To proceed click on it:
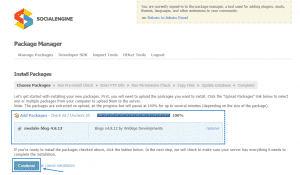
On the new page you need to click on the Add Packages button and select the module you want to install from your computer:
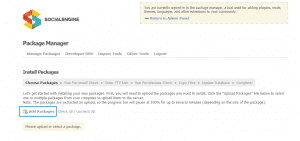
You will be displayed with a page showing the upload progress on which you should install the Continue button:
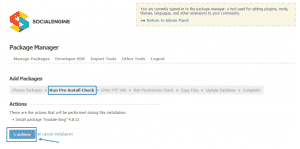
Next a Pre-install Check is made:
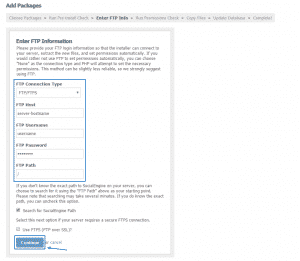
To proceed with the installation you have to enter the FTP login details for your hosting account:
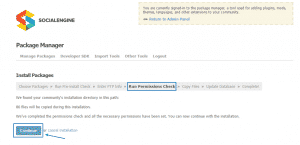
On the next stage a file permission check is made and you should click on the Continue button:
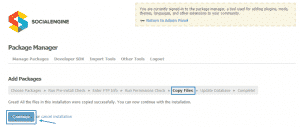
Then the plugin files are being copied:
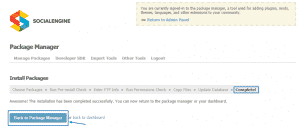
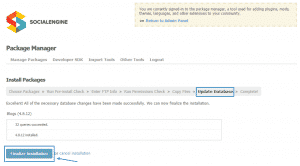
In order for the package to work properly the database associated with the application has to be updated. This step represents that action. This is also the last step of the installation process. Click on Finalize Installation:
Once you have completed all the actions mentioned above you will be displayed with a message, stating that the installation is complete and you can return to the dashboard and start managing your community: