Skip to content
How To Install SocialEngine
In this section of our SocialEngine tutorial we will show you how to perform the installation process.
The application is appropriate for all of our hosting packages and you should only have in mind that once the members of your community grow in number you might need to consider an upgrade to a higher plan.
These are the script system requirements for your convenience:
- PHP 5.3 or higher
- GD2, CURL PHP extensions
- Memory limit – at least 32M
- MariaDB
Please have in mind that these requirements should be met in order to install the application and ensure its proper functioning.
Let’s now proceed with the actual installation.
In our example we will show you how to download and install the trial version of the SocialEngine PHP application.
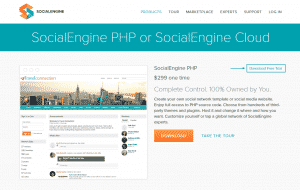
First you need to go to the official SocialEngine website and download the latest release of the script:
Next you need to enter a valid email address of yours on which you will receive a download link to the application archive, the licence.txt file along with the license key: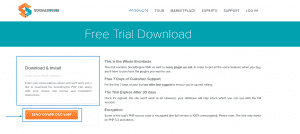
Once you have downloaded the archive containing the script files you need to upload it to the root-folder of the application on your hosting account along with the license.txt file. You can find more information on how to achieve this here.
Next you need to create a database following the instructions here.
When you are done with these tasks you should extract the content of the socialengine48xx_trial.zip to the root folder of your website and access it via your favorite web browser.
In case that you have placed the SocialEngine files in the public_html folder of your account you need to navigate to yourdomain.com and if you want to install it in a subfolder you should access yourdomain.com/subfolder.
Once you access the root folder of your application via the browser you will be displayed with SocialEngine Installation wizard. On the first step you will need to apply the License Key which you have received on your email: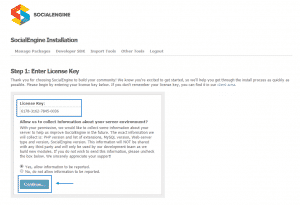
On the next step a system requirements check is made. If everything is with OK status you just need to click on the Continue button: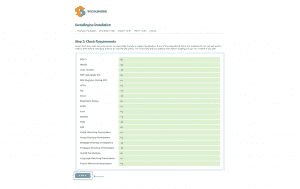
Next you need to enter the details for the database associated with the script: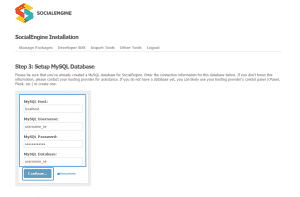
Next the database connection is tested and you need to click on the Continue button twice: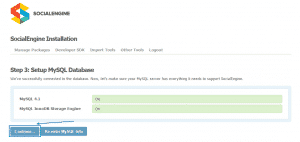
On the next page you have to fill in the details for your website: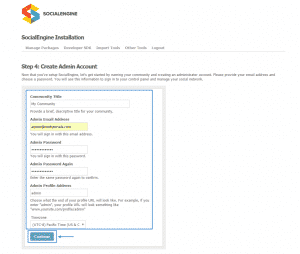
Community Title – this is the name of your website.
Admin Email Address – this is the administrative email address for your application. It is important to enter an existing and valid one.
Admin Password – this is the administrative password for your website used for accessing the dashboard.
Admin Profile Address – here you should determine how would the administrative URL of the website will look like.
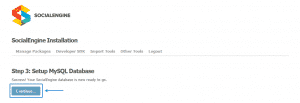
Once you have performed all of the steps described above you should see a screen showing that the installation is completed: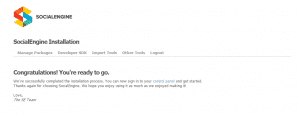
By now you are done with all the required actions and you can access the administration area of the application and start building your community website: