 Skip to content
In this tutorial you are going to learn how to install Invision Power Board in your account with TMDHosting. The first thing you will need to do is download the IPB installations files from your client area of Invision Power Services. Once you have downloaded the archive, extract it to your local computer. You will have a single folder called “board”, and within that folder you should be able to locate 3 more. Upload the whole content of the “upload” folder to your account with TMDHosting. If you want to access your IPB website using https://yourdomain.com, upload the content to your account’s /public_html/ folder. If you want to access the site using URL like https://yourdomain.com/ipb/ , upload the content in: /public_html/ipb/ . To upload the files, check out our FTP video tutorials at:
https://tmdhosting.com/tutorials/video/ftp.html
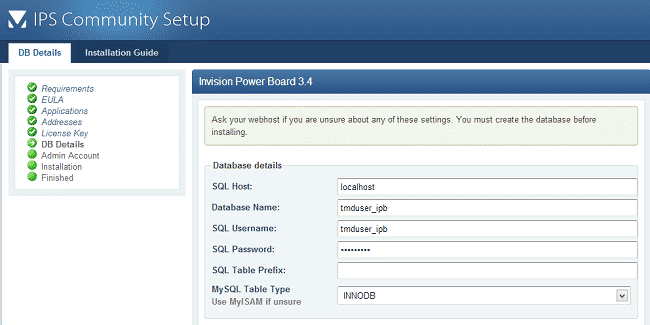
The next thing you will need to do is create a new MariaDB database. You can easily do this from cPanel by using the Database Wizard to set up the database and assign a user with the necessary privileges.
Once you are done with that, navigate to:
https://yourdomain.com/admin/install/index.php
If you have uploaded the script in a subfolder of public_html folder, for example “ipb”, start the install process using:
https://yourdomain.com/ipb/admin/install/index.php
You will now see the first step of the installation process. IPB will check if all the server requirements are met:
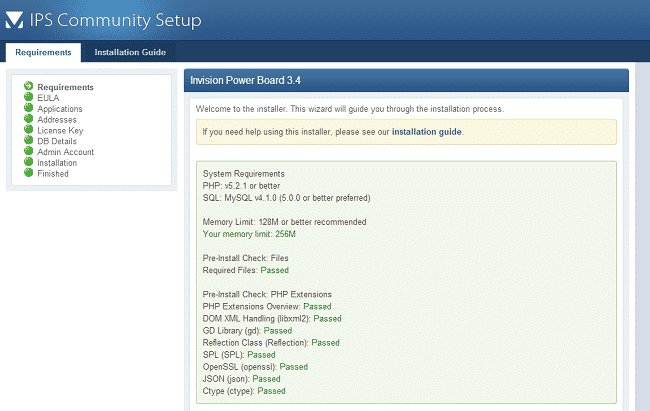
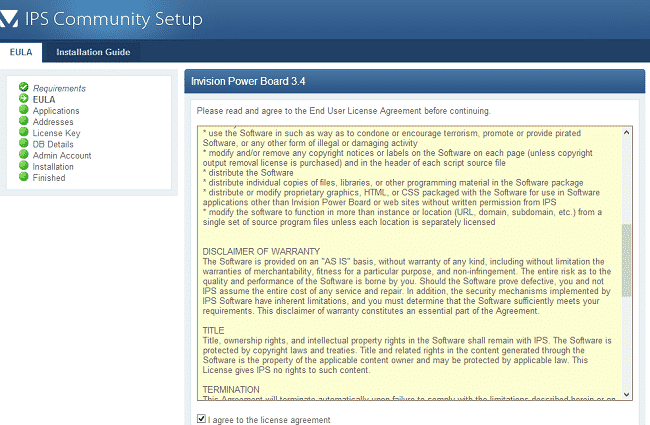
Next to each requirement you should see “passed”. Proceed to the next page by clicking the “Next” button. On the next page you will see the license agreement for using the script. If you agree, check the box and click the “Next” button:
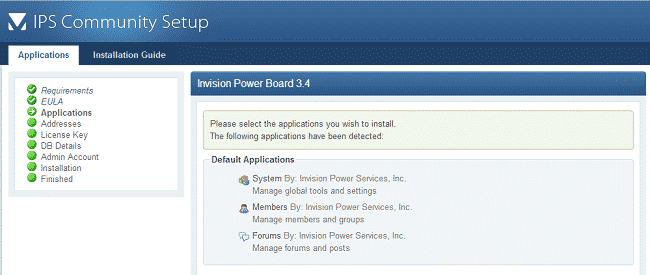
On the next page you will see the applications that will be installed with IPB:
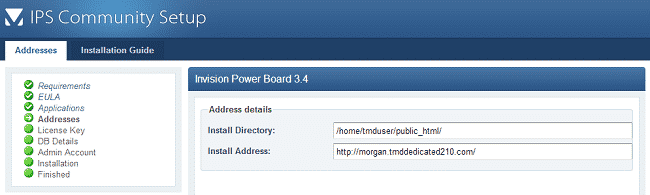
Proceed to the next page. The script will detect the path to IPB. Check if that is correct. Change it if needed. If everything is ok, click the “Next” button:
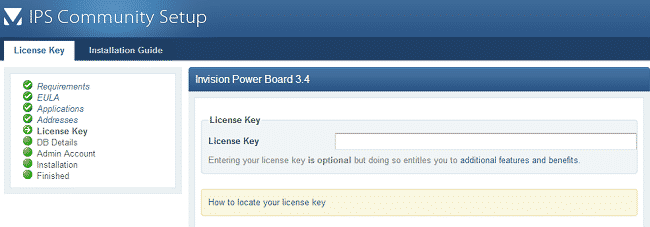
On the next page enter your IPB license. You can locate the license key within your IPB client area:
On the next page enter the MariaDB details that you created earlier:
Proceed to the next page. Now you will configure the admin account for your IPB website. You will need to fill in:
Username
Password
Email Address – make sure to enter a valid address

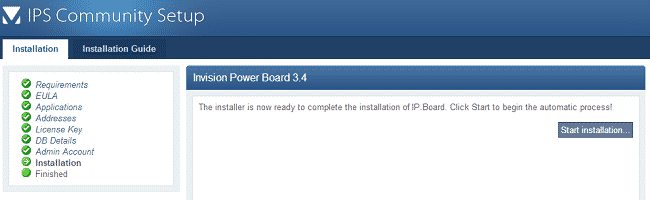
IPB is now ready to complete the installation. Click the “Start Installation…” button:
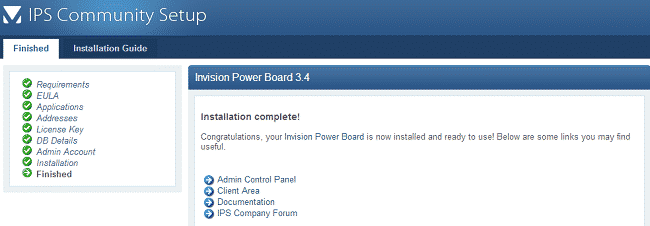
Wait for the installer to finish its work. When the process is complete you will receive a message that the installation has been successfully completed. You will also be provided with useful links for your new IPB website:
You can now access your newly installed IPB website.