Skip to content
ClipBucket is one the most widely used platforms for building video sharing websites. It offers a variety of amazing functionalities and is easy to manage, once the installation is complete. You can go through the process in two different ways – through automatic or through manual installation of the application. In this tutorial we are going to focus on the latter.
Your first step should be to download the latest version of the application from the ClipBucket’s official website. Then you need to unzip its content on your machine. Right after that you need to upload the content of the /upload folder to the root directory of the script via FTP. If you are not sure how to do that, you can find the instructions here.
You would also need a database. If you are not familiar with the process of creating a new one in your cPanel – you can find the full instructions on this link.
After you make sure you have done all that, you need to go to your web browser and type down the exact URL to the root directory, where you extracted the content from the /upload folder as follows:
yourdomain.com
If you have uploaded the content of the /upload folder in a subdirectory of your public_html, you should type the URL address like this:
yourdomain.com/subfolder
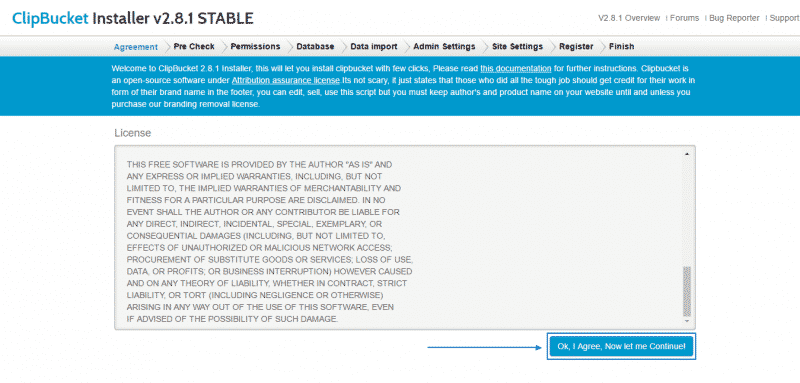
As soon as you are finished with the task click Enter, and you will be redirected to the installation wizard of the script. It begins with the Terms & Conditions section. You have to read it and click on the Ok, I Agree, Now let me Continue button below:
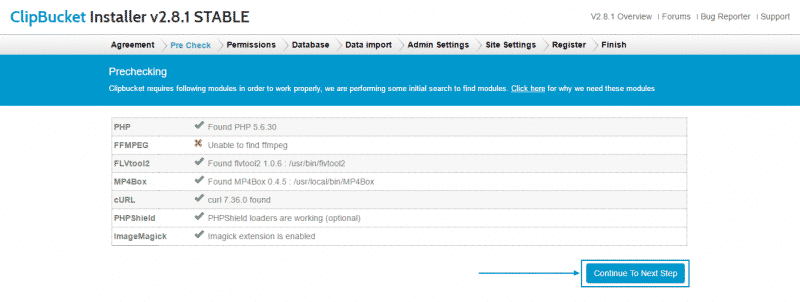
Next, you will see a list of required modules and their availability. Be aware that even if the application cannot locate the FFMPEG it can be configured later on and the installation process can still continue. You just need to click on the Continue To Next Step button:
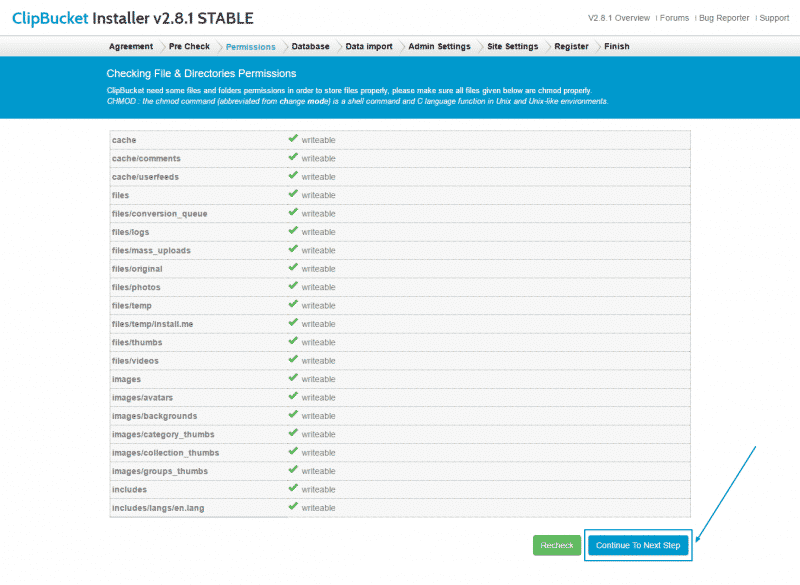
On the next page, you will to see that the installation wizard is going to check if the file permissions are correct. If everything is ok – press the Continue To Next Step button again:
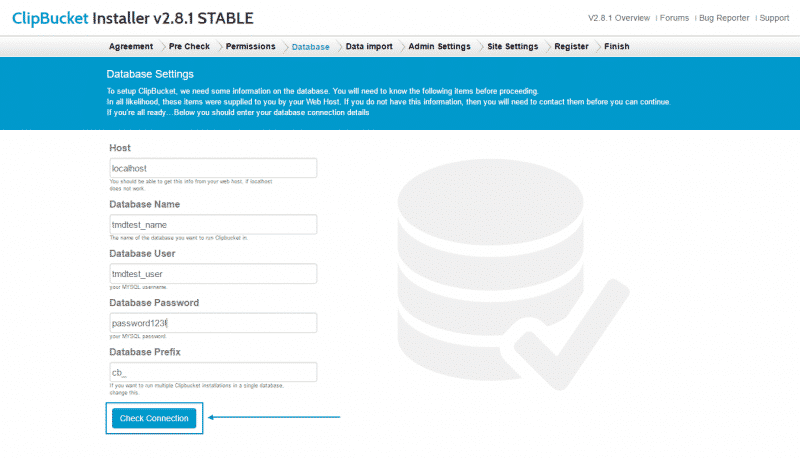
Afterward, you will be required to fill in the details of the Database you have created and then click on Check Connection:
One of the final steps is to enter the username and password for your administration area, together with the administration email as well and click on Save and Continue:

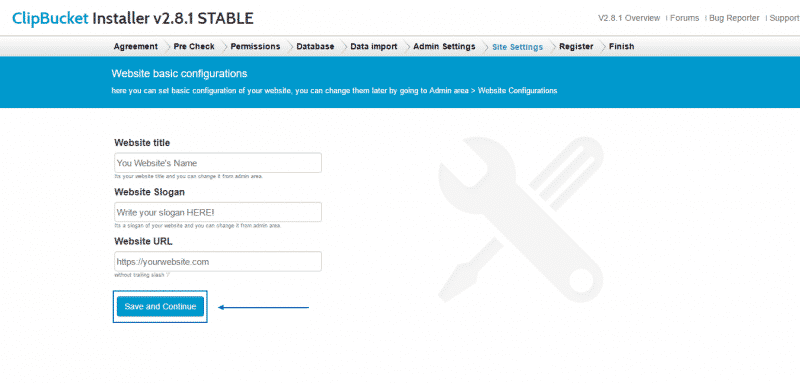
To complete the installation, you have to fill in all the Site Settings options and then press on Save and Continue:
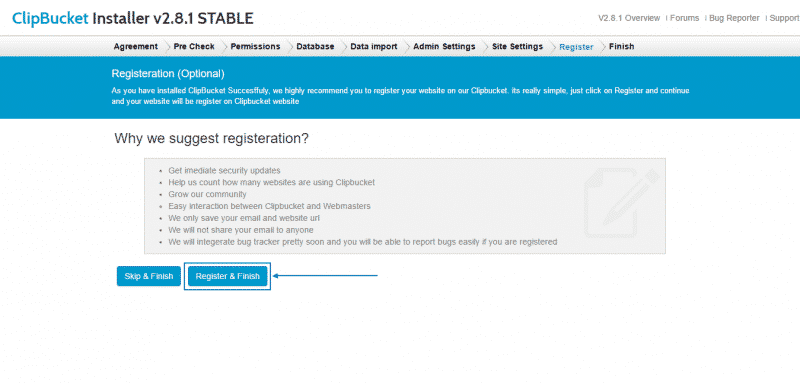
Finally, you can choose to either continue without a registration (via the Skip & Finish button) or, as we recommend – to register your website with ClipBucket, by just selecting Register & Finish:
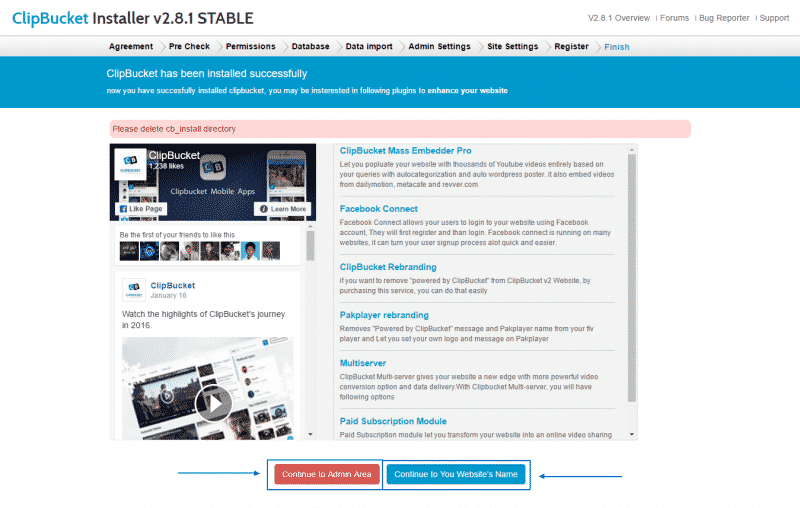
With this final action, the installation procedure would have been completed successfully and you can then choose to go either to the administration area or to continue directly to your website’s front-end by choosing one of the buttons below: