 Skip to content
One of the top platforms for video sharing available on the market right now is definitely the ClipBucket script. It provides its users with variety of flexible features. Though it has an appealing outlook, you can easily change its design by integrating a new theme into it.
In order to do that you first need to choose one from the ClipBucket’s official website, download it on your computer and then extract them.
Afterward, upload the files on the root directory of the application on your hosting account via FTP. If you are not sure how to do it – follow these instruction. Be aware that the files need to be uploaded into the /styles folder of your root directory. If, for example, you have installed your ClipBucket directly into public_html – you should upload the files in public_html/styles. If, however, you have installed it in a subfolder, called “clip”, you should upload the theme’s content into public_html/clip/styles.
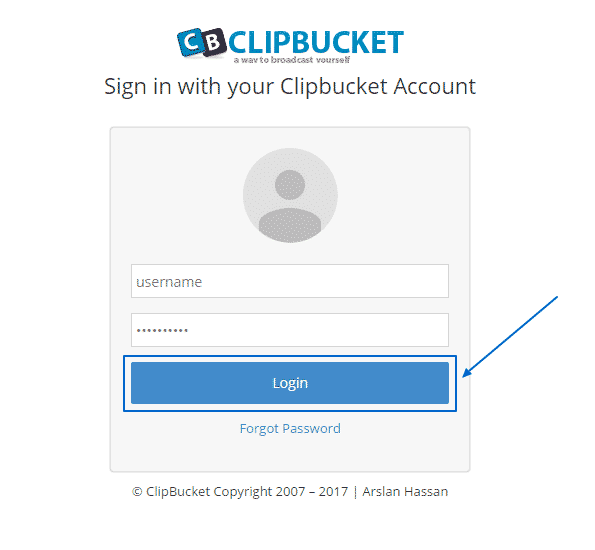
Then, the implementation procedure is pretty straightforward. You should first login into your administration area:
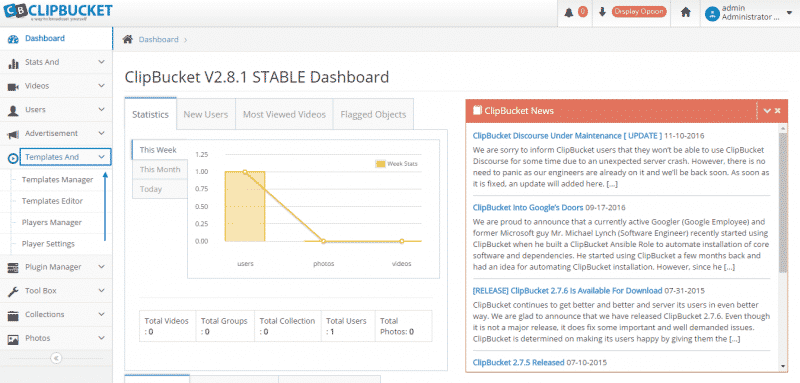
After you are successfully logged in – go to Templates And on the left and click on it. A drop-down menu will appear:
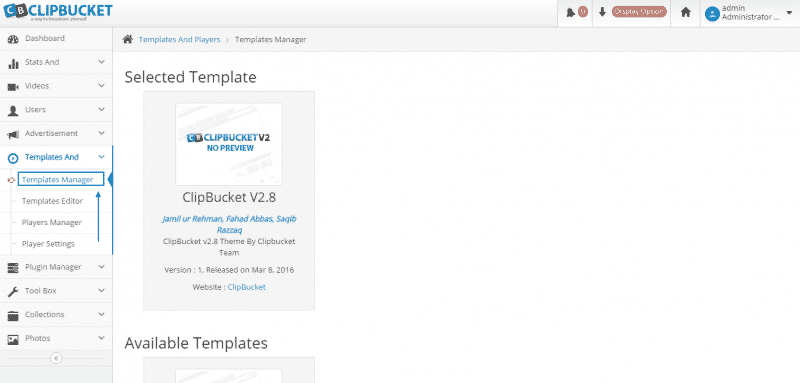
Next, select Templates Manager from this menu. You will then see two sections – Selected Template (the current one you are using) and Available Templates (lists all of the templates, available in the /styles folder):
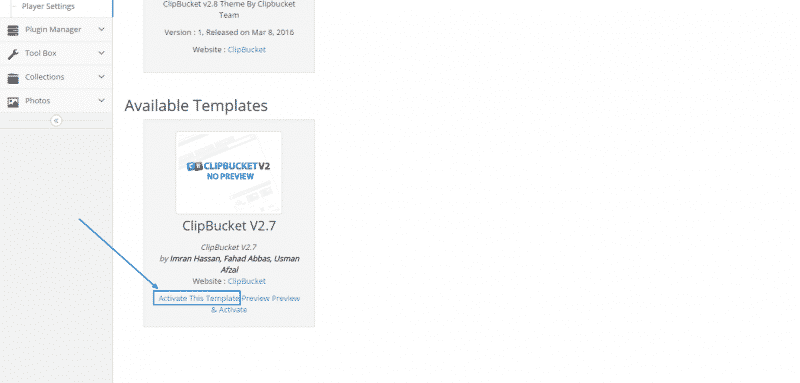
Finally, scroll down to the bottom. Choose from the Available Templates and simply click on the blue Activate This Template link at the bottom to implement the theme. If you wish to see how it looks before the activation, there is also the option to click on the blue Preview text next to it:
If you are experiencing any difficulties with the whole process, please do not hesitate to contact our Genius Support Team any time of the day, and day of the year.