 Skip to content
ClipBucket is one of the most renowned application for building video sharing platforms. Its prominence is also due to the fact that it offers great flexibility. You can set it up so that every registered user can upload a video or alternatively, only the administrators or users with certain privileges can do so. All this can be arranged through the users’ permissions of ClipBucket. And this is what we are going to cover in this tutorial.
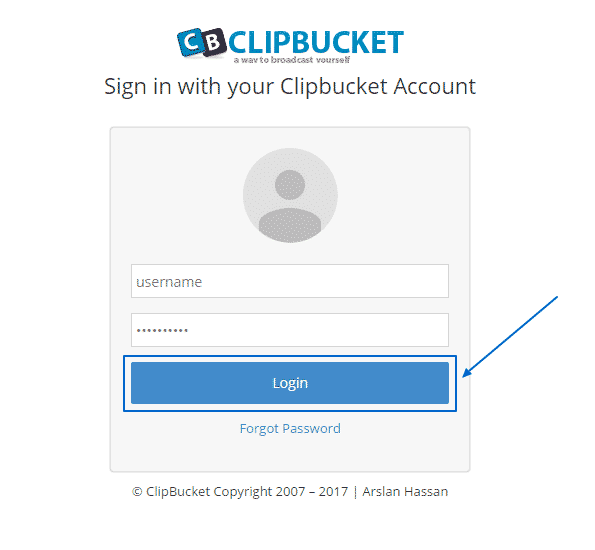
Your first step towards dealing with the permissions of your ClipBucket website is to login into its administration area:
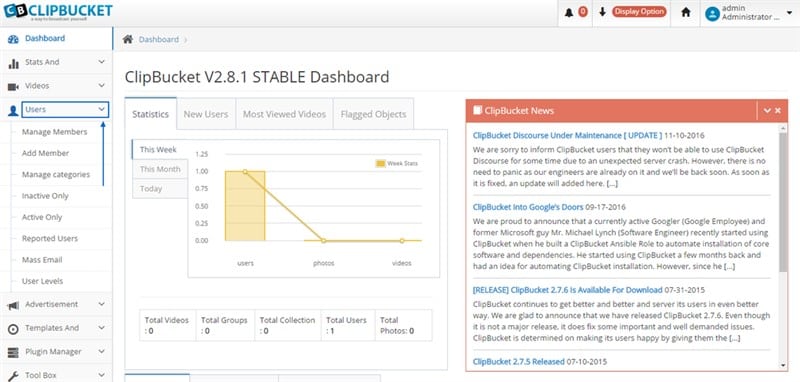
Then, you need to click the Users section on the left, where you will see a drop-down menu appear:
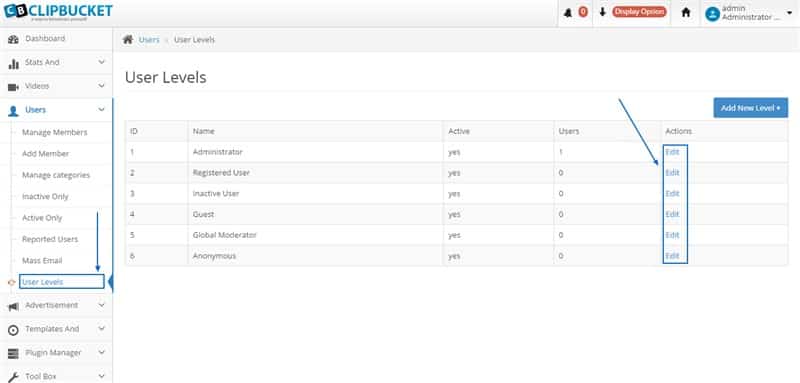
First, you can choose the last option of the drop-down menu – User Levels. When you click on it you will see the section, where the default six different user levels will be visible. You can always add new ones through the blue Add New Level button at the right. Each of them has certain permission to perform specific tasks, but you can also amend each of them by simply clicking the Edit button at their right:
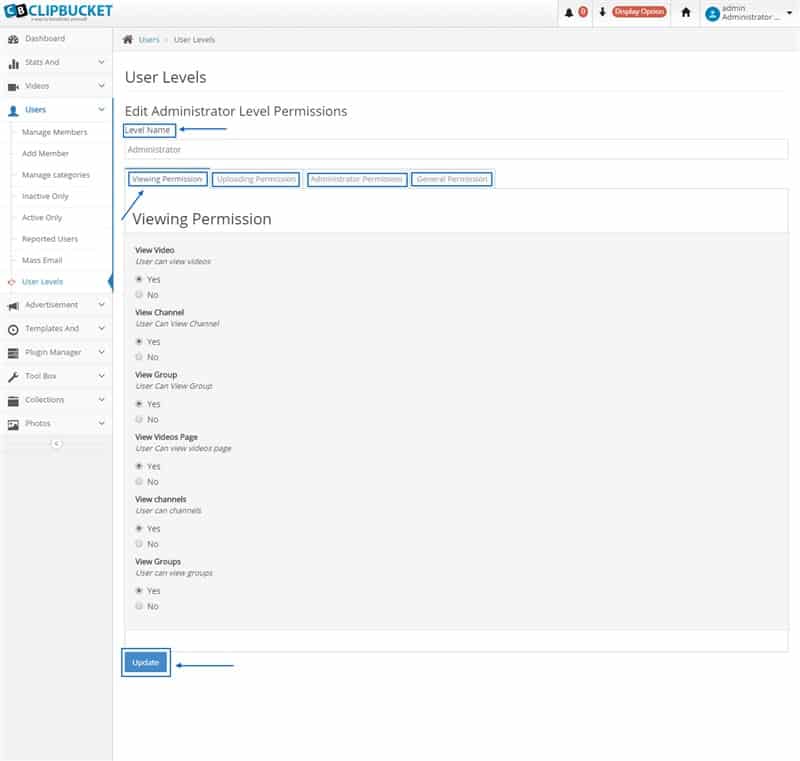
In the Edit Level Permissions area you will see the Level Name, which you are about to edit and in the four menus below it – you will be able to change its viewing/uploading/administration/general permissions, according to your needs, and then simply click on Update to implement them:
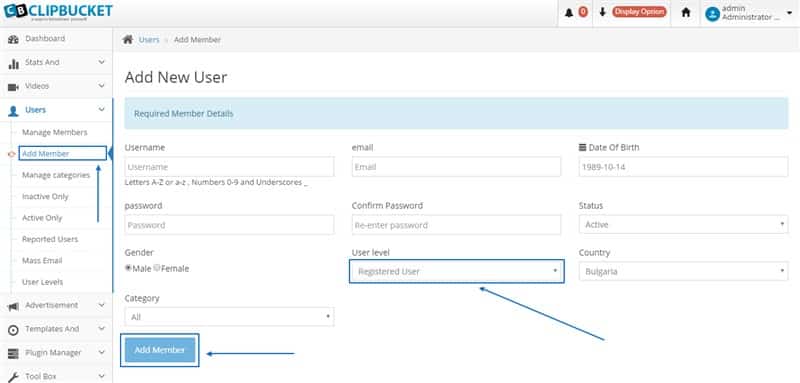
When you want to add a new member with specific functions, just go to Add Member. There, you can fill in all the information for the new profile in the blank fields (username/password/email,etc.) and then through the User level option you can choose the one, who you have set the specific permissions for. After you have finished with every section – simply click on the Add Member button below:
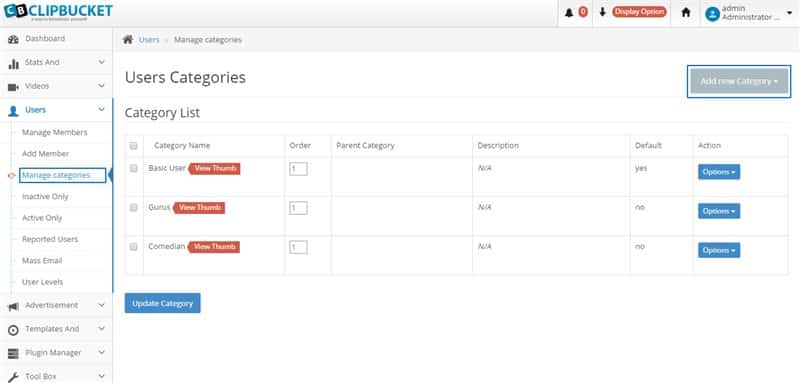
Finally, if you want to manage the users with certain privileges faster, you can simply group them together. To do that, go to the Manage Categories section, where you can add a new category:
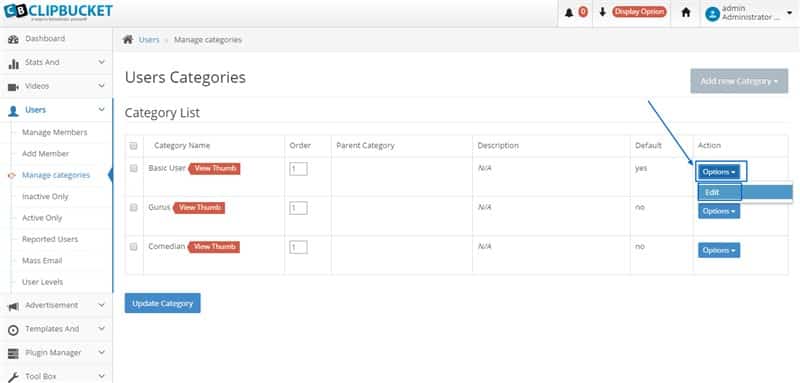
Alternatively, you can edit an already existing one. You just need to go to Options > Edit:
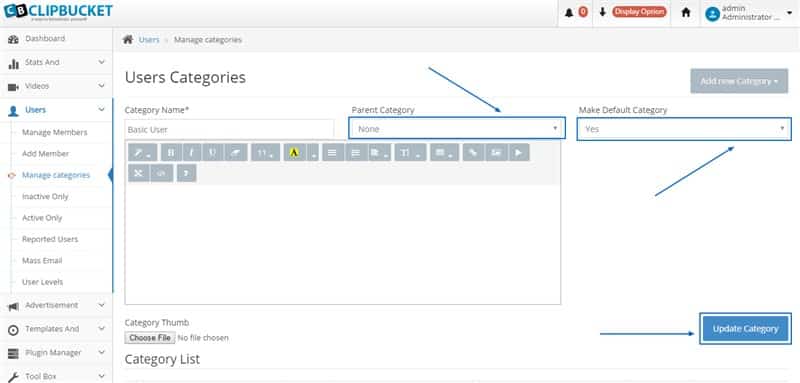
Once you are there, you can change the Parent Category and whether to make the category default one and then click Update Category at the bottom to successfully complete the process:
If you are experiencing any troubles completing any of these tasks – you can always turn to our Genius Support Team for advice and/or technical support. They are available for all of our customers 24/7.