 Skip to content
In this tutorial you are going to learn how to install PixelPost manually. There a few things that you should prepare before starting the process.
First, you need to create a MariaDB database. You can easily do this from your cPanel by using the Database Wizard, which will guide you through creating the database and assigning a user with the required privileges.
The second thing you will need to do is download the PixelPost script. You can do this from their official website at:
http://www.pixelpost.org/
Once you have downloaded the archive, upload the archive content in your hosting account. If you want to access your website using https://yourdomain.com upload the files in the /public_html/ directory of your account. If you prefer to access the site using https://yourdomain.com/blog/ you should upload the files in /public_html/blog/ . You can easily upload the files using FTP client. You can find our FTP video tutorials here:
https://tmdhosting.com/tutorials/video/ftp.html
In our case we have uploaded the files in the public_html directory. To start the install process go to:
https://yourdomain.com/admin/install.php
This will bring the welcome page of the installation process:
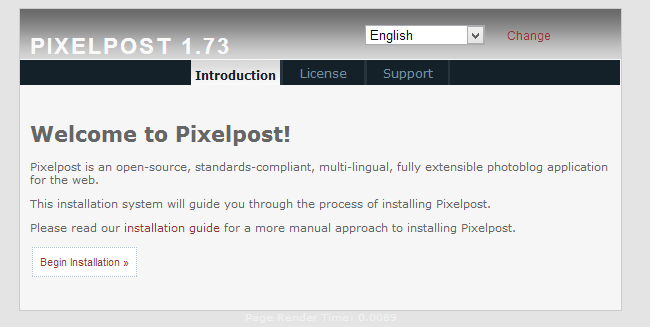
Proceed to the next step. PixelPost will make sure that all server requirements to run the script are met:
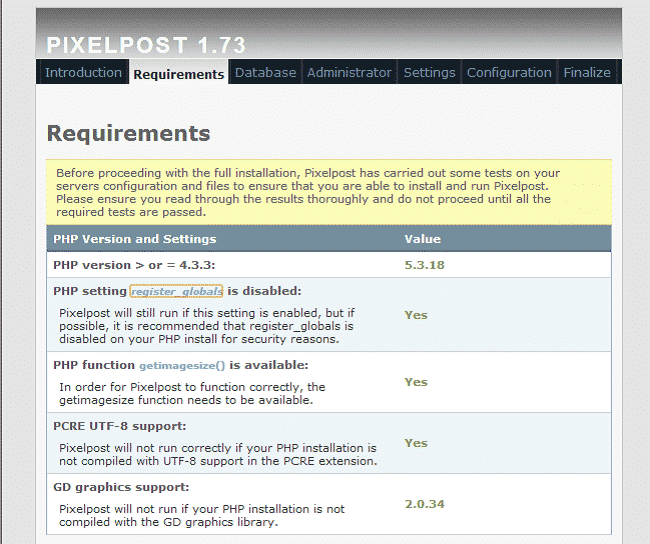
Click the “Begin Installation” button to proceed. On the next page you will need to enter the MariaDB Database information that you have created:
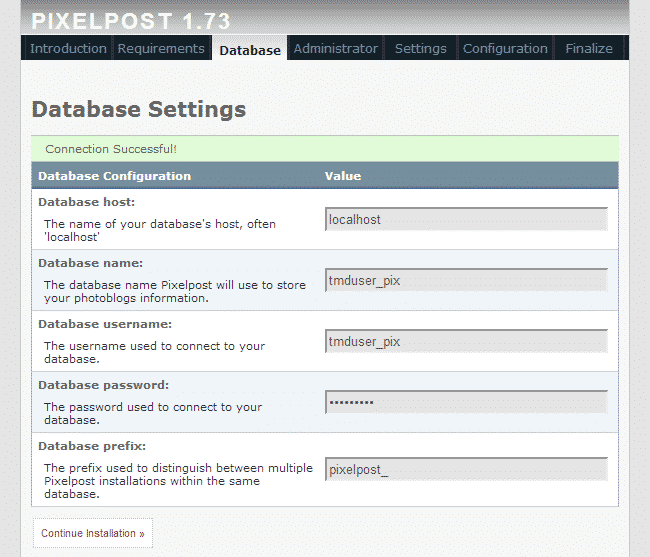
When you have filled in all the data, test the connection by clicking the “Test Connection”. Once the script has indicated that the connection is successful, click on the “Continue Installation” button. On the next page setup your administrative account:
Administrator username
Administrator password
Contact Email address – make sure to use a valid email address as you might need it later
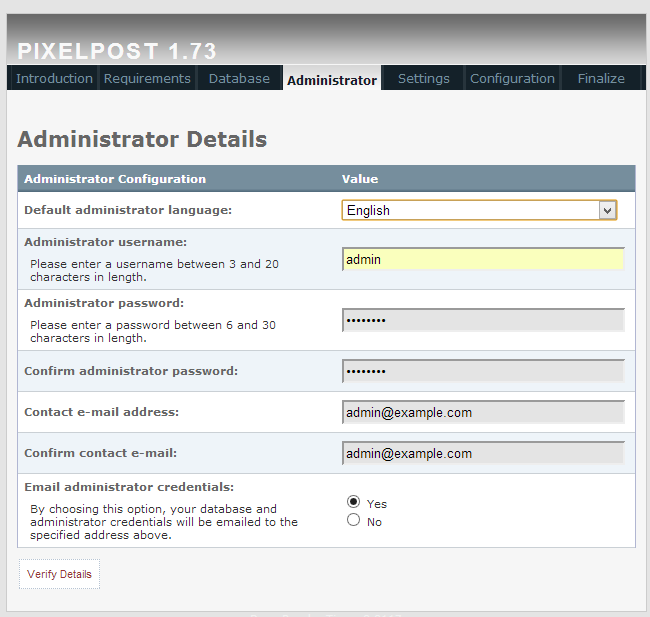
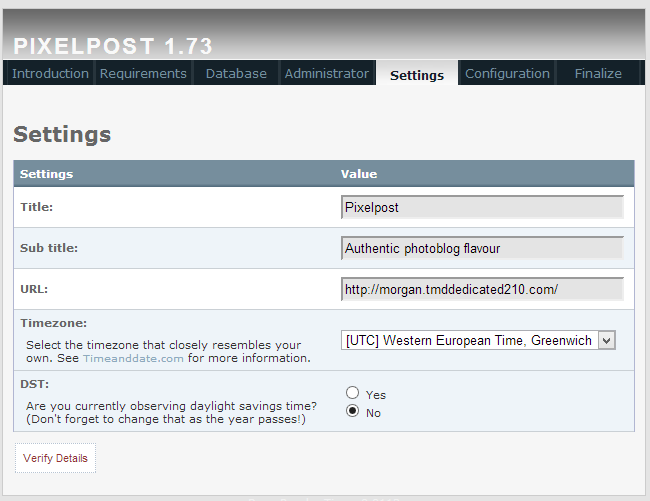
Click the “Verify Details” button to proceed. On the next page setup your site details:
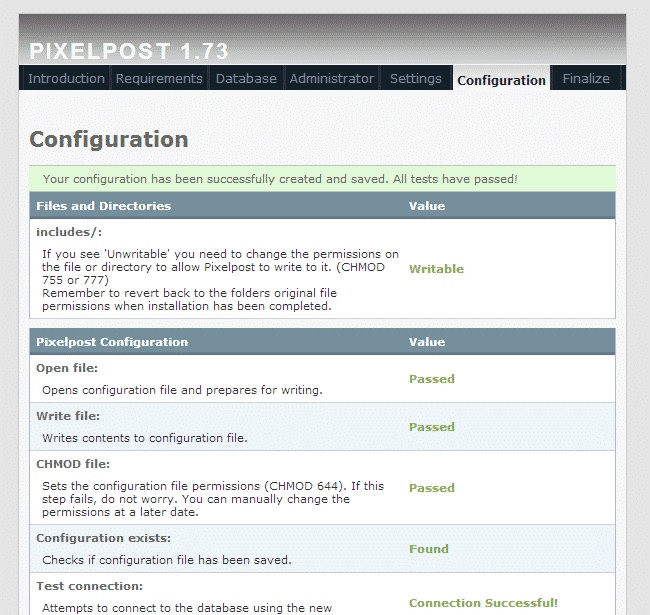
On the next page make sure that all requirements are met and click the “Continue Installation” button:
Wait for the script to finalize the installation. Once all the content has been created click the “Finish Installation” button:

You can now access your PixelPost website.