Skip to content
Having phpBB as the script, with which to build your online forum project is considered by many to be the best choice, as it offers extensive options, it is easy to manage and has huge and active community.
In the previous section of this tutorial we covered the how to install phpBB automatically. In this section we will go in details into the manual installation process and the steps you need to go through.
First, you need to start with downloading the most recent version of the application from the official phpBB website on your computer. When you have done that, you need to extract the file on your machine. Next you can proceed with uploading it in the root directory of the script, using FTP. Here you can find detailed instructions of how exactly to do that.
With the manual installation process, you will also need to create a database. The process of doing so is not so complicated and you can find a list of instructions on this link.
When you are finished with this work, you have to access your root folder through your web browser by typing the URL:
yourdomain.com
Be aware that if you have imported them in a subdirectory of your public_html, the link should include it, along with your website’s homepage URL. If, for example, you have named this directory /phpbb, the URL should look like this:
yourdomain.com/phpbb
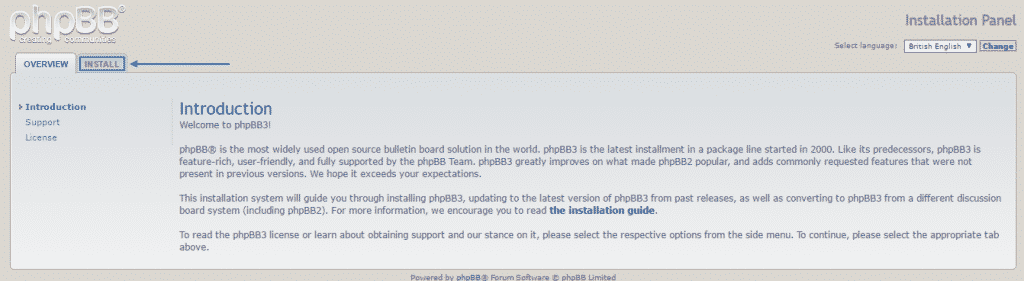
When you have typed down the needed URL, simply press Enter and you will see the installation wizard in front of you with this Overview message. Then you just need to click on Install:
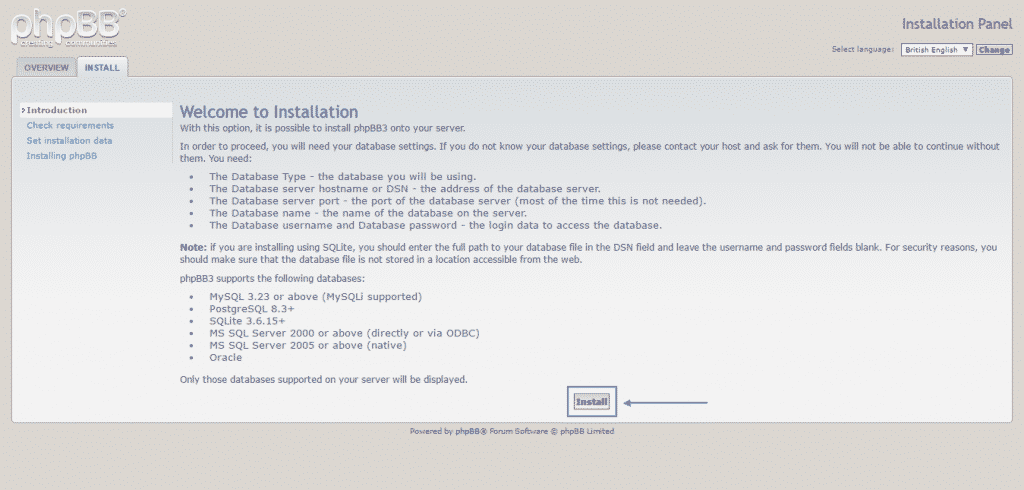
Once you have done that, you will see the Introduction to the installation process. Here, you can find certain instructions and the database requirements. Make sure that the server meets the following ones – any operational system, which supports PHP 4.3.3+, an SQL database system as well as enabled getimagesize() function. Then, you may proceed ahead by pressing Install:
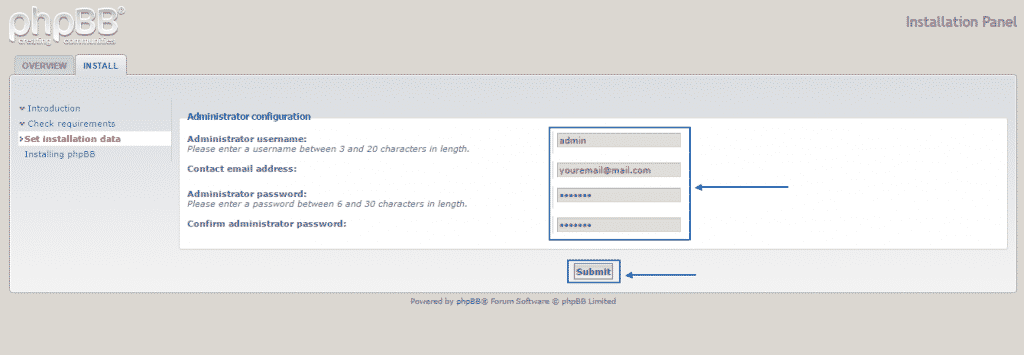
Next, you should continue with the Set installation data section, which you should fill in and then click on Submit:
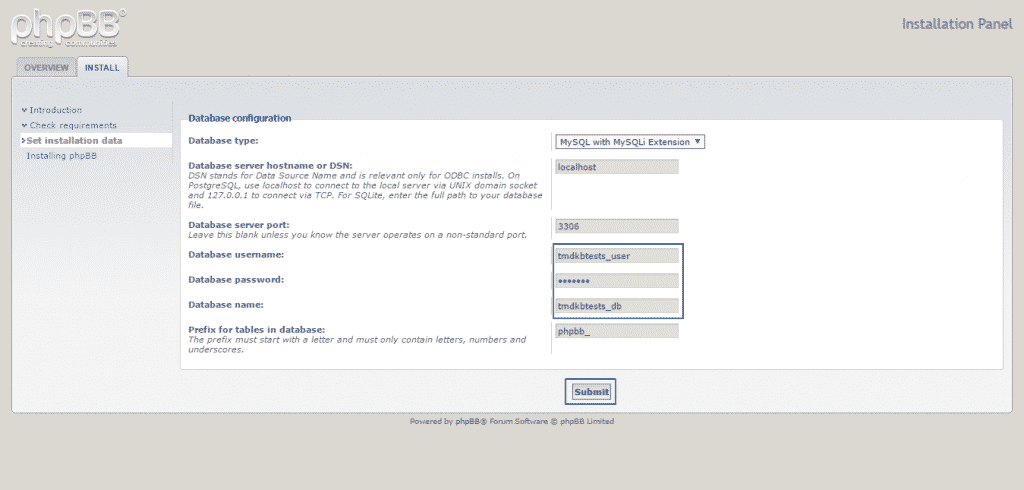
Afterward, you need to fill in this section with the details from the database, you have created earlier and press Submit again:
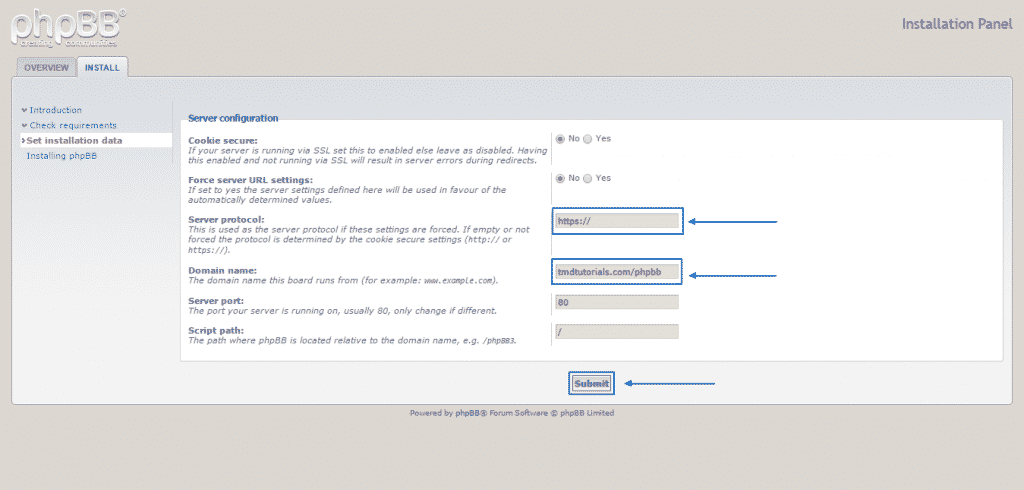
Then, in the Server configuration part of the installation process, you should pay special attention to the Server protocol section and the Domain name, as they are crucial for setting up the website according to your needs and wishes. After that, click on Submit once more:
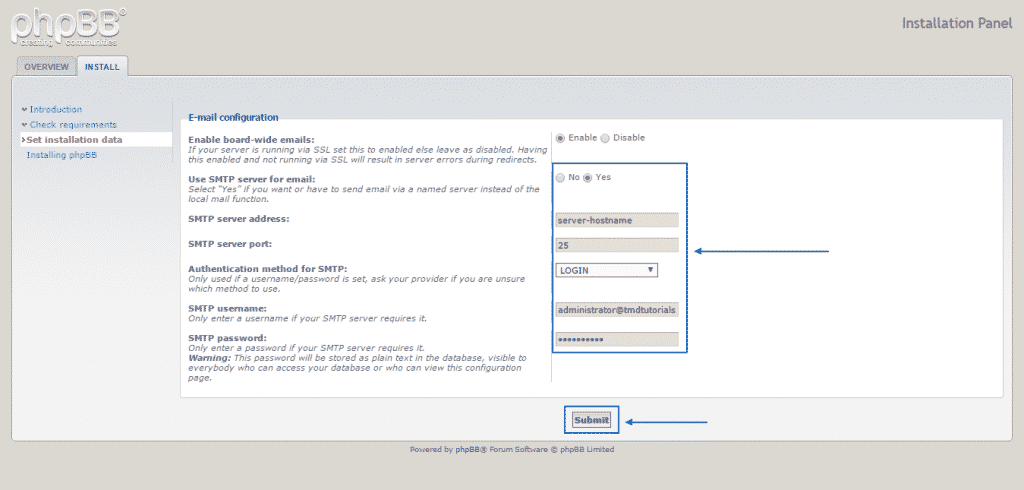
In this Email configuration section, you need to fill in all the needed SMTP data. If you are not sure where to find this information, here is a link with some advice. When you have filled every field in, simply select Submit:
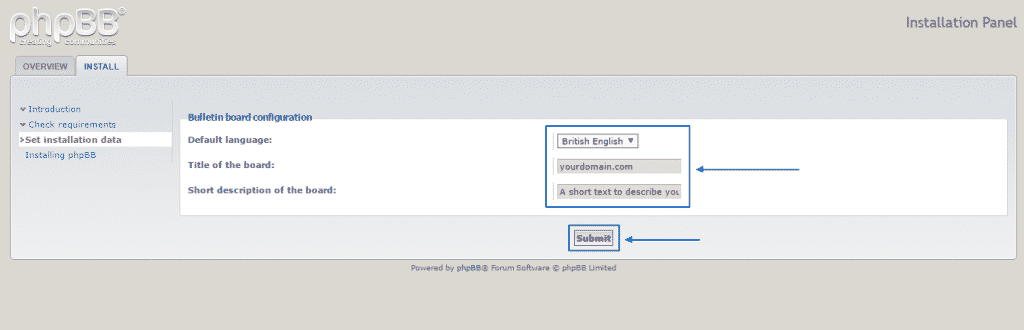
Finally, make sure you set your preferred language, as well as the title and the description of your website and proceed with pressing Submit one final time:
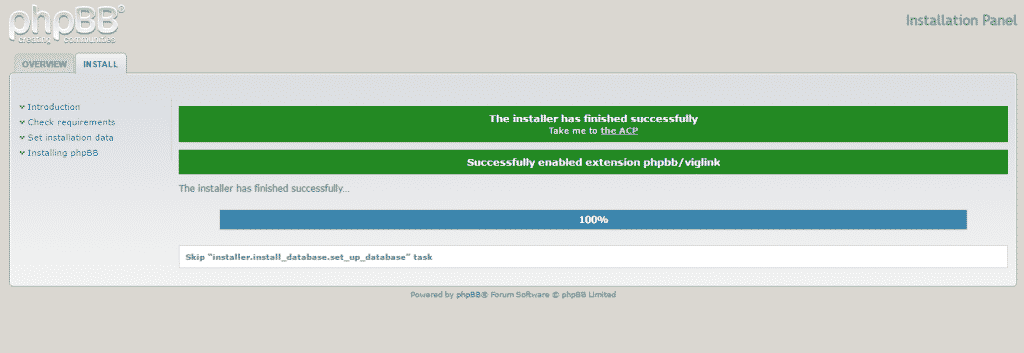
If all the information is correctly filled in, the installation will take some time and you will see this final message, indication that the process has been successful and you can then go ahead and use the script: