 Skip to content
With TMDHosting you can easily install Elgg with just a few clicks. For that purpose simply login to your cPanel and find the “Softaculous” icon under the “Software/Services” category:

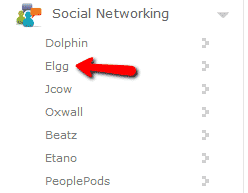
Find the “Social Networking” category and expand it. Under there you will see Elgg:
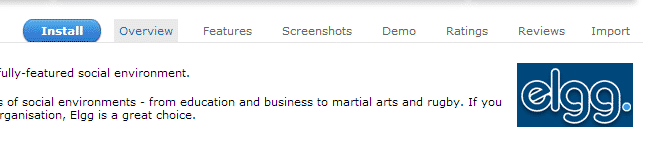
You will be taken to the overview page for Elgg. Click the “Install” tab:
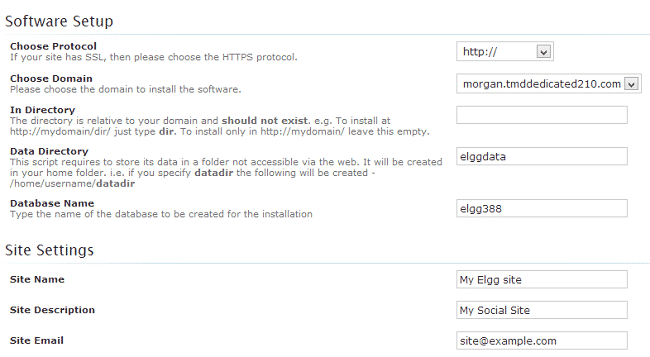
In the install page you will need to enter some details:
Choose domain – from the dropdown menu select the domain/subdomain for which you will be installing Elgg
In directory – leave blank if you want to access your site via https://yourdomain.com/
Data Directory – set the name of the folder Elgg keep its data
Site Name – name of the site
Site Description – fill words to describe the site
Site Email – setup a valid email address
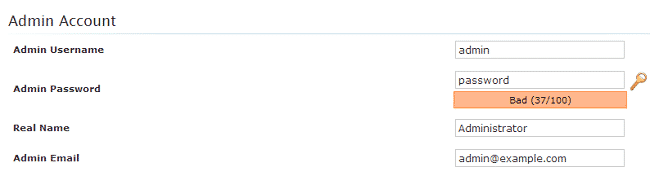
Scroll down a bit to setup the administrative login details for your site:
Admin Username
Admin password
Real name
Admin Email – make sure to use a valid email address as you might need this later
Click the “Install” button when you have filled all the data. Wait for Softaculous to complete the installation for you.
That’s it! You have successfully installed Elgg.