 Skip to content
A store is all about showing and positioning products, so the first important skill you have to gain within PrestaShop is how to configure your products. PrestaShop provides you with the ability not only to sell standard (shippable products), but also sell downloads, bookings, services. This part of the tutorial describes how to add a new standard product.
Start at Catalog (navigation is on the left) -> Products -> Add new product:

You will be then redirected to the product management tool. You will see a lot of options on the left, but let us start with the most important. The product name, condition and description. The type, as we agree, is standard product:

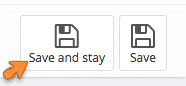
This is the place where you enter the product name, choose whether it is New,Used or Refurbished, choose whether it is enabled and, at all – control its presence in the store. Here you enter the short description (visible in preview and search) and the actual description of the product (visible on the dedicated to the product page in your store). Once you are ready, hit Save & Stay as shown below and let’s move on:
As you can see, on the left you have quite a lot of important settings, related to your very first product:
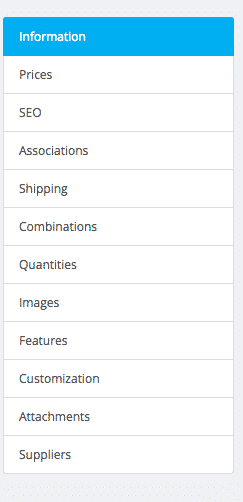
You can configure absolutely every aspect you can think of this product, divided by the categories above. Let us start with the next most important aspect of your product, the pricing. After you have saved the product, using the Save & Stay (very convenient!) button.
Choose the “Prices” from the submenu on the left.

The retail price is the one that your buyers will see, enter the wholesale price so you can have your profit margin calculated by the very, very, very powerful stats that PrestaShop provides. When ready, use the Save & Stay button and you can head to the next important product parameter to set up.

Now that you have named your product and gave it a price, you have to complete its SEO information. We have already mentioned how intuitive the PrestaShop navigation is, but you can now understand for your own – the SEO section is just below the Prices one:
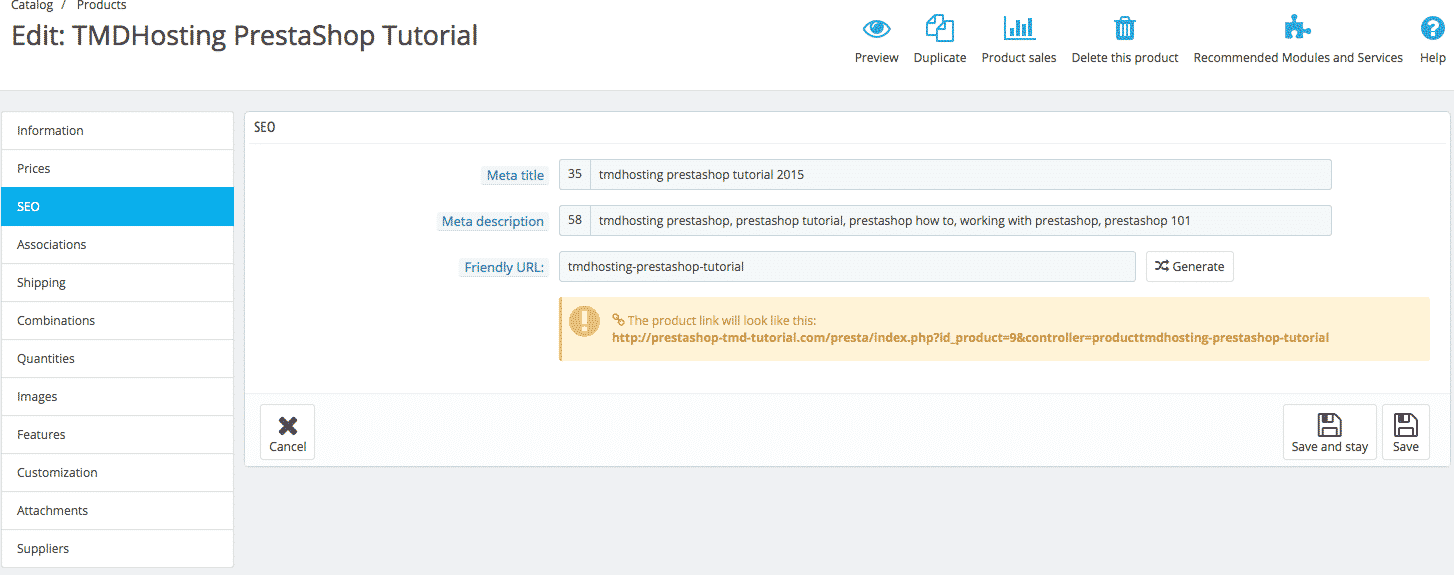
On this page you can tune your products’ SEO basics — Meta title, Meta Description and the URL this page will have. All of these are for great importance — consider Meta title, the title of this product’s page that will appear in searche engines as an actual title. Same goes for the Meta Description — this is the description you see on each search results page at search engines, say Google. The URL is recommended to match the name of the product. Fill out these carefully. This is of absolute importance for your store’s SEO performance.
Now that you have completed adding the new product, you probably want to place it in certain categories on your website, so your store’s visitors can find it out with ease. Doing so happens at the Associations menu, right below the SEO one — intuitive, right?
Think of associations like advanced matching settings of your product among other products of yours and, most importantly among group of categories.

Here you can choose which categories this product is associated with, as well as set default category. You can also choose matching products, so you can cross sell related items to your buyers. Assigning a certain product to a certain manufacturer happens here, as well.
If this is the first product of a category and it still does not exist, you can create it using the Create new category shortcut, conveniently available at this page:
![]()
The same goes for manufacturers — if you are adding someone’s product for the first time, you do not need to go and create a manufacturer prior to coming at this page. A convenient shortcut lays there:
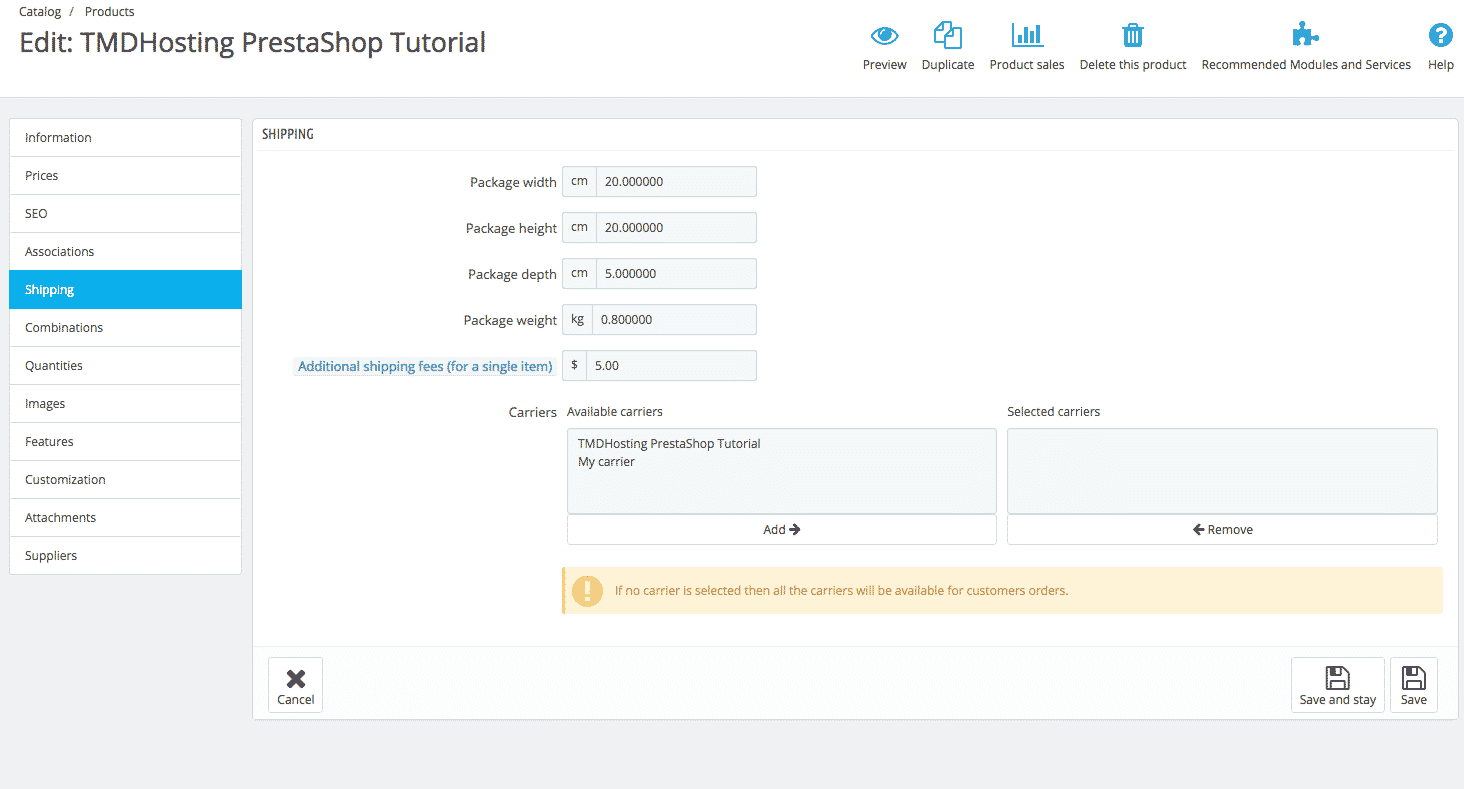
Now that you have set the name of the product, its price, its meta SEO titles and category, now it is time to tell your PrestaShop store how do you ship this product. You set shipping rules and choose a carrier here, please watch out:
You can set the product’s size in four dimensions — width, height, depth and weight. Here you set the fee you are charging on top of the pricing, to ship this product. If it is free shipping, you should fill $0.00.
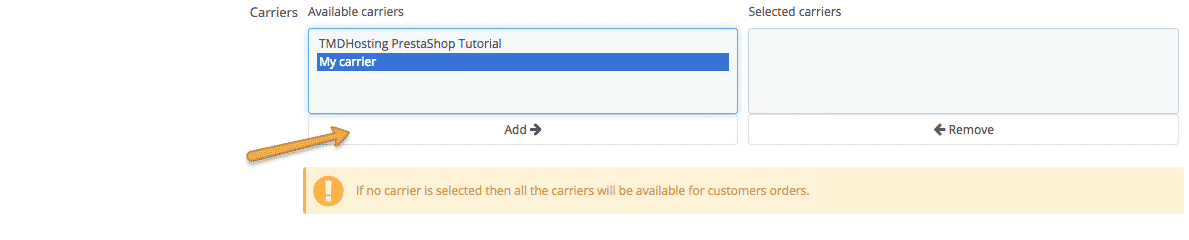
You can choose from the list of carriers which one you are going to use for this product. If no carrier is selected, all the carriers will be available for customers orders. If you want to ship a specific product using a specific carrier, pick a carrier from the left and click add:

You will then see it going at the right, under the Selected carriers section.
After setting the shipping rules, it is time to define how much of this product do we own. This happens at the Quantities page, which you can select from the left subnavigation. It is right below the Combinations settings. This interface allows you to manage quantities of this given product in either the current store or among warehouses (if any connected).
Take your time to go trough the menu on the left and see whether you see anything applicable to your particular product. If you do – get to adjust it to your preferences. PrestaShop 1.6 is extremely intuitive and features a convenient explanation next to almost each setting. If something is not covered in this chapter, it would definitely be covered in the PrestaShop’s backoffice.
Assuming you have now added your first product, it is time to get some more advanced tasks done. Let’s see how modules in PrestaShop 1.6 are installed. Let’s go to the next chapter.