 Skip to content
Getting Started with PrestaShop 1.6
In this chapter we will provide you with brief explanation on how to manage the basic system functions available in your PrestaShop 1.6 administrator back-end. We consider the information below as an integral part of the education for everyone, looking to manage a PrestaShop 1.6 store.
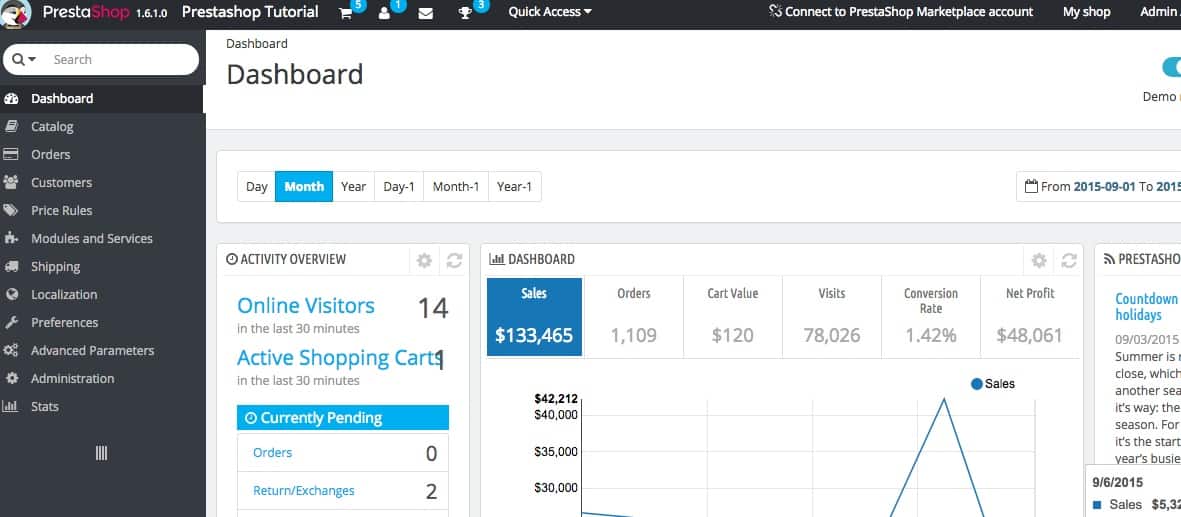
When you login for the first time you will be displayed with the main menu positioned in the left. Most of the buttons on that menu are self explanatory and in this tutorial we will cover some of the basic features that you can use as PrestaShop administrator.
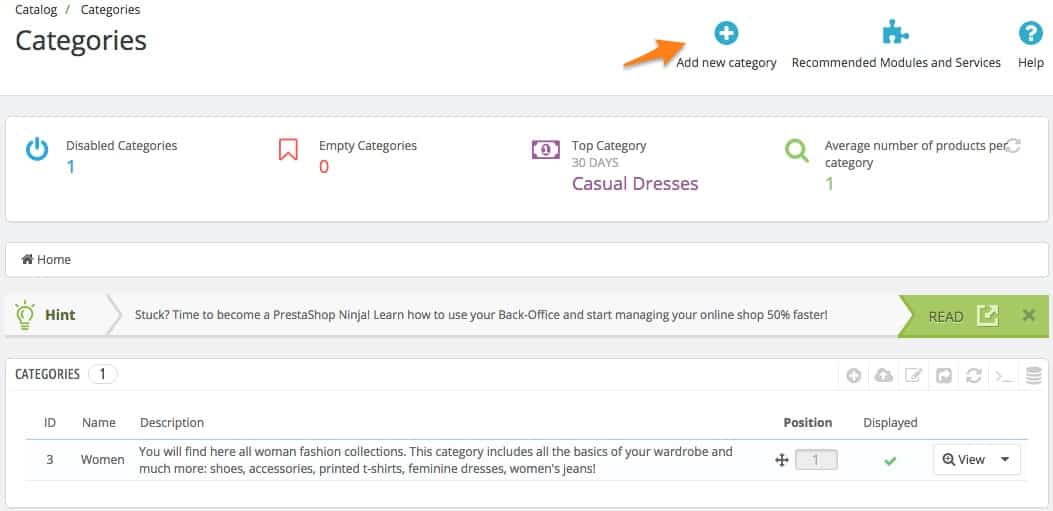
For example in the button “Catalog” you can create new products, product features, new categories and so forth. This function allows you to add new categories for your store. Each category is a place holder for your products. When your products are categorized, customers will be able to browse your store easier and will find what they are looking for faster. Make sure you create as much appropriate categories, as needed. Do not overwhelm your store with categories, though. Try thinking as your potential buyer – what category would John Smith look for when searching for your product?
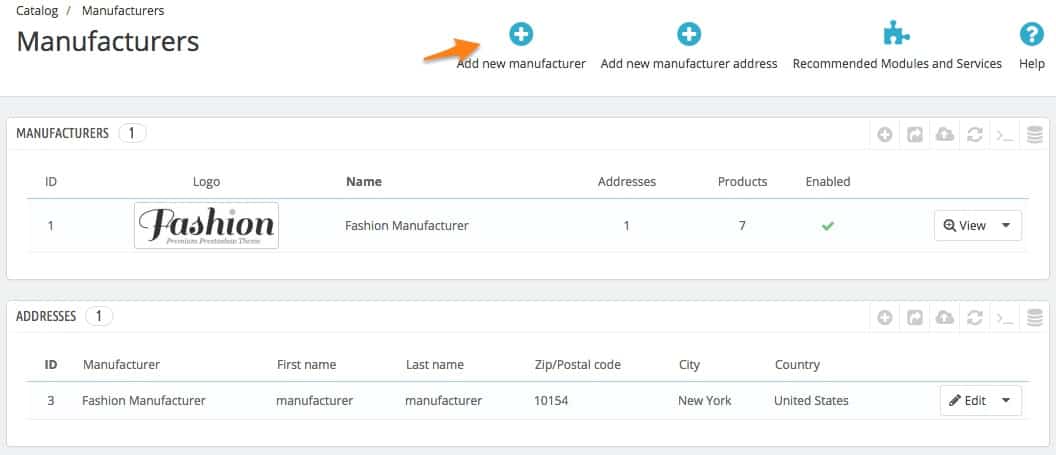
Two very important functions here are the “Manufacturer” and the “Supplier” buttons. In order to have the information for these added and available on the drop down menus available in the new product creation page you should add them first. You may add/remove/modify Manufacturer and Supplier via the Catalog menu. That way, you are giving your potential buyers even more ways to browse your store by certain type of sign – in this case, manufacturer and supplied:
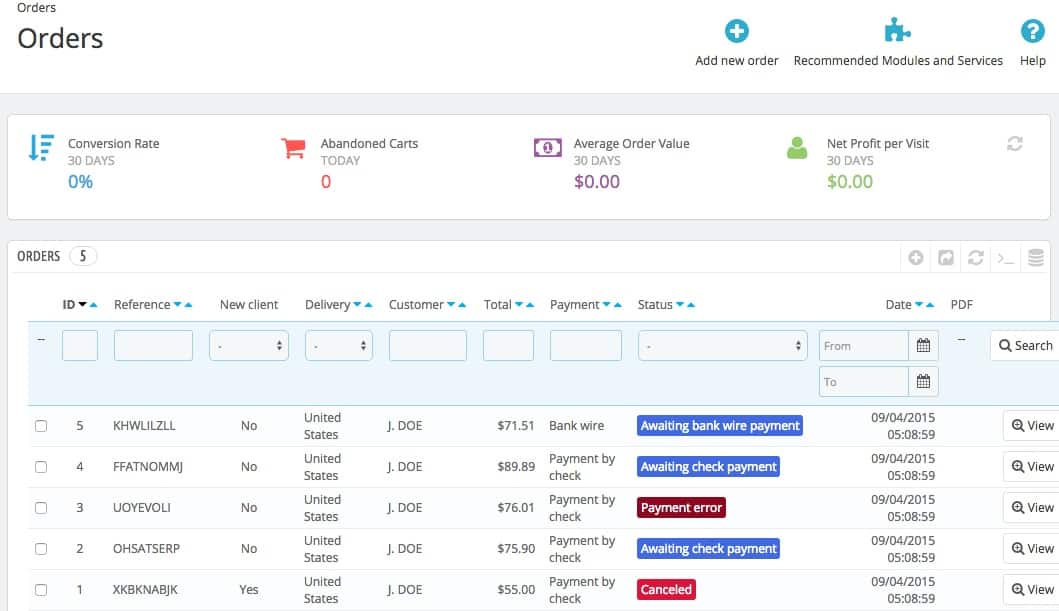
The next in the PrestaShop menu is the Orders button. It holds all of your website orders, invoices, delivery slips and all you need to know about your customers orders. You would probably end up at this page every single time you open your backend. It shows all the orders you are getting and that is your store all about, right?
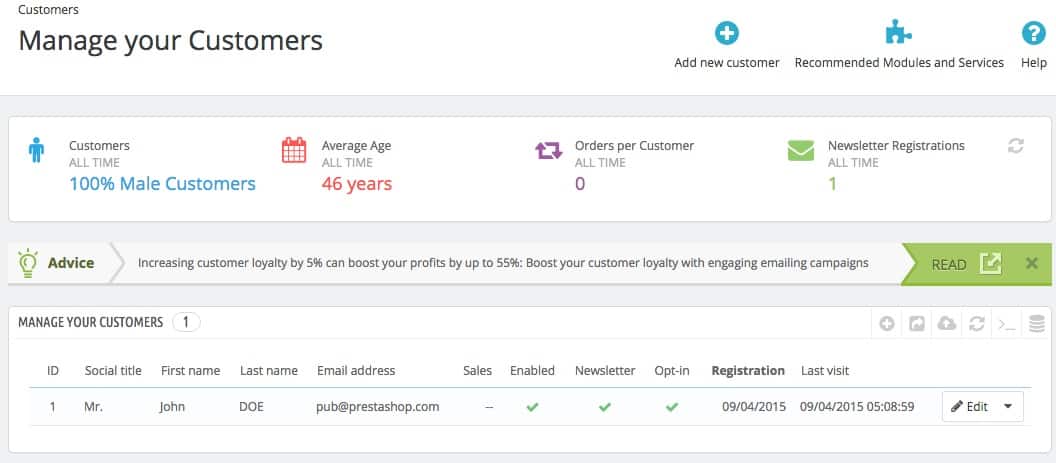
Next stop in the PrestaShop admin menu is the Customers button. There you will find information about your customers base as longs as the options to add/modify/remove the profiles of your customers. Every customer ever registered to your PrestaShop store will appear here.
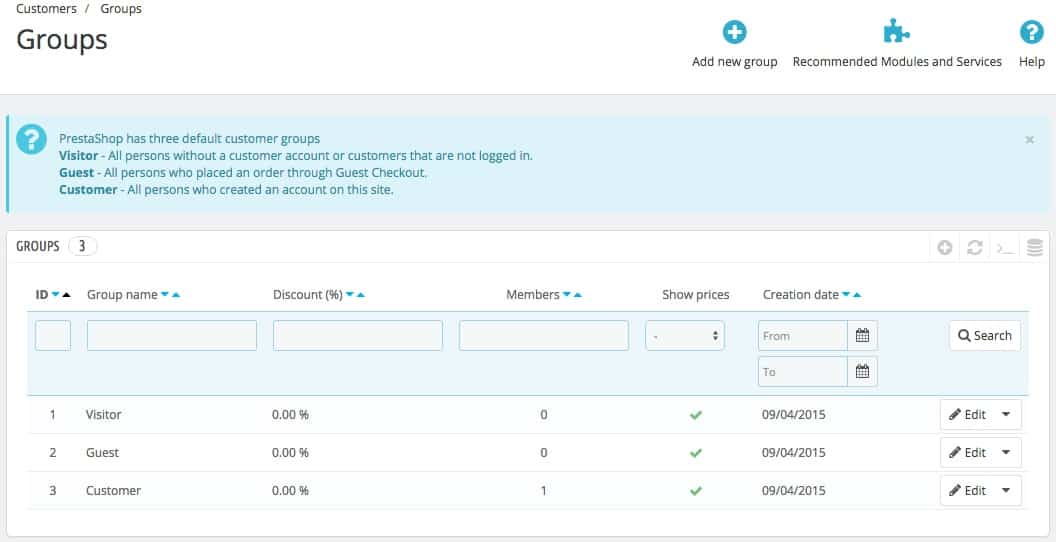
Additionally you may create groups via the Customers > Groups button. This function will allow you to add groups which will have custom discounts and tax zone. It is quite handy for cases where, say you have a very loyal group of customers and you want to charge them slightly lower. Use grouping for that purpose.
Next is the “Price Rules” section where you can create new custom price rules/vouchers for your customers. With those custom price rules you can add additional discounts to your products for valuable customers.
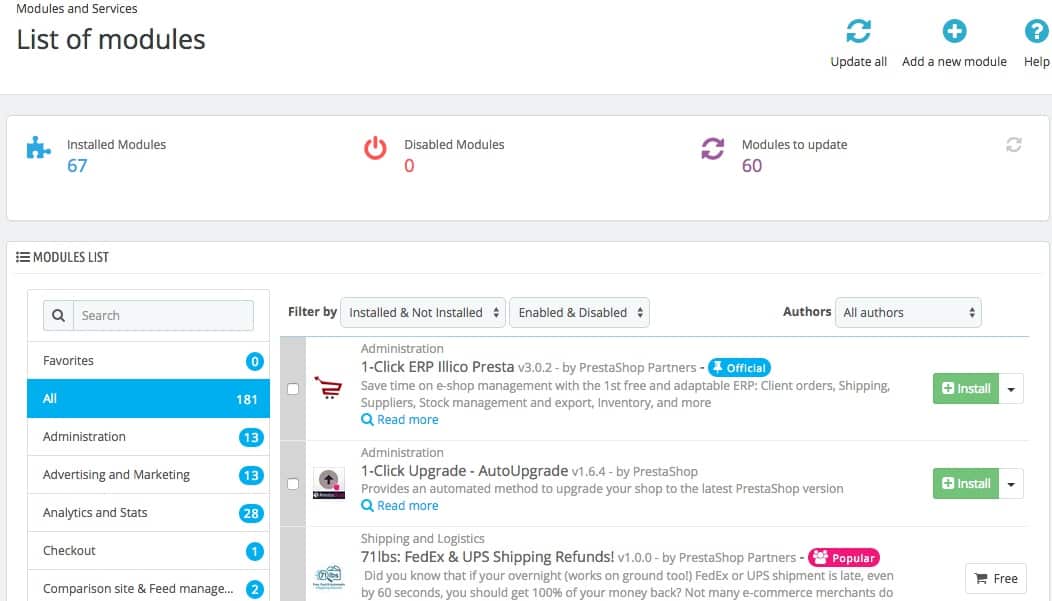
The “Module and Services” button will load the page where you can manage all of your current modules and from where you can install new ones. More information on that can be found in our dedicated tutorial !!! How to install PrestaShop modules.
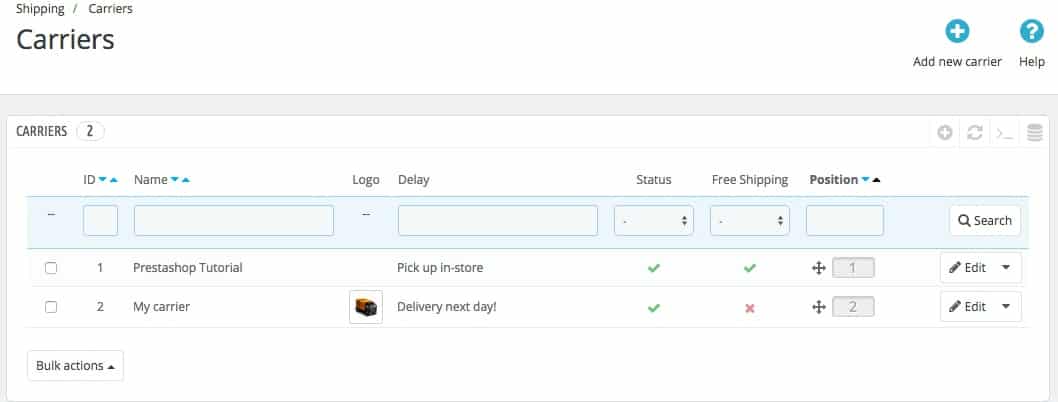
The “Shipping” button in PrestaShop manage the carriers of your products. You can change their status and indicate if the shipping would be free or set it’s price.
The “Localisation” menu holds all the tools with which you can manage your website language packs and the international shipping. Here you can create zones, countries, states, currencies etc. data related with your website functionality.
The “General” preference page features a a lot of specific settings that could not fit in the other menus. From here you basically control the main configuration of your website.
The “Administration” page contains general options and settings on the most basic PrestaShop features and the way PrestaShop works. Stuff like page title, contact address, timezone and similar are controlled there.
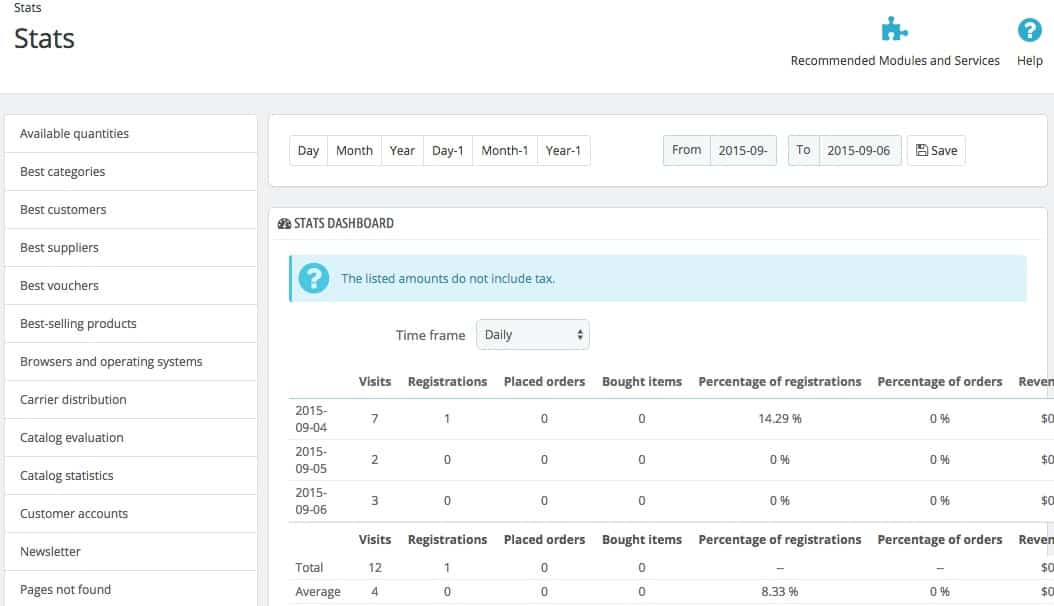
Last but not least the Stats page where you can you can find detailed information about your website performance in terms of valuable statistics such as Visitors, Conversions, Pages not found, Best selling products etc.
Assuming you already have made some basic settings to your PrestaShop 1.6 store, the very next and most natural step is to start adding products. We are covering this in the next chapter of this tutorial. Let’s move on.