 Skip to content
In this tutorial we are going to show you how to upgrade your MODx website to the latest release available. Before you start, you should create a backup of your website. You can check our tutorial on how to backup a MODx website here:
https://www.tmdhosting.com/tutorials/modx/modx-how-to-create-backup.html
The next thing you will need to do is download the latest version of MODx. You can do that from their site at:
https://modx.com/download/
Once you have downloaded the archive, extract it on your local computer. Upload the content of the archive and merge it with your existing MODx installation. You can find our FTP video tutorials here:
https://tmdhosting.com/tutorials/video/ftp.html
Once you have merged the files, navigate to:
https://yourdomain.com/setup/
If you have installed MODx in a subfolder of your /public_html/ directory, for example in folder modx, you should access the site using:
https://yourdomain.com/modx/setup/
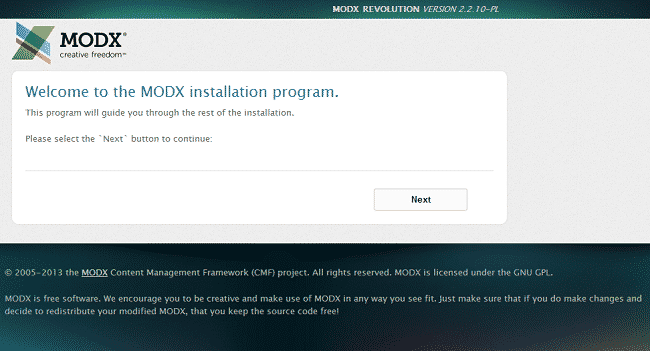
This will start the upgrade procedure for your MODx site:

Click the “Select” button to proceed. Click the “Next” button as well on the screen that appears next:
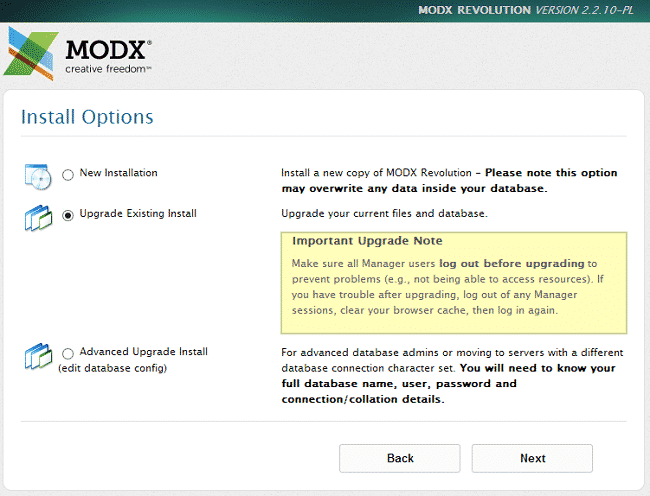
On the next screen select the “Upgrade existing install” option. Make sure that all administrative users have logged out from the site before you proceed:
Proceed and wait for the script to make its pre-installation tests:
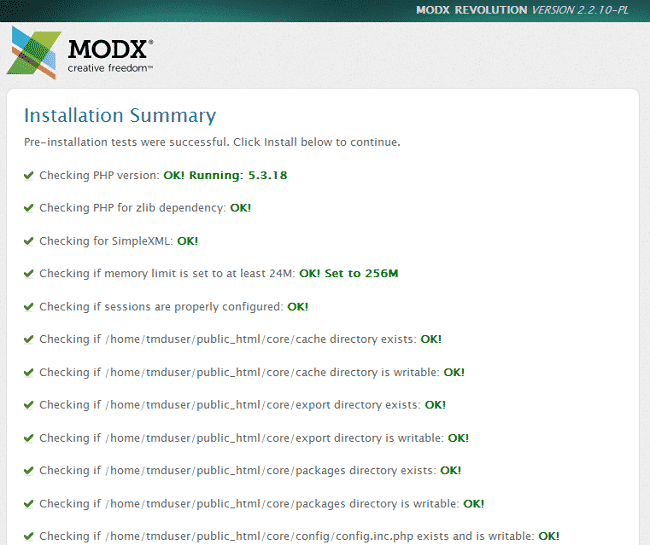
Click the “Install” button to complete the upgrade:
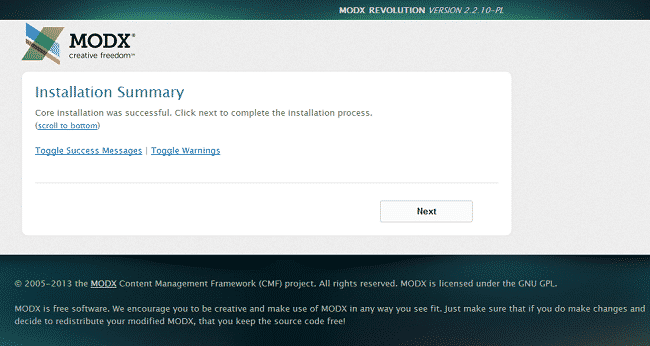
Click the next button to finalize the process. On the next screen check the box to remove the “setup” directory:
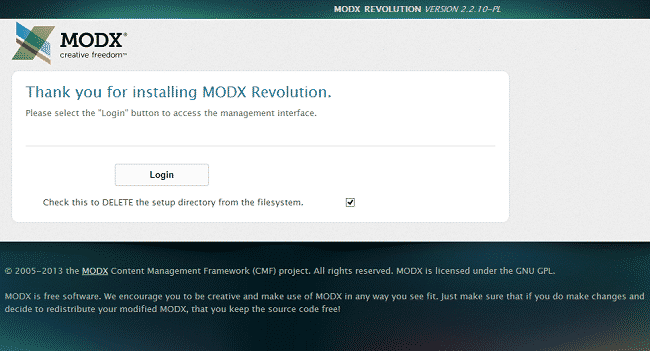
You can now login to your upgraded MODx website.