 Skip to content
If you want to learn how to install MODx manually, then you have come to the right place. To start, you will need to download the latest release of MODx. You can do that from here:
https://modx.com/download/
Once you have downloaded the archive, extract it on your local computer. Then upload the contents of the extracted folder in your account on the server. You can upload the files using FTP. If you wish to access your website using https://yourdomain.com/ upload the files in the/public_html/ directory. If you wish to access the site using https://yourdomain.com/modx/ upload the files in /public_html/modx/ . You can check our FTP video tutorials here:
https://tmdhosting.com/tutorials/video/ftp.html
The next thing you will need to do is create a MariaDB database. You can easily do this via your cPanel > Database Wizard. Simply follow the steps on the screen.
Now you are ready to start the installation process by going to:
https://yourdomain.com/setup/
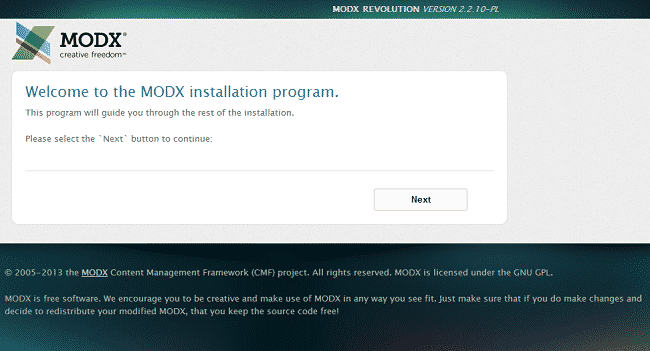
You will see the first screen of the installation process:

Select your language and proceed to the next page:
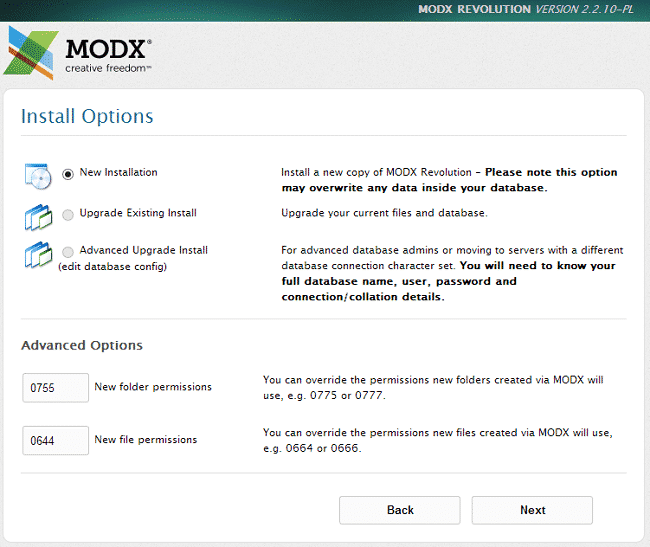
Proceed to the next screen where you must select “New Installation”:
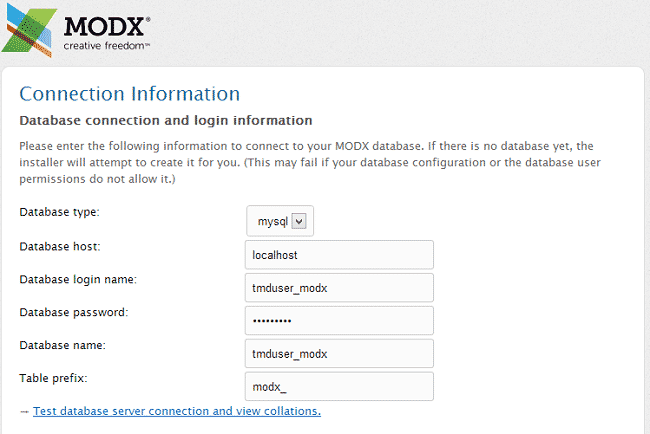
On the next screen enter the MariaDB details that you have created earlier:
Database login name
Database password
Database name
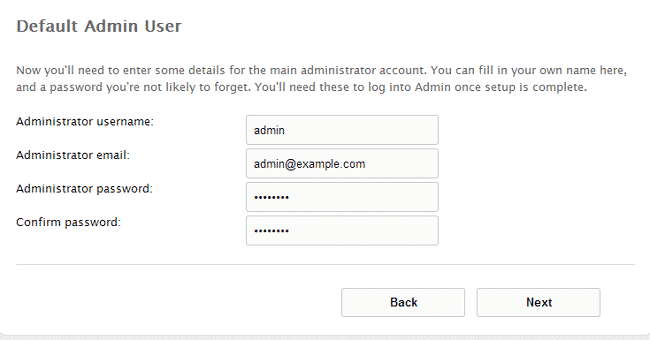
Test the connection and then create the database tables. In the newly opened fields enter the admin user details:
Administrator username
Administrator email – make sure to use a valid email address
Administrator password
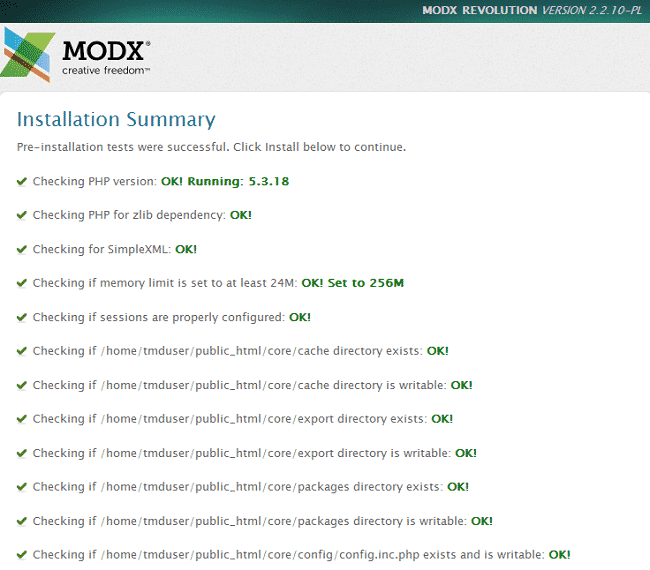
On the next step the script will run its pre-installation steps. If everything is ok, proceed to the next step:
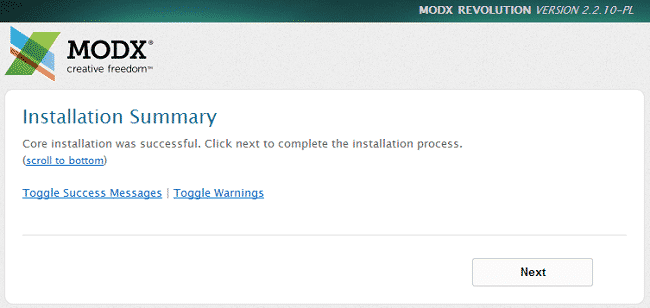
The script is now running the installation process:
On the last step make sure to check the box in order to remove the setup folder:
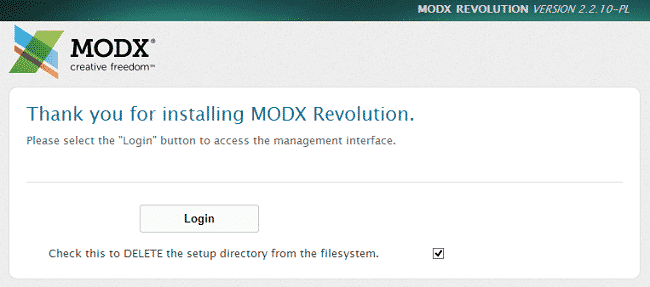
The installation is now complete and you can access your newly installed MODx website.