 Skip to content
To install ImpressCMS manually you will first need to prepare two things:
The ImpressCMS script
A MariaDB database
You can download the latest version of ImpressCMS from their official website at:
http://www.impresscms.org/
Extract the archive and upload the whole content of the “htdocs” folder into your account. If you want to have your ImpressCMS website accessed via https://yourdomain.com, you should upload the files in your public_html folder. You can easily do this via FTP. You can check our FTP video tutorials here:
https://tmdhosting.com/tutorials/video/ftp.html
To create a cPanel database, simply go to your cPanel and use the “Database Wizard” which will guide you through the whole process.
Now you are ready to start the installation. Access your website at the following URL:
https://yourdomain.com/install/index.php
If you have uploaded your script in subfolder for example /public_html/cms/ you can initiate the installation using:
https://yourdomain.com/cms/install/index.php
Now you should see the installation page of ImpressCMS:
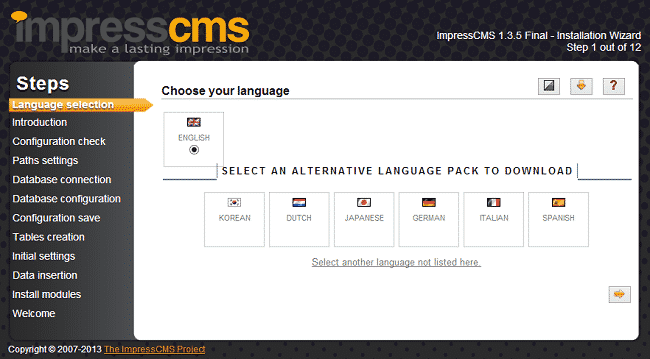
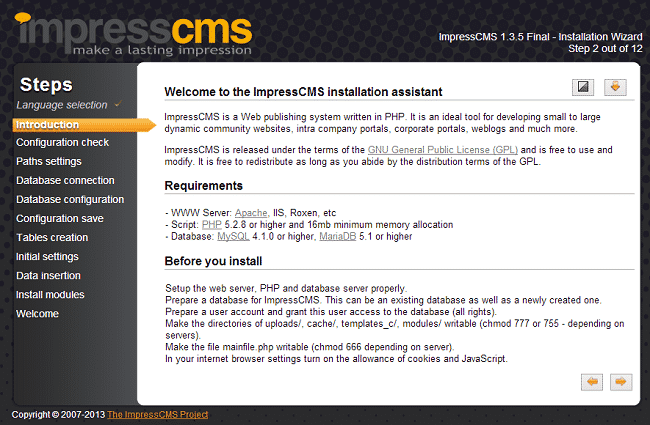
Select the language in which you wish to install ImpressCMS and click the right arrow at the bottom. You will be taken to the introduction page where you will be provided with some of the requirements to install ImpressCMS. If you have uploaded the files via FTP, you can skip this step as all files and folders will already have the correct permissions:
Click the right arrow at the bottom to proceed to the next page. The script will perform a check if all server requirements are met:
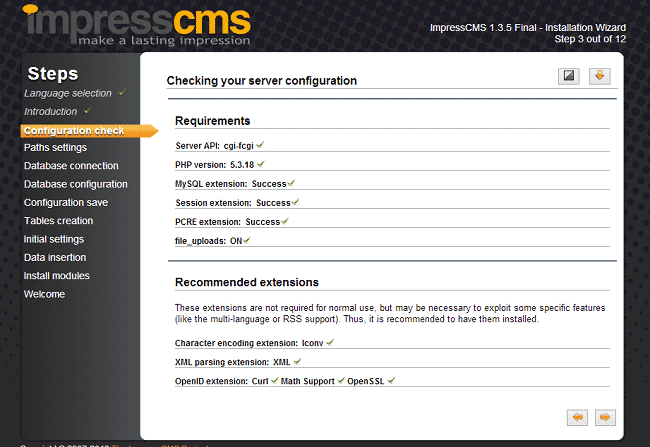
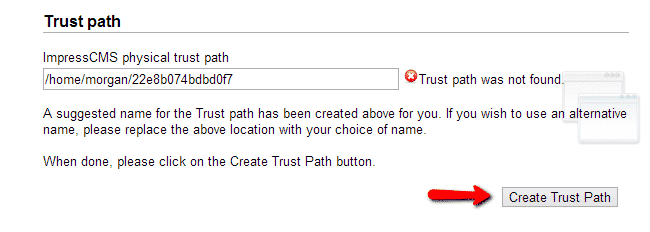
You should see a green checkmark on each line as verification that the requirement is met on the server. Proceed to the next page. You will be provided with the paths for your website. On that page scroll down a little and click the “Create Trust Path” button:
Proceed to the next page after that. Now enter the database username and password that you have created earlier:

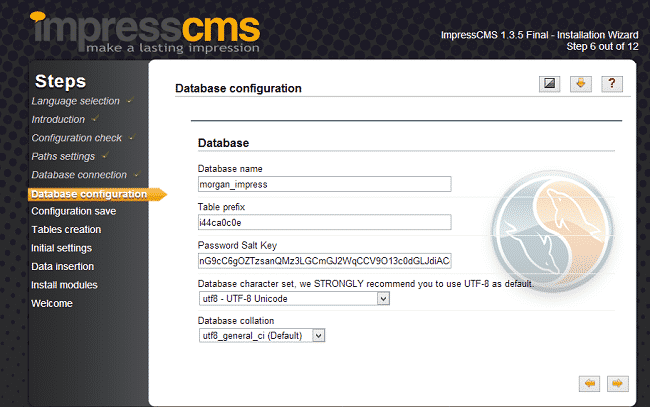
Proceed to the next page and only enter your database name:
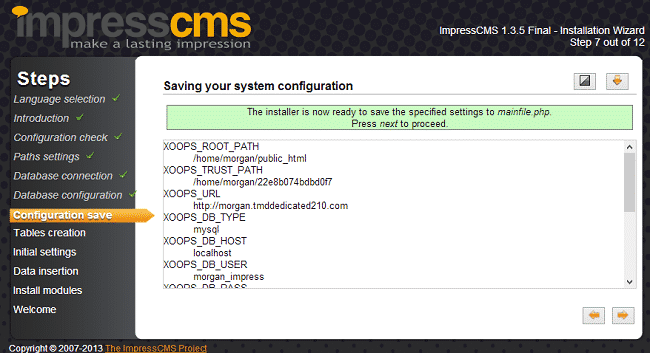
Proceed to the next page so your configuration file will be saved:
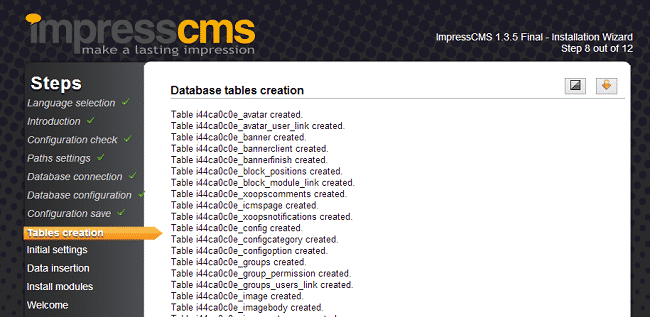
Go to the next page. You will receive message that the installer is ready to create the ImpressCMS database tables. Proceed to the next page. You will see the tables that have been created and populated:
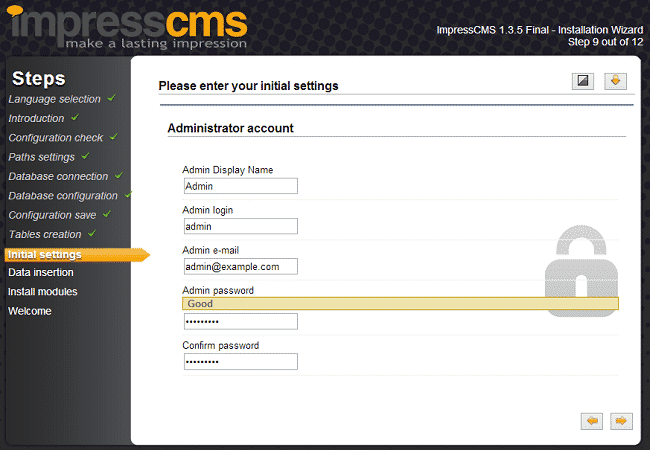
Proceed to the next page to setup your admin account. Fill the following information:
Admin Display Name
Admin login
Admin Email – make sure to use a valid email address
Admin Password
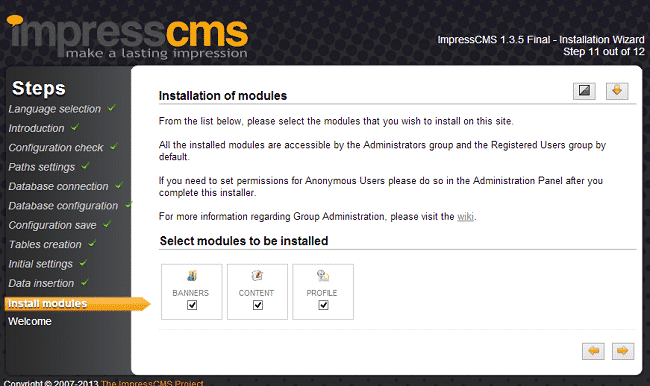
Proceed to the next page to see that the data has been inserted into your database. After that proceed to the next step. Choose the modules which you wish to use on the site and proceed to the next page:
You will receive a message that your ImpressCMS website has been successfully installed and you can access your website.
Note: For security reasons make sure to remove the “install” folder from your account.